#3D Print Gulag
11143 messages · Page 12 of 12 (latest)


are you making space ship sounds as you fly it around?
I have a nicd razor that's still mostly working probably 25-30 years later.
OOOOOH hell yeah
Have you played Osiris Reborn?
Anyways, I'm having some 3D printing trouble on my newest print .. wondered if any of you guys know what's causing these weird issues


Even though I ran through the full calibration cycle, bed leveling, and bed heating / clogging prevention, it's still doing these weird fraying issues
(I have the Bambu Labs H2C)
Not enough info to work with but that could be a slicing issue, try to print a calibration cube and see what you get
looks like I got a new 3d printing project. I just went looking to buy a clothes drying wrack (aka clothes horse) and for some reason they have gotten kind of expsensive and of course even cheaper and junkier then they used to be. just not worth buying something that is so poorly made that it will break after a few uses.
so 3d printed brackets and hinges and a bunch of dowel rod I think. make my own for cheaper and better quality
What filament?
PLA?
High Flow?
Looks to me like cooling might've been obstructed and the line width / extrusion speed might be a tad too much


line width dosnt doo that. I print at 0.6 and 0.8mm lines from a 0.4mm nozzle all the time and I have never seen that defect. really not sure what would cause that other then maybe pressure advance being WAY out of tune
its clear that its having some kind of extrusion problem after changes in flow rate from corners and similar features
I often see under extrusion after corners but that looks like either extream over extrusion or for some reason the layer adhesion is horrible and the line is getting dragged off with the nozzle
PLA, yeah
Default flow, 100% print speed.
I de-moistureized my AMS down to 5% last night, seemed to fix it
Alien tech !
This is a 1000HP electric car motor …..

It weighs … 12KG/28 lbs
750KW
Its half of that contineous instead of peak, but that would still be an insane amount with 4 of them on a car …
Or two on a electric bike 😱
Their also working on a version capable of regenerating/braking more efficient then a ceramic race brake.
I want 2 of those on my Hayabusa
a single of those is more power then a pro superbike 😅
actually, twice as much power 💀
You know why I want 2?
Even if you set them both to 10% power, you still have a 2WD bike😏
ughhh. dropped an m2 screw in my amongst the scrap/failed prints on my desk 🙁
(I am not the best about disposing of them. or even getting them off my desk)
id absolutley love a hybrid car, that has no normal brakes, just regenerative braking
also, have fun finding that
i have sveral m2s somewhere on my floor in my workroom 😅
i gave up on that and got a large box of random length m2s.
Luckily it didn't get lost in the infill of a failed print, it made it all the way to the desk surface underneath
as those are Gone if dropped 😅
thats just extra weight ! 🙂
Lost an m1.5 or something (m.2 screw) on the floor a few weeks back. That things gone
Regen braking sucks at low speeds unless tuned properly 😅
I would love a plug-in hybrid with 4 of these motors so I can have an independent 4WD car😅
6 of them. Make a 6x6 😆
Only worry is that thes motors likley cost more then my car, Per motor 😅
Anywho, time to 3d print this heatsink mount out of pla 😆 (it uses m2 screws, since that's what the backplate and heatsink both use)
I have an old accelero s2 I want to try mounting to a 15w laptop cpu. since all laptop coolers are bad in every metric

(yes I know pla doesn't deal well with temperature. But it's a great prototyping material. )
Indeed, do not use pla for more then the prototype prints
It softens at 55-65c depending on what filament, not optimal for a heatsink mount
Ontop of not handling sustained mechanical loads
So mount pressure after a little while will be horrible 😅
aka Structural Creep

Break Every Filament Video: https://youtu.be/GZSm65tczh8
In my Ultimate Engineering Filament Series I talked a lot about material "creep" but didn't really explain it. This #short shows why you should care.
PLA might be technically one of the strongest [unfilled] 3D printing filaments, but it has some critical flaws for engineering applicati...
Well it fits. Just ignore that it's missing two of the screws (holes need to be moved by... 0.5mm or so). Annoyingly it doesn't turn on. Lights up for a few moments then clicks off

dont ask whats going on with those fins. younger gruzzob thought it would be fun to try and increase the density and stick a fan on it. got... about as far as you can see
it may have a snesor to detect if the chassi is open
this is equivalent to how I had it running for... several years.
This was it in it's previous life.

also not the original heatsink
it may be a keyboard issue. its had a wireless keyboard connected the whole time, and being a laptop it may not show diagnostic/debug/bios information on a plugin display.
cbf trying to figure out if any of my laptop displays have the right edp connector at the moment
I am fairly sure I buggered something about its fan controller at some point. the rpm readout is offset
(yes there is no fan visible in either image)
I had always planned on setting one up for it, but it just.. never needed it. I could run full cpu stress tests on it when it had that big copper monstrosity and it barely warmed up
Now I just need three of them, one for each wheel on my recumbent trike
8x8, 4 axle steering
or make your own! https://www.youtube.com/watch?v=6pnCrnvvXHQ

Wow, it's been a while! Well, here's one of the projects I have slowly been working on during my absence... A from-scratch DIY electric motor! Will I finally achieve my goal of making a useful electric motor? Find out the design process and troubles I went through towards that goal in this video!
My previous electric motor videos:
https://www.y...
Any one knows about paht filament?
What's the question?
I was wondering how it compares to other engineering filaments like asa
I love printing.
After spending 30 mins redoing some supports on the supports of a mini cause they wouldn't print, I just now realised that the true solution for that issue was left-click -> "Fix model pls"

lol, I have learned that lesson as well. got in the habbit of checking for that little ! sign next to any model I open in the slicer
even models I made my self and know are good still sometimes end up with weird errors in them after export that need fixed
Anyone keeping up with the shitshow Bambu got themselves into?
yep
they decided to push the BS they did last year even further and the opensource people and right to repair people got fed up and are now going after them big
I didn't follow shit (and own a bambu), what's going on ?
a while back someone posted a fork of Orca slicer that reenabled the networking stuff that bambo had blocked. they threatened him with legal action dispite what he did being covered under the opensource license that bambu is required to comply with for there slicer. he took it down but some open source advocats got pissed about this and started making a stink and its just blowing up specatularly in bambu's face
Oh ok I don't really feel concerned then
Now Louis Rossman Is hosting that fork and dared them to sue him (he's known for being in legal battles advocating for right to repair and such)
Wholehartedly support this
Yup, and the Software Freedome Conservancy has pledged to reverse engineer bambu labs and release it. They're also actively gonna monitor Bambu for more illegal shit. They actually got the technical and legal know-how to do all that
Hmm, first time printing ASA and my infill doesn't seem to bond to itself, and I didn't play arount with any of those settings...

Looks a bit like not hot enough print head
I think it was Set to 270°C
But I have to look, how to disable the fans or how to set the chamber temperature in Orca.
Thats weird, do you have a heated chamber?
What are your fan settings?
I recommend, limiting fan speed to 0-10%.
10% is enough for most minor overhangs and allows for good layer and bed adhesion.
Also be sure to crank the bed to 110°C+, if possible.
If not possible or you're on engineering plates, use water-soluable spray adhesive.
FYI: your outer walls seem to have turned out fine because of your layer adhesion issues but expect warping off the bed at sharp corners, especially with linear infill.
(See my bygone struggles here)
#1058874733610946581 message
that is normal for rectilinear infil, its not actually suposed to connect. grind infill does connect but rect alternates direction so each line is one above the last. that is why it provides almost no str to a part only support for the above layers.
but I think Little_Equinox is right, that looks like its might be printed a bit cold
you would want to do a temp calibration test to be sure.
I tried turning off the fan or turning on the heated Chambers for my elegoo centauri carbon in Orca, but no luck so far.
ohh huh, maybe I've never actually used rectilinear, only stuff that looks like it 🤔
I was talking about all fans - tho especially chamber should be off so the heat accumulates.
Part cooling fan made my prints warp like crazy
Yeah that would be part cooling.
You need to adjust the filament profile in the tab "cooling"
So in the preview panel, where you select the filaments
my brain. going to 3d print it and put it in a jar with a lable "Abnormal Brain, Do Not Use!" on it (yes that is actually my brain taken from an MRI)

that movie was funny
That is actually so cool
Although your frontal lobe topmost right looks atrophied
Might be the reason why you have ||deez nuts||
that's metal as hell 🤟
Is that smooth part on the left considered healthy or just a scanning artifact?
Also: does it have interior? Would be lit if you put an easter egg inside xD
A little carve out where the amygdala / temporal lobe is with a funny guy and terminal inside
the smooth part is something I am trying to get rid of. the brain extraction algorithum I am using keeps leaving some of the dura on there. really annoying
Ahhh... maybe there's a way to use different parameters on specific parts of the imaging?
none of the algorthiums I have tried have many options. I am not using the most ideal scan for this but its the only one I have in 3d. I could do it manually but there are 200 or so images I would have to outline
3d slice, the program that does this stuff is not very easy to use
Is the data not just a point cloud with point-attributes like "density" or "alpha"?
Because it's kinda easy to filter based on that.
And those don't require any special software to parse so you can use some that support plugins or whatever

Uughhh I see...
but those could be converted to an easier to manipulate point cloud ^^
not really, that is the extracted image slices. this is of the entire head so there lots of other stuff in the original images

Nah, I did the painting on the model and uploaded a new variation but its a model I found lol, I do engineering shapes not pretty ones
(Painting in the slicer to be clear theres no paint on it)
I have some experience working with 3D segmentation, if you're willing to share the files I can see if I could get a better extraction than 3d slicer can.
Same there i can draw in 3 view only and suffer when making something semi organic my minds eye looks like a cad program
...ahh yes.. quality software that's worth having a legal case over (bambu)

would like to learn to do it my self, what program do you use?
In-house, written in python using opencv and pyvista.
the problem I am running into is I the part of the MRI that was actually done in 3d is really not ideal for extracting just the brain. I mean I had no control over how they did it, they were looking for a specific medical problem. because of the low contrast on the 3d set its been really annoying to get a clean extraction of the brain without some of the outer stuff being left on at the back making me look smooth brained
Yeah, I see that in the slicer view you showed. If you want to try your hand at editing it, I'd suggest starting with some edge enhancement techniques (e.g. unsharp mask) and then subpixel contour extraction - basically you can take the first 2 derivatives of the image (I use the optimal 7-tap filter design from here: https://farid.berkeley.edu/downloads/publications/ip04.pdf), then compute the determinant of the hessian matrix and compute a more exact location of the edge, see https://dl.acm.org/doi/abs/10.1109/34.659930 for some more detail
brain melts
I think smooth brained was required for enlistment. Or maybe that was just for the orange paint dip...
It's probably lead paint, causing you to become smooth brained
Did someone call for smooth brains?
well, more trying to unsmooth ma brain
This is the 3D print channel. We only know how to smooth stuff
but I want to turn off ironing on my brain!
That's active at all times and the tick box greyed out, sorry
The madlad actually did it!
This episode is sponsored by PCBWay
https://pcbway.com/g/1q5874 (get $5 dollars off your first order with this link)
PCB Manufacturing, 3D Printing & CNC Machining
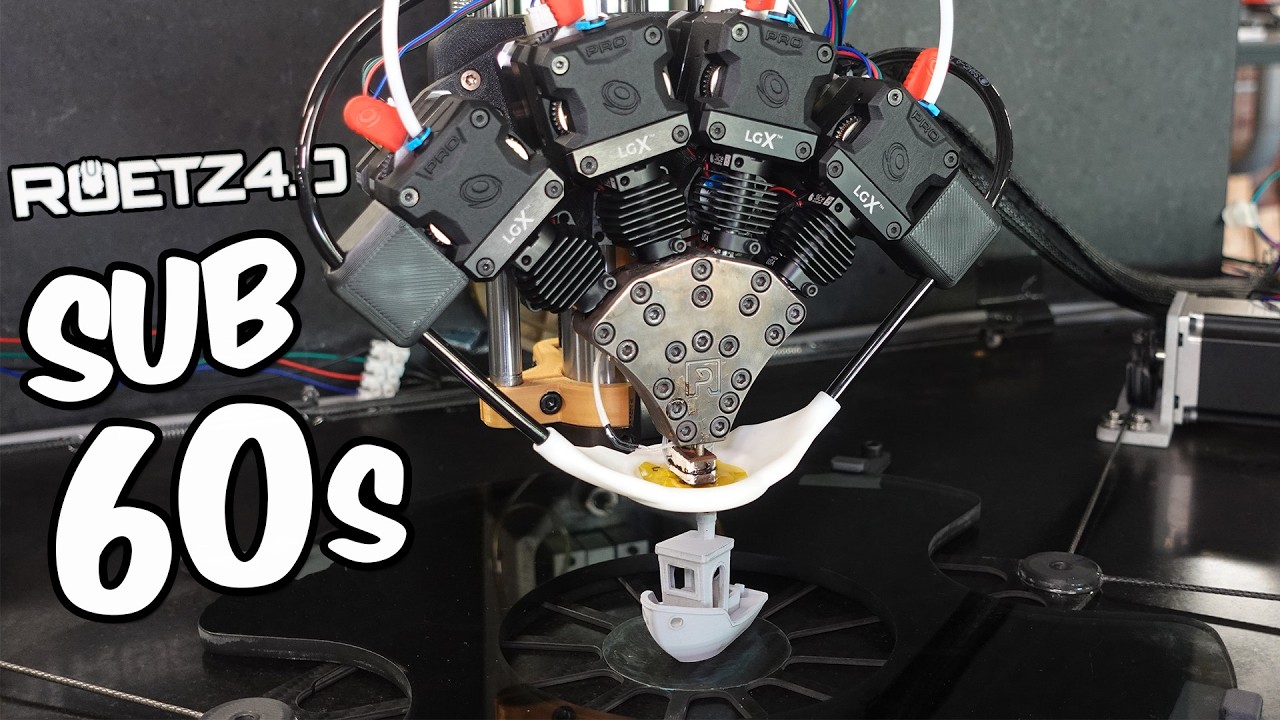
The Final Episode of our EPIC JOURNEY!
Printables:
https://www.printables.com/model/1730454-the-sub-1-minute-benchy-to-reprintjudge
My website:
www.roetz.tech
Join my Discord
htt...
He is also currently making a statement against Bambu's fuckery

This is not just about destruction of perfectly fine hardware. This is a PROTEST!Original Video: https://youtu.be/7fhh-eazanQOpen Source build this, now is t...
It is printing nothing, but the z offset is raised by 1mm every hour