


1 messages · Page 1 of 1 (latest)
 grim cape
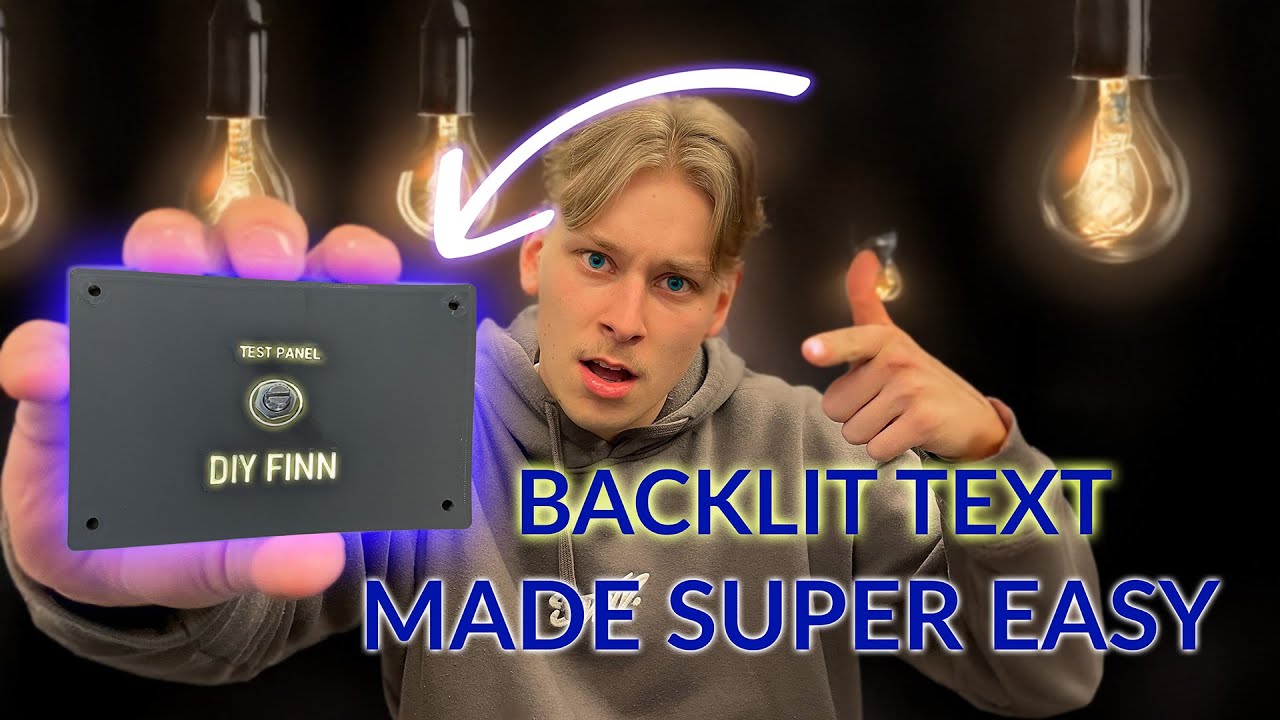
I am very happy with the result of my back lights print in 3d (need AMS) I used the bambulab A1 printer with a 0.2mm nozzle, layer height: 0.14mm, and the result is very precise.
In my panel I will use orange leds for the light
 teal kiln
Which color are the letters on the first layer? Is it white filament or translucent
grim cape
teal kiln
Which color are the letters on the first layer? Is it white filament or transluc...
White pla
The letters are only 2 layer (0.14*2mm)
 glossy bobcat
grim cape
I am very happy with the result of my back lights print in 3d (need AMS) I used ...
glossy bobcat
grim cape
I am very happy with the result of my back lights print in 3d (need AMS) I used ...
Wow! That is really beautiful with just a 3d printer? What is the height of the letters? 3.5 mm?
grim cape
the letters height is 3.5mm yes
 raw void
Very nice work! I need to try this! 😄 I also have the A1 and im very happy with the printing. Your panel looks great 😄
grim cape
Thanks !
grim cape
raw void
Very nice work! I need to try this! 😄 I also have the A1 and im very happy with...
I admit that I used this tutorial a lot, it would surely help you ! 😉 https://youtu.be/8UHj5JaxNYU?si=ppH2dtLJrmX8v0vj
PCBWay: https://www.pcbway.com/?from=DIYFinn
PCBWay is a parts manufacturer that offers a wide variety of inexpensive services ranging from PCBs to 3D printing. Thank you PCBWay for sponsoring this video!
Do you want to design and print perfect panels with backlighted text at home? Well we have the solutions for you! In this video we show how w...
 cloud crater
Hi @grim cape for printing these do you need a multi filament printer? and it has to be 0.12 nozzle size to print these panels?
glossy bobcat
cloud crater
Hi <@1387172649129611456> for printing these do you need a multi filament printe...
I think you can do it without the multi filament (AMS). You can print the letters first, and then when you print the rest, you use the “z-hop” option in your slicer. But your 3d printer has to be quite tuned and accurate for small letter. Please see here: https://youtu.be/X4vdF8BFs30?si=Cjbp66V5kYIGl-xY. Also, the nozzle size is 0.2 mm with a 0.12 layer height, I think.

I was playing with multiple color prints using color changes and recently made a dice box for the Cults3d Dice contest with a layer changed colored text. But it wasn't quite what I hoped for. Then the internet showed me the wonders of using Z Hop for a multi colored first few layers! Get the STL here: https://cults3d.com/en/3d-model/home/dice-bo...
cloud crater
glossy bobcat
I think you can do it without the multi filament (AMS). You can print the letter...
I tried using a pause on my K1 Max so I can print two different filament on top of each other. When it printed the next layer, it was out by 3mm to one side. No idea why. Might have bumped the print head but I was very careful.
So this method for me is a no go.
Will check out the video. Maybe I missed some steps setting it up.
Also I need a 0.2 nozzle. I also tried printing small texts with 0.4mm. Its not very defined.
glossy bobcat
cloud crater
I tried using a pause on my K1 Max so I can print two different filament on top ...
The print head might have bumped it if you did not see the z hop high enough when you printed the second filament. Yeah, please check the video and see if it works for you. You will definitely need a 0.2 mm nozzle for fine prints.
cloud crater
If using same printhead to do different colour, I would need to change the filament right. I think this is when the coordinates go out of whack. Hence I would need to be so careful feeding the new filament into the extruder.
A video of how its actually done would be of more help.
Saw the video. Just talking about the methodology. which I understand but physically printing it and changing 6 colour filaments is the challenge here.
glossy bobcat
cloud crater
If using same printhead to do different colour, I would need to change the filam...
Yes, you need to change filaments. Also, keep the bed temperature at the same level when you are printing (like 60 Celsius) when you are changing filaments so that the previous print sticks to the bed. This method is not good for multi colors, but might be good enough for 2 colors, like for panel backlighting
grim cape
cloud crater
Hi <@1387172649129611456> for printing these do you need a multi filament printe...
I used a 0.2mm nozzle and layers height 0.14mm, yes I have the AMS
raw void
grim cape
I admit that I used this tutorial a lot, it would surely help you ! 😉 https://...
That is great! Thank you so mutch 😄
grim cape
raw void
That is great! Thank you so mutch 😄
before to print, don't forget to add small stand.

they forget to say it in the tutorial
raw void
grim cape
before to print, don't forget to add small stand.
I have an slightly different approach for my panels. I dont mount the components directly to the front-plate 😅 i design the frontplate, use the shell-option in fusion and then i design the back-plate wich then holds my components 👍🏼
How thik are your letters im your CAD-Software?
And how thik is your plate arround the letters? ☺️
grim cape
thickness of my letters is 0.28mm, and the plate arround my letters is 0.56mm
and the plate is 3mm
 distant musk
I'm right now testing another approach. For small "Masks" yet, but should work for bigger front plates as well.
I don't have a Multi-MAterial-Printer and don't wanna go thru the hassle with changing filament during the print.
I use transparent PLA, the letters and circles are 0,4mm thick (2 layers). After printing i spay or paint the whole thing and when it is dry enoug i carefully sand of the top-most layer. Tada...
grim cape
distant musk
I'm right now testing another approach. For small "Masks" yet, but should work f...
Yes, someone told me about this method; could you show the result here?
distant musk
grim cape
Yes, someone told me about this method; could you show the result here?
As said, it's only a small test right now, so not perfect.
But as soon as i made the small PCB (we are talking about e.g. Korrys or the "ON BATT" Display of ADIRS) then i will post a pic.
raw void
grim cape
and the plate is 3mm
Thank you sir! 😄
distant musk
This is the very first quick'n'dirty test. Definitely not perfect and used the stolen the black nail polish from my wife. Unfortunately glossy.
I hope that with a mat spay color it will look better.

And this is only a small thing. For several front plates you would need hundreds of the small bottles of nail polish....no.
But it was available near me and my goal was to find out, whether it is possible in principle.
grim cape
How do you made the korry switch ?
distant musk
grim cape
How do you made the korry switch ?
I took this one, which is in fact a remix. But as said there: easy and fast to print, easy to assemble: https://www.printables.com/model/1641230-remix-of-airbus-style-korry-button
teal kiln
grim cape
The letters are only 2 layer (0.14*2mm)
yay thatx exaclly what i do. Two 0.14 layers are the best
grim cape
I expect to use led 5mm orange with a 220 resistor, do you think that will be good ?

They will arrange like this
(Red point = 1 led)
glossy bobcat
grim cape
I expect to use led 5mm orange with a 220 resistor, do you think that will be go...
I like this method of using COB led strips for backlighting. That way, you don’t need to deal with resistors. https://youtu.be/vK5d8DvD1Lg?si=coy0_In5VVrfOoc6

Thank you to PCBWay for sponsoring this video
https://www.pcbway.com
In this video I'll talk about the new method I'm now using to make F-16 instrument panels for my home made simulator. It took a while to put this together sorry for the wait!
To download .stl files for the switch caps & knobs, here's the link to my Cults3d page:
https://cult...
raw void
distant musk
And this is only a small thing. For several front plates you would need hundreds...
If you have the opertunity to print multiple colors try to print the face down to the plate and make an black first layer with thin Text and the rest in tranclucent PLA. Comes out very nice 👍🏼

I made the black first layer only 0,4 mm thik
Its enough for good cover but you dont need mutch filament-changes
distant musk
raw void
Its enough for good cover but you dont need mutch filament-changes
My printer can't print with multiple filaments.
I tried to print some parts with the pause to change the filament and had no satisfying results.
Therefore i came to the idea with only one print in transparent, spraying and a little grinding.
For the first tests i must say that i'm surprised. Quick'n'dirty and not soooo bad.
Imagine how it would look like, when i bring more efort into the design and the painting? 🤔
raw void
distant musk
My printer can't print with multiple filaments.
I tried to print some parts with...
I made my first Panels like this and it works totaly fine! I would try multiple layers bevor the grinding and use primer 😎👍🏼 your switches look great for the first attempt
distant musk
raw void
I made my first Panels like this and it works totaly fine! I would try multiple ...
Can you suggest a suitable primer?
raw void
distant musk
Can you suggest a suitable primer?
I used one from my local Store. The Name of the Company is "Dupli-Color". I think you should get it from Amazon. But you can take nearly every "translucent plastic-primer" you want. Just search for it. Improtant is, that it is translucent 🙂
I made one layer of the primer and then 2-3 layers of the color. Worked perfectly fine 🙂

DUPLI-COLOR PLASTIC PRIMER ist der perfekte Haftvermittler für die anschliessende Lackierung von Kunststoffteilen. Für Gartenmöbel oder andere Gegenstände aus lackierfähigen Hartkunstoff geeignet. Einsetzbar auf folgenden Hartkunststoffen: PUR, PS, PA, EPDM, ABS, GfK, Hart-PVC. Anschließend kann ...
 fallen cedar
Hi everybody!
I would like to share with you my guide on how I achieved good results with backlit panels. Only entry-level devices were used for this. In my case it is for 737 and bases on DIY737.
This may help some people with questions about what steps are necessary, what color to use, etc.
Kind regards
CptPeppy
raw void
fallen cedar
Hi everybody!
I would like to share with you my guide on how I achieved good re...
Wow thank you! That is crazy cool!
😍
How happy are you with the laser-engraver? Its very affordable 😅
fallen cedar
raw void
How happy are you with the laser-engraver? Its very affordable 😅
I paid less then 400 Euros, it's small and has a housing. From my point of view enough.
grim cape

 grim cape
I think the brightness is not enought
 gusty yew
yea it looks great. these always look too contrasty in photos, most often they look way nicer in real life
 surreal ivy
distant musk
My printer can't print with multiple filaments.
I tried to print some parts with...
surreal ivy
distant musk
My printer can't print with multiple filaments.
I tried to print some parts with...
If two color printing isn't working for you, how about making one thin black print with the lettering open, then a seperate print for the translucent layer? Then just glue the lettering layer on top of the traslucent diffuser.
I did some warning lamps that way several years ago and they came out looking pretty good.
surreal ivy
grim cape
I am very happy with the result of my back lights print in 3d (need AMS) I used ...
That panel looks terrific!
grim cape
surreal ivy
That panel looks terrific!
Thanks!
 prime hornet
fallen cedar
Hi everybody!
I would like to share with you my guide on how I achieved good re...
prime hornet
fallen cedar
Hi everybody!
I would like to share with you my guide on how I achieved good re...
this is really cool! 😎 two questions:
you will have always two color changes per layer right?
why using the primer after the filler? Does it play a role for the laser engraving later?
fallen cedar
prime hornet
this is really cool! 😎 two questions:
* you will have always two color changes...
Yes, due to the 'black frame' there are always two colors per layer.
I just used the primer to have a proper surface, but I think you can leave it out.
grim cape
prime hornet
this is really cool! 😎 two questions:
* you will have always two color changes...
Hello, thanks:
• Yes on the layers with the white and the grey.
• Sorry I don’t understand the question 😅
 coral zodiac
grim cape
coral zodiac
grim cape

It's finallly time to build the first real panel for the home cockpit. I will show you how to use the templates we created in the previous videos.
All the .stl files and mobiflight configurations are available to all my patreon supporters


