
#Questions about new extruder WWBMG
1 messages · Page 1 of 1 (latest)


 sand shoal
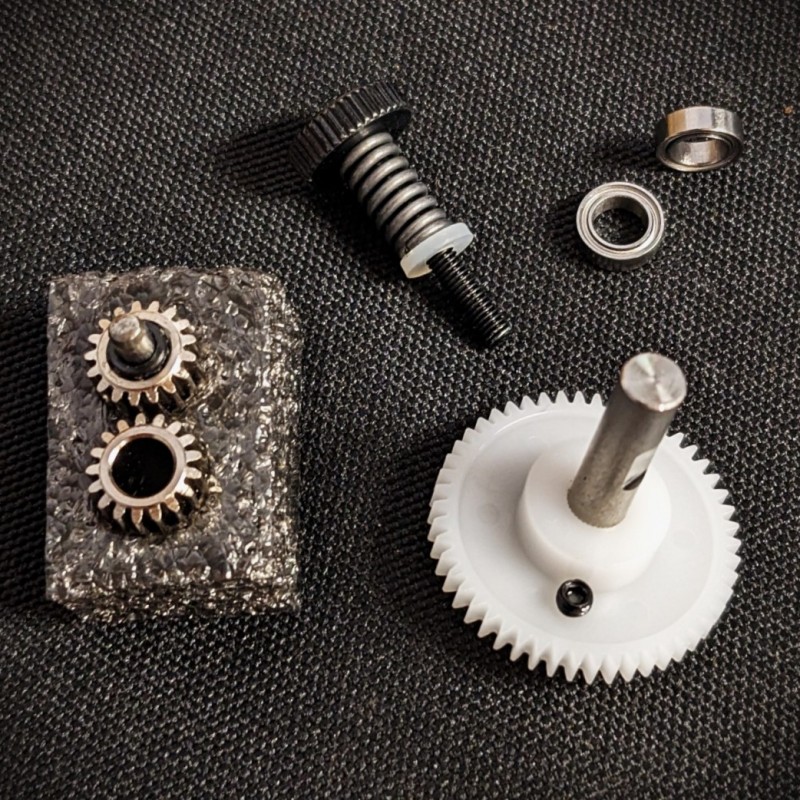
does your drive gear have a setscrew on it?
 zealous sluice
or do I gotta take the toolhead board out and fully disassemble
zealous sluice
zealous sluice
sand shoal
does your drive gear have a setscrew on it?
Maybe..?
I was told it's idga so I wasnt expecting a set screw
sand shoal
did i tlook similar to this kit durring install? https://kb-3d.com/store/bondtech/484-bondtech-bmg-extruder-internals-kit-build-your-own-1645151327973.html
KB3D
An original Bondtech OEM set of parts for use with dozens of DIY and Open Source extruder builds.
sand shoal
was the drive gear 1 piec or 2?
and if its easy enugh to get those parts disasembled, i would recomend doing so
zealous sluice

old pic/video i took
dont think that helps any

For CANbus please follow esoterical’s a guide over mine: https://canbus.esoterical.online/
Turn your dream 3D Printing project into a reality at PCBWay:
https://pcbway.com/g/s49dwT
Hope you guys stick it out for this long video. Thanks again to Formbot for hooking me up with a discount. I really like this kit and if you want to build a Vo...
he says its a "knockoff bondtech idga kit" at the timestamp
sand shoal
id try printing out the standard IDGA parts
then disasemble
cause why go thorugh the hartbreak to just disasamble

 sand shoal
yup, thats IDGA or RIDGA
zealous sluice
well which is it?
looks like IDGa to me..
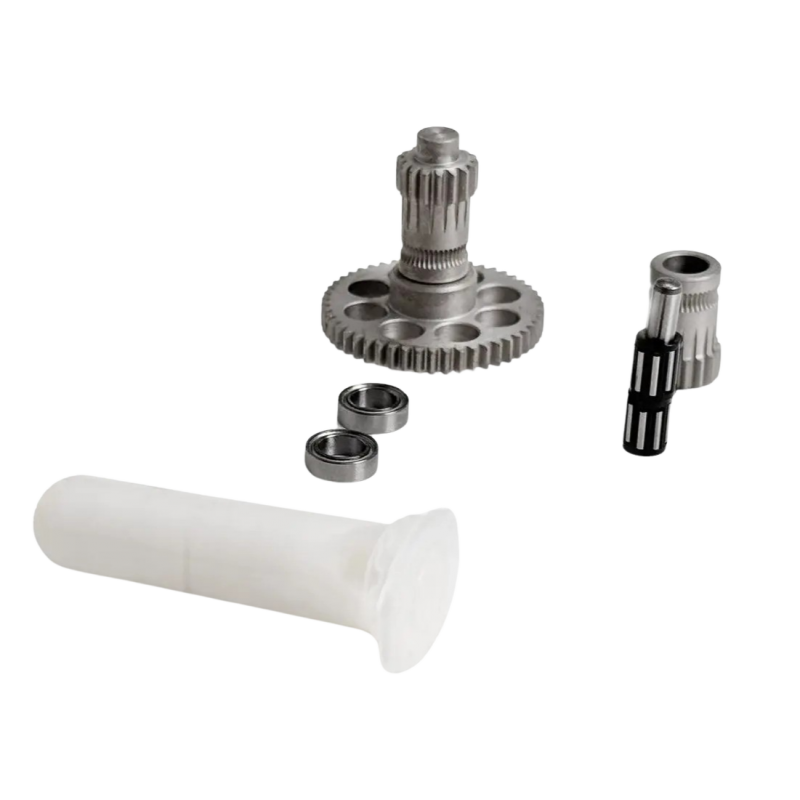
https://kb-3d.com/store/idga-ridga/3792-bondtech-oem-all-metal-ridga-kit-v2-7350011416684.html cause this RIDGA has the filament path close to the gear, mine is on the other end

KB3D
The next level in high temperature and high performance integrated drive gears for the Open Source Hardware community is here
sand shoal
zealous sluice
looks like IDGa to me..
i think you right
like was said earlier, that naming convention is terible
zealous sluice
yes

GitHub
WristWatch extruder for IDGA gearset. Contribute to minilogique/ww-extruder-for-idga development by creating an account on GitHub.
so....this
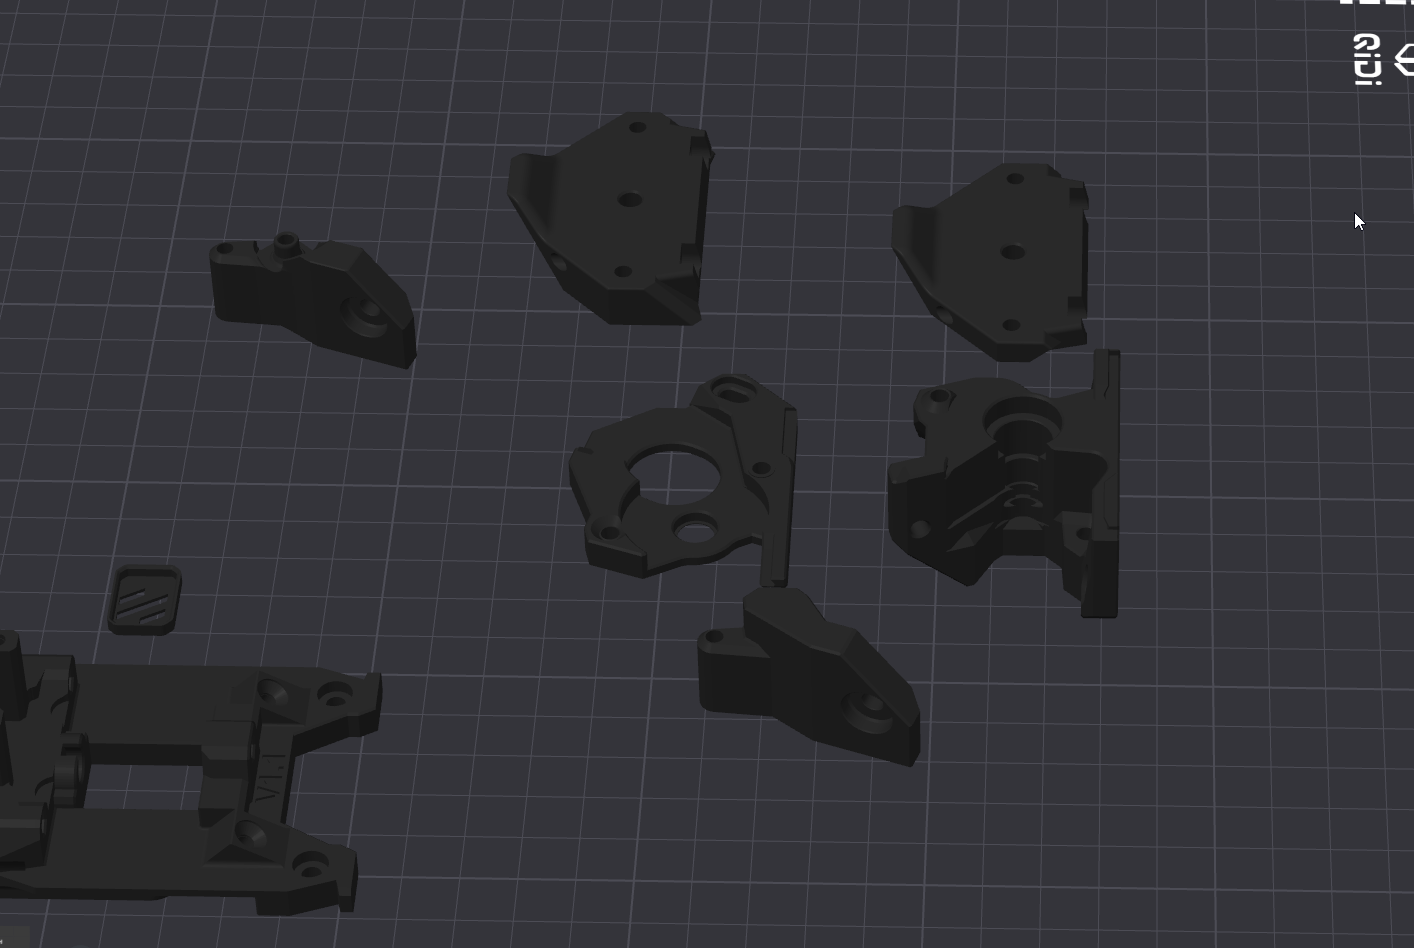

its got a "beefier" motor plate and a regular one lmao
sand shoal
those parts in the back are for XOL
zealous sluice
the adapters?
zealous sluice
ok so NOT anthead
sand shoal
i dont think so
you will want to double check spacing before permannat disasembly removing belt tension
zealous sluice
wat
Main hardware
2 M3 thin square nuts
2 M3x20 (1 M3x20 if you do not use smooth idler)
1 M3x12 (2 M3x20 if you do not use smooth idler)
1 M3x16
1 M3x25
1 OEM IDGA gearset
1 M3 thin washer
1 extruder spring

For smooth idler
1 685-2RS bearing
1 flathead M3x16
1 M3 thin washer
wth is an "extruder spring".. theres no size mentioned at all
zealous sluice
i think im stupid
somehow completely missed the giant spring sticking out the side..
sand shoal
happens to the best and worst of us
 visual hare
sup. I'm the one that made that IDGA version.
so lets get on with the "why"-s.
beefier motor plate is to reduce flex that can happen should you run higher amps through the pancake stepper and print in hotter-than-average chamber. it's meant to be printed from more exotic material, I used PPA-GF for that and had like 10 walls or so for it. regular motor plates started flopping around in my usecase, especially once chamber temps were above 60C. stepper current is 0.7A.
extruder spring - at the time I expected that its self-explanatory as this comes with most BMG kits, but not all. you can run the extruder without it as depending of the used plastic and temperatures in enclosure, the idler arm WILL bend especially when printed with Voron specs (4 walls, 40% infill), so it can kinda be two-in-one.
if you want to add even more "beef", there's this https://www.printables.com/model/1744521-more-grip-idler-tension-arm-for-ww-idga-and-mk8-ex
to avoid flexing in the heat, use all the walls you can. I use it on my WW MK8 version and it prints 85A TPU like it was PLA.
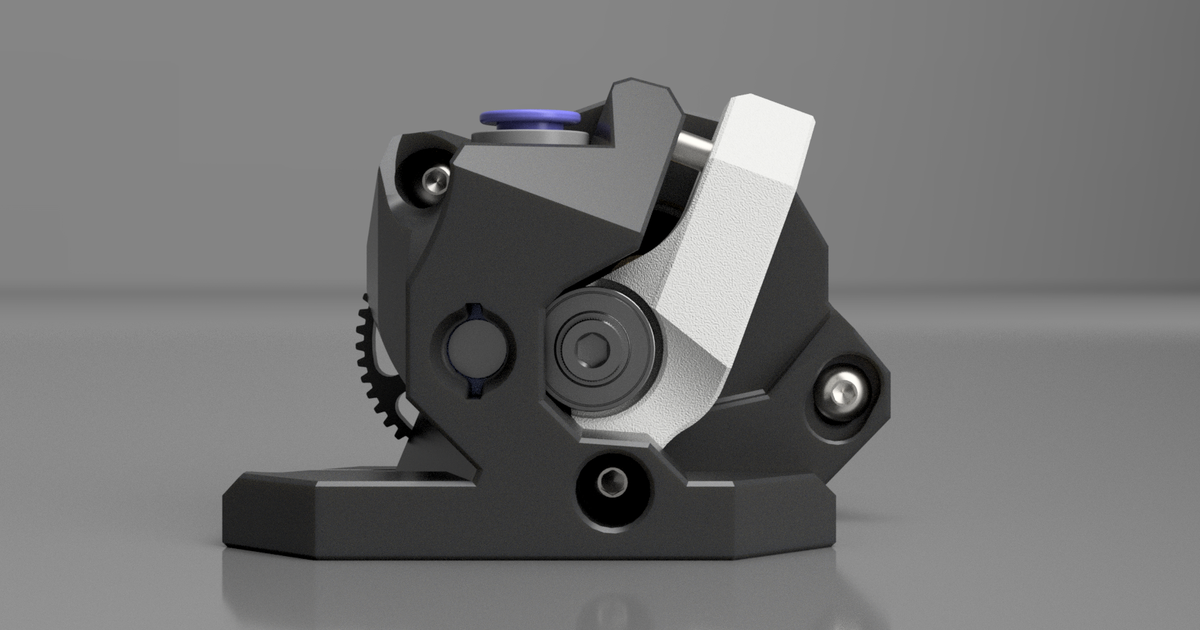
Printables.com
idler for Wristwatch extruder if Hafþór Júlíus Björnsson would've built it | Download free 3D printable STL models
zealous sluice
visual hare
sup. I'm the one that made that IDGA version.
so lets get on with the "why"-s.
...
I didnt see this reply till now
I printed with standard voron settings (ASA, 4 walls)
I do have PC-CF though..the good kind.
zealous sluice
visual hare
sup. I'm the one that made that IDGA version.
so lets get on with the "why"-s.
...
zealous sluice
@visual hare I sent u a DM asking for help cause I'm having issues
visual hare
zealous sluice
with some filaments you can go insane with tension. there are some that do not like the squish, but based on the video - you can add alot more
for example - with PETG you can remove the thumbscrew and replace it with M3x10 bolt and washer, just go with static pressure instead of dynamic what spring offers
with TPU, you have to make sure the idler is running against the BMG gear all the time because it's soft and malleable. it'll regain its form after its past the gear/gears.
doesnt matter if you opt for IDGA or MK8 version - foolproof way to test grip is to run some filament through and if you can pull it out with ease, then you need more tension on the idler
problem what can happen with smooth bearing idler is that some filaments, some nylons in my personal experience and some PETG blends, can flatten (albeit that requires alot of force) in warmer chambers and cause mechanical clogs which are even worsened if you are already close to heat-creep.
that means you either need to fine-tune the grip if you are not using a spring or add alot more tension if you are using the spring.
usually the inner diameter of heatbreak is 2mm, so to test how much filament is being crushed, simply extrude, lets say 30mm and the retract it and measure it from flat-spot and then 90-degrees from the flat-spot. if you are running at 1.9mm or more, there's high risk for filament getting stuck in the heatbreak, especially with lots of retractions and warmer chamber.
one more thing to make sure is to occasionally check the bearing and shaft centricity in the main body. it's especially needed in warmer chambers and higher tension setups.
left side was used for 300 hours in up to 80C chamber with fairly high tension (reason I made beefy idler because normal ones kept creeping and lost grip)

bearing is just 2mm in thickness and should it sink, it will cause issues.
shifted bearing means the filament gear has moved off the filament path, meaning the idler has to apply alot more pressure and bend the filament against the BMG gear
if filament is bent, that means it will rub against the plastic body and thus add alot extra friction
more friction means more heat from the stepper driver and stepper due to increased load and possibly added amperage
quick checklist if you have issues with the extruder:
-
idler tension. with BMG dual-gear setup, tension is limited up to a point where the gears are fully meshed between idler pulley and drive gear. with smooth bearing idler, if it's not leaving teeth marks and a small flat side on the filament, then it's not maybe enough and you can add more tension. if you have a huge flat spot, then measure filament thickness at that flatspot and then 90-degrees from that flatspot. if width exceeds 1.9mm then you are running too much pressure and having issues because filament is rubbing heavily against heatbreak throat which usually is 2mm inner diameter
-
print quality for main body - depending of the used material, its highly recommended to clean the filament path with anything that's made of metal and 2mm in diameter. either use a drill, but I actually recommend using a nail if you can find one. reason is, that drill removes plastic but nail does not. once nail gets warm enough, it melts the plastic and just compacts-pushes it where it can and that usually means that the plastic around that area gets denser thus stronger.
-
friction. depending of the used mechanical parts and printer setup the main parts are printed with, putting too much tension on the bolt that holds the tension arm can bend the motor plate piece and flex, so it rubs heavily against the 50T gear and causes unneeded friction. also if you're using 2-piece BMG gear meaning not the billet version but the one with the shaft without a flatspot and BMG gear with grub screw, if the grub screw stands too tall, it can also run against the printed main body. because I personally have not experienced that, I have not accounted for that. if that is the case, do let me know.
zealous sluice
Holy fuck
visual hare
idk if thats a good holy fuck or a bad one