#Trying to paint this mini, unsure how to approach. I have an airbrush and normal brushes
95 messages · Page 1 of 1 (latest)


To choose colors, maybe you could try raising the saturation of the reference image? It appears somewhat colorful despite being super dark.
it has allot of variety of shades, but its applying them im a bit stumped on
my first idea is to water down some grey and just glaze it over slowly
and then drybrush on some silver for metal and amber for the glow
My gut reaction is saying to dry brush on greys for the highlights
For the glow effect, base white and use a translucent orange like a speed paint or a flourescent paint
I'd want to try taking a black paint and mixing it in small amounts with other colors and layering up. Would take longer than drybrushing of course
its worth the time
i just got my first wet pallet too so
this will be fun
Nice
maybe dry brush and then glaze to blend
what do you mean base whites?
unless you're going for display quality
that i asm
am*
my old DM who got me intp painting abused me so now i cant really fathom letting minis not look as best as i can
with every one
(i dont paint army games)
ive been out of the hobby due to deployment, wanna get back in
underpaint with white on the part you want to glow before applying the orange
^
gotcha
orange paints are usually translucent anyway, so a bright white layer underneath will really make them pop
and flouro paints are meant to be used over white anyway
so start with dry brushing on various dark shades
then do a light bit of white where i want glow
then glow
then dry brush with grey again to match?
well, dry brushing will be faster and messier, but if you want to manually layer/glaze the whole thing then you do you
ive never done glazing before
glazing works best when glazing a dark color over a lighter color
you can do light glaze over a dark base, it's just a little more work


I would do all your greys first
then do your orange glow as the last step
otherwise you're going to have to go back and clean up the glow effect
think these would be good for those layers
yeah absolutely
yeah, that mid grey looks good for a layer
you'll probably a light grey as a final layer/edge highlight
dry brush the mid grey
manually layer the light grey where you want the brightest highlights
go back and darken any parts with the dark grey if they got too bright during the dry brushing

how's your paint mixing? you'll probably just want to mix the industrial dust with some white for a lighter grey
The mantle is blueish, barely, while the coat is brownish. After you have the brightnesses you want, but before the glow, you could glaze em on super thin in multiple layers
ill let you know after i try it
never used a wet pallet before , so if i do it just right it should hold for a bit yeah
yeah, the cloak is a cool grey
the coat is a warm grey
wet palettes are great, helps a lot with making your own colors
my painting got a lot easier once I didn't have to worry about my paint drying out on me during a painting session


looking at the image it looks like the metals are rusted brown
i can def make the top lighter, with blue white at the edges
Ah, yeah it looks like rusted chainmail I think?
but now that I have a better image of the mini, I can see there's not a lot of ridges on the cloak for dry brushing
so
I thought it would have a lot of little folds like the reference image
dark grey light coats
yeah dont sweat it
i thought we needed a better image of what i was working with
yeah ok i think im getting the idea
i think ill start with thin layers of industrial dust
which is a light grey
brushing upwards
then ill make a mix of white dust and like maybe the liquid frost color
to give it that ghostly vibe
then ill use like an earth color for where the fabric is burning, lil bit of white on top when it dries, then hit it with fluor orange
rust fir metal
and then dark dusty stuff for the bottoms too
large flat cloaks can be challenging to get good blending, but there's lots of videos out there with different techniques
got a reccpmendation?
also for thinning paints
on a wet pallet
do i just rub it around some more
https://www.youtube.com/watch?v=I8WVB2-hU2o
I liked this video because it shows some different options
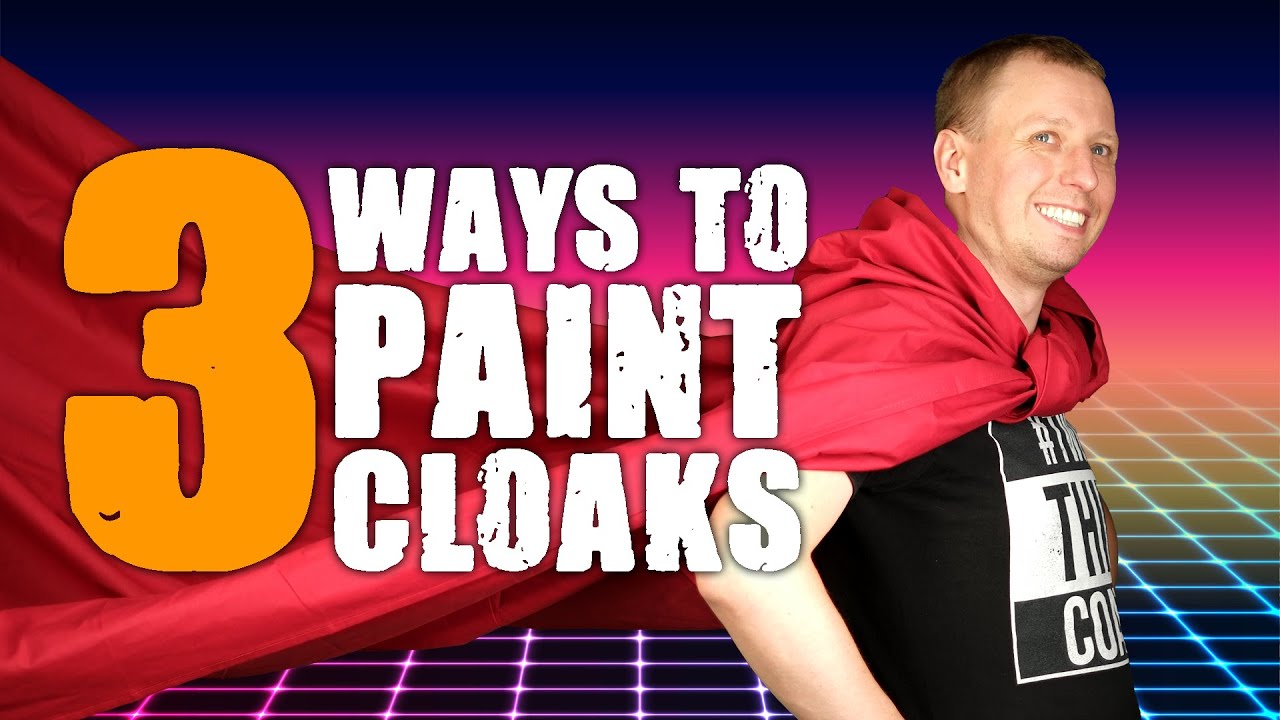
Cloaks appear on all manner of miniatures from a Warhammer 40,000 Space Marine Captain to an Dungeons and Dragons Elvish Rogue. There are many ways to paint them too and in this tutorial, we show you how to paint cloaks in three different ways. First up, a great way for beginners or speed painters, a dry brushing method that yields great results...
thinning paints is a much more complex subject
it depends on different factors like the humidity of your environment, the palette quality, the brand/consistency of paint you're using, etc.
so something that works for one person in a video might not work for you
ok
for my paints that are already pretty thin, I usually don't need to mix in more water than what's already in the moist brush + palette
for thicker paints I have a mix of water + matte medium for thinning, I've never really had great success with thinning with just a brush load of water like I've seen some people do in their videos
second question
for making the whispy white stuff, im thinking
like a single drop of fluor blue and white dust
and hoping the blue doesnt blow out the white
because its either that or i mix turquoise or the price tau blood
are you going to be painting that wispy effect on the plastic mini?
or are you going to try to glue stuff to the mini?
maybe someone with more experience than me would have a good idea for that
the wispy effect from the reference only works because it's on a black background
but the model only renders the cloth, so I don't know how a wispy effect over the cloth would work

the paper should be moist, but you shouldn't have pools of water on top of the paper

