#Photographing your minis
108 messages · Page 1 of 1 (latest)
Two lights, a solid color backdrop, use manual mode if you have it
I still struggle with this on my iPhone XS. I’m sharing my perspective not from a place of knowledge but more from a place of “also on this journey and trying to figure things out.” I’d be happy for anyone to tell my why my approach is a dumpster fire. But I have made some incremental improvements based on some hints from @primal tiger and a few videos. I've been using a sheet of black paper as an "infinity backdrop"
another incremental improvement has been to back away from the model a bit more and then just crop as needed (I was getting super close before but this can reduce the range of the focus depth... but can be a cool dramatic effect sometimes).
on the iPhone, you can adjust the exposure before taking a photo by tapping on the subject which brings up a focus square with a little sun next to it. You then can slide the sun up or down for the exposure. If you tap again to focus a different area, the exposure slider resets (thanks, Apple!) But personally I just edit after the fact with the built-in iOS photo editing tools. It REALLY depends on the lighting of the photo, but quite often I'll turn the Exposure down a little, Brilliance up/down a little, Highlights down a little, Shadows up/down a little, almost never change Contrast, Brightness down a little, Black Point up a little, Saturation up/down a little, and Vibrancy up/down a little (typically in the opposite direction of the Saturation). Then sometimes a Vignette effect. All of this is really to try to make the photo "look like the real thing". If I'm lucky with the original shot, I don't need to mess with the settings much.
side note: iOS version 16+ now lets you tap/hold the photo subject to remove the background. It works pretty well most of the time. I haven't been using this, but I'd imagine one could use it to their advantage. https://www.cnet.com/tech/mobile/ios-16-photo-tool-for-iphone-removes-picture-backgrounds-with-just-a-tap/

CNET
Simply tap and hold to remove people, pets or other items from your iPhone photos.
some videos I found helpful (your mileage may vary)
Emil from Squidmar is a former professional photographer https://www.youtube.com/watch?v=YlkzRE33Lb0&ab_channel=SquidlyBits
Vince Venturella https://www.youtube.com/watch?v=lZ7g9DatLpI&t=683s&ab_channel=VinceVenturella
Lyla Mev https://www.youtube.com/watch?v=Lu9DPnZcb8E&ab_channel=LylaMev-TheMiniWitch
Miniac https://www.youtube.com/watch?v=lWzHqpvm7Ck&ab_channel=Miniac
oh and if your light is a bit too harsh, you can diffuse it with a sheet of paper. Just make sure the light's not so hot it catches the paper on fire 🙂

When photographing miniatures, people try to convince you to buy expensive LED's, Light boxes, Cameras and Flashes. Honestly - it's all overkil. Watch this video to see!
Gear list of all tools i use + affiliate links:
https://www.squidmar.com/gear
Patreon: https://www.patreon.com/squidmarminiatures
Squidmar Merchandise: https://teespring.co...
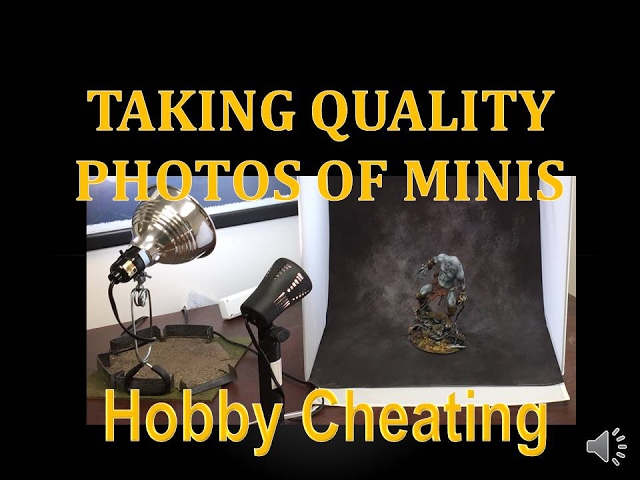
In this Hobby Cheating Tutorial, I take you through how to photograph your miniatures, as well as some tips and tricks for the absolute best results. Hope you enjoy!
Twitter: @warhammerweekly
Vince's RPG Podcast: https://itunes.apple.com/us/podcast/undesign/id1097807950?mt=2
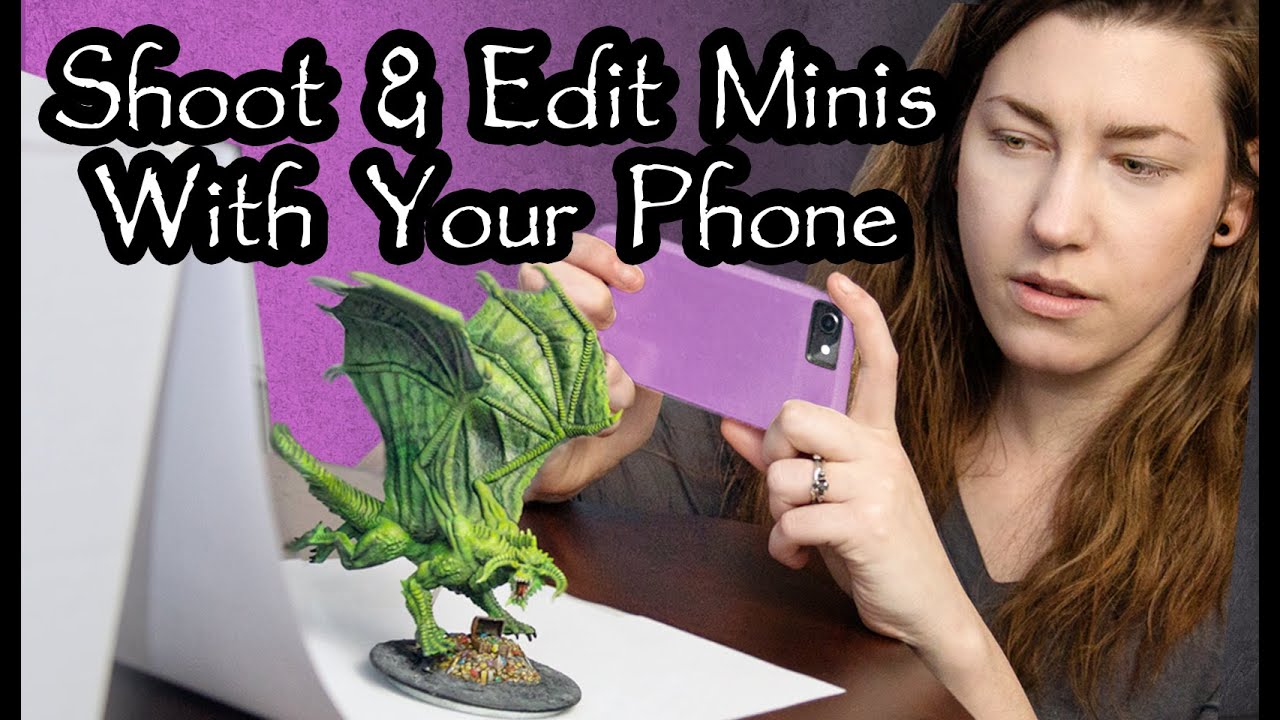
I am a professional photographer, but even so, I don't always feel like pulling out my big DSLR camera. I often take great photos of my miniatures with my phone. In this video, I go over a simple lighting set up, the best app to photograph your miniatures, and my favorite app to edit your photos.
***I have been informed that the select featu...

In this video, I go over how I get some cool, practical looks with my photography.
PATREON OR DIE: http://patreon.miniac.co
BUY MINIAC MODELS/MERCH/DIGITAL COURSES: https://miniac.co/
SUPPORT MINIAC: https://miniac.co/pages/support
RECOMMENDED HOBBY GEAR: https://miniac.co/pages/gear
PODCAST OR DIE: http://www.trappedunderplastic.com/ & https:...
for better or worse, all of my 2022-i-painted-dis minis were shot/edited on an iPhone as described above

Behind the scenes footage of my super professional infinity backdrop

- old iphone
- lightroom app with fixed exposure time
- painting light pointed at the model from behind the camera
- ipad as black backdrop (edit: placed at a 45 degree angle so the reflection from the light goes away from the camera)
- black plastic document holder as surface

Damn, that looks so awesome for such basic stuff.
I have an iPhone 8 and I feel like the settings are quite limited, are there any good apps?
I use a simple smartphone: samsung galaxy m30s. I take pics outside for natural lighting

the lightroom app is great imo
Lmao I love this and OMG that’s SO HELPFUL!!!!!! I’ve gotten to a point where the pics keep making it look worse and I want it to look as good as it does IRL
WHAAAAT!!! Do you do the paid Lightroom?
nope, just the free iphone app
no, getting dark is actually he iPad as a backdrop
but likely any high gloss black would work.
If you use a high gloss black and put it at an angle so the light from your lamp is reflecting away from the camera you get a very dark surface. It's like why a gloss black paint is darker than a matte black (because most of the incoming light is being reflected in one direction rather than diffusely in all directions)
the Ipad just happens to be designed to be very black and have a high gloss finish on it's glass surface so it ends up being a very good camera backdrop... hold on I'll get an image from another angle
Wow great tip! Looking forward to trying this out. Your photos always look so nice. And your minis are 😍

I have an iPad so gonna try this
so, since my light source is behind the camera, the glossy reflection is being reflected up towards the ceiling
...and not back into the camera
Just need to find a good black base but maybe an old binder will do
I happen to have a foldable stand for the iPad too, which fits purpose perfectly, but you could also just have it stand on it's edge and reflect left or right too
I’ll try with my laptop screen
I just use a flat black document binder placed on my wet palette (so as to hide the lower edge of the iPad)
it's funny how nobody seems to have thought to do this. I came up with it myself and every time I post it online people get mind blown 😂
I mean... a part of me feels stupid recommending using a €300 device instead of buying a €30 photobox, but it saves space too ;D
I have this lower half of the avatar of khaine packaging, this should do nicely right?

it might... it looks like it's reflecting a bit more diffusely than the Ipad. Only one way to find out.
yeah, it's probably better than the binder I'm using as a base
So what do you use the Lightroom app for? I’m not very technical.
this binder is beat up and ugly af, I should just go to an art store and buy something better 🙂
Omg that’s a great idea
I got a little light box when it was on sale and was disappointed with the photos lol
the main thing I like using the light room app for is that it allows me to set manual shutter speed and manual iso. The reason I do this is that I always set the lowest iso (to avoid graininess) and then use the exposure to control the exposure (so it's correctly light/dark). the default iphone app (on my iphone 6 at least) doesn't allow setting iso and forces me to re-set the exposure with every photo. Here I can set it to exactly 1/30 secs and I'll get the same result every time
Do you use a tripod or stand?
no, but I should.
Oh yeah, it also allows me to calibrate the whitebalance manually instead of the 4 default settings + auto that the iphone app has.
the reason for that is just I messed around (randomly) until I found a white balance that works with my setup and then I never change it so my pictures are consistent.
Omg the camera in Lightroom!!
my tripod is bracing the camera against the desktop of my painting desk 😂
I see now!
but yeah, I've been considering getting my DSLR camera set up and putting it on an tripod, I just never get around to doing it since the iphone works 😂
yeah... like... I don't use the photo editing of lightroom, just the camera in the app.
Ohhhhhhh
iirc the video somebody linked above by squidmar recommends using the same app
lightroom also has some export options that I've been messing around a little bit with, but haven't gotten anything I'm 100% happy with, just make sure to set it to exporting att full quality if you have it export to jpg
lightroom also has a histogram which is nice, because it'll allow you to see if any color is bleeding out. If you're doing it right you should have a big spike off the scale right at the left most side of the scale (that's the black background)
Dicked around a bit and tried it out. Definitely need some adjustments but it’s looking decent. Great advice Robin, better than any mini photo tutorial I’ve seen on YouTube.


Omg that was in Lightroom photo too?!?
Now I gotta try lol
Those look amazing
Describe what you did! Lol
I did this. As for settings all I did was put iso to minimum.

Makes my phone lag like crazy but it works.
And yes Lightroom
I need to try and find a way for bigger minis though. Avatar doesn’t fit 😛

I'm glad you guys had use of this 🙂
I need to learn what the settings do. Never done any photography before.
I need to minimize the background reflections more but I’ve found that photos taken on my light gray IKEA desk turn out petty ok for a lighter background effect


wow, that's actually pretty cool @fierce meteor
when cropped it looks like a really arty background
if i get more purposeful about the random crap in the background, it could be interesting
yeah, you could put colorful things to get cool color shifts in the reflection
I'm glad you shared it!
hmm... I wonder if my ikea desk is clean enough to pull this off
I need to put the kids to sleep but will try using the cardboard box as background and iPad as base for larger models later.
Hard to get this wip to fit

All these tips are amazing lol
It’s making photographing my mini fun and not frustrating
Agreed, I’ve always hated photoing since it always ends up like shit.
Not as cool as andys, but ok
grainy af though, but that's because I used the iphone app instead of lightroom

hacks are not dumb if they work imo
I mean.. it's not dumb to use them, that it works feels dumb 😄
This app completely drains the battery though. Holy shit!
From 25% to 2 from like 10-15 minutes of use
oh wow, never realized, lol
yeah I tried lightroom a few months ago and it kept crashing my phone
using the default iOS camera like a savage
i usually use t-shirt for background but for some reason i always lose saturation this way

Damn that’s beautiful tho
might be the white balance or exposure messing with you if they're set automatically. I got a really desaturated result when doing this iPad thing sometimes until I manually calibrated the white balance. I think the intense black was causing the auto settings to go whack because it was so black
will try with Lightroom next time
like compare the saturation of the colors in these two, the black is causing the automatic setting to freak out


same exact case


How do you calibrate it in Lightroom?
for white balance:
there's a setting called WB, the right most icon is a pipette. the pipette icon allows you to calibrate it yourself by aiming it at something of neutral color, like a piece of white paper or something like that. I don't remember the exact details, but messing around with that for a while I got a white balance that gave me a somewhat accurate coloring.
for exposure:
it's called Exp, but I would recommend instead setting shutter speed and iso manually (at which point it becomes greyed out). I would recommend setting it manually rather than auto so you get consistent results every time and it doesn't go and try to raise the exposure because the background is really black or something.
Omg Tysm!!!!
Found this thread and tried it out with my iPad. Probably need some adjustments but initial results are pretty nice!

My setup is quite simple, I cover my screen with a sport t-shirt but should try to find a way to tilt it instead for cleaner and darker background according to this thread. No such app found for free on Android (if you know one I am all ears) but I can use my significant other's camera with manual settings...

Replaced the tripod with a box on a chair 
Backdrop is not that dark as you can see, room for improvement...

It still looks great!!!