
1 messages · Page 1 of 1 (latest)
 sharp niche
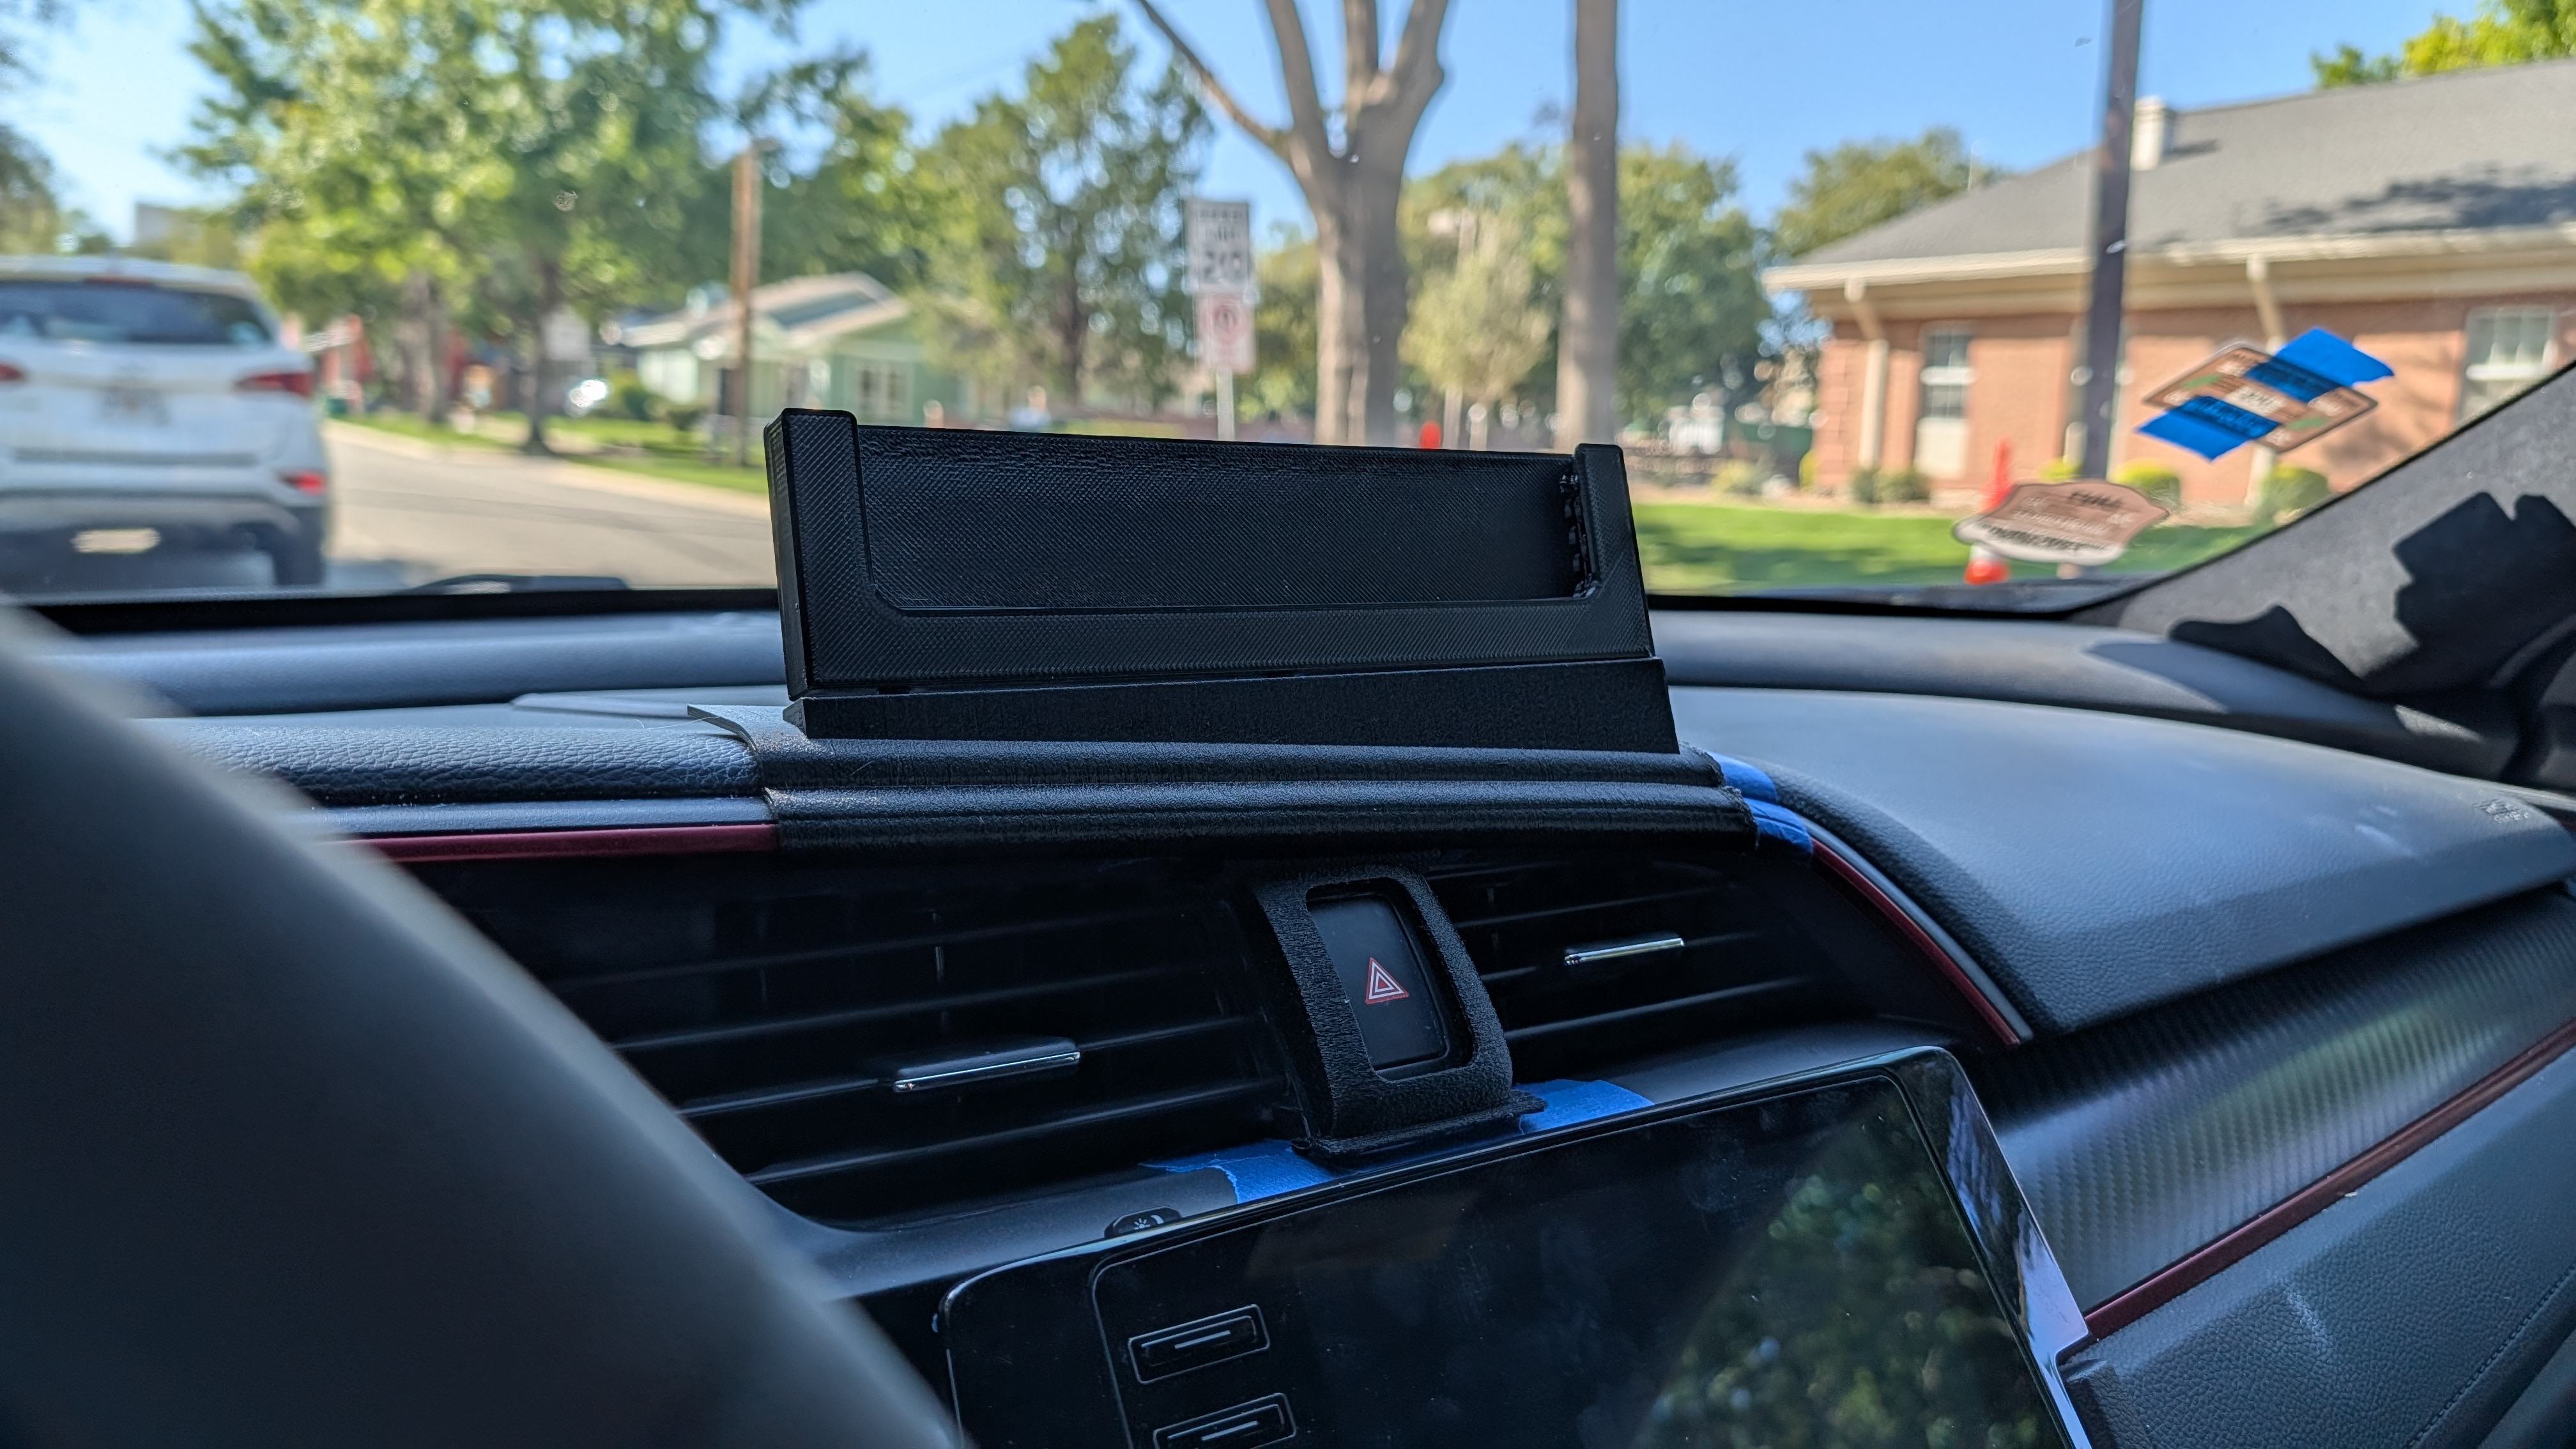
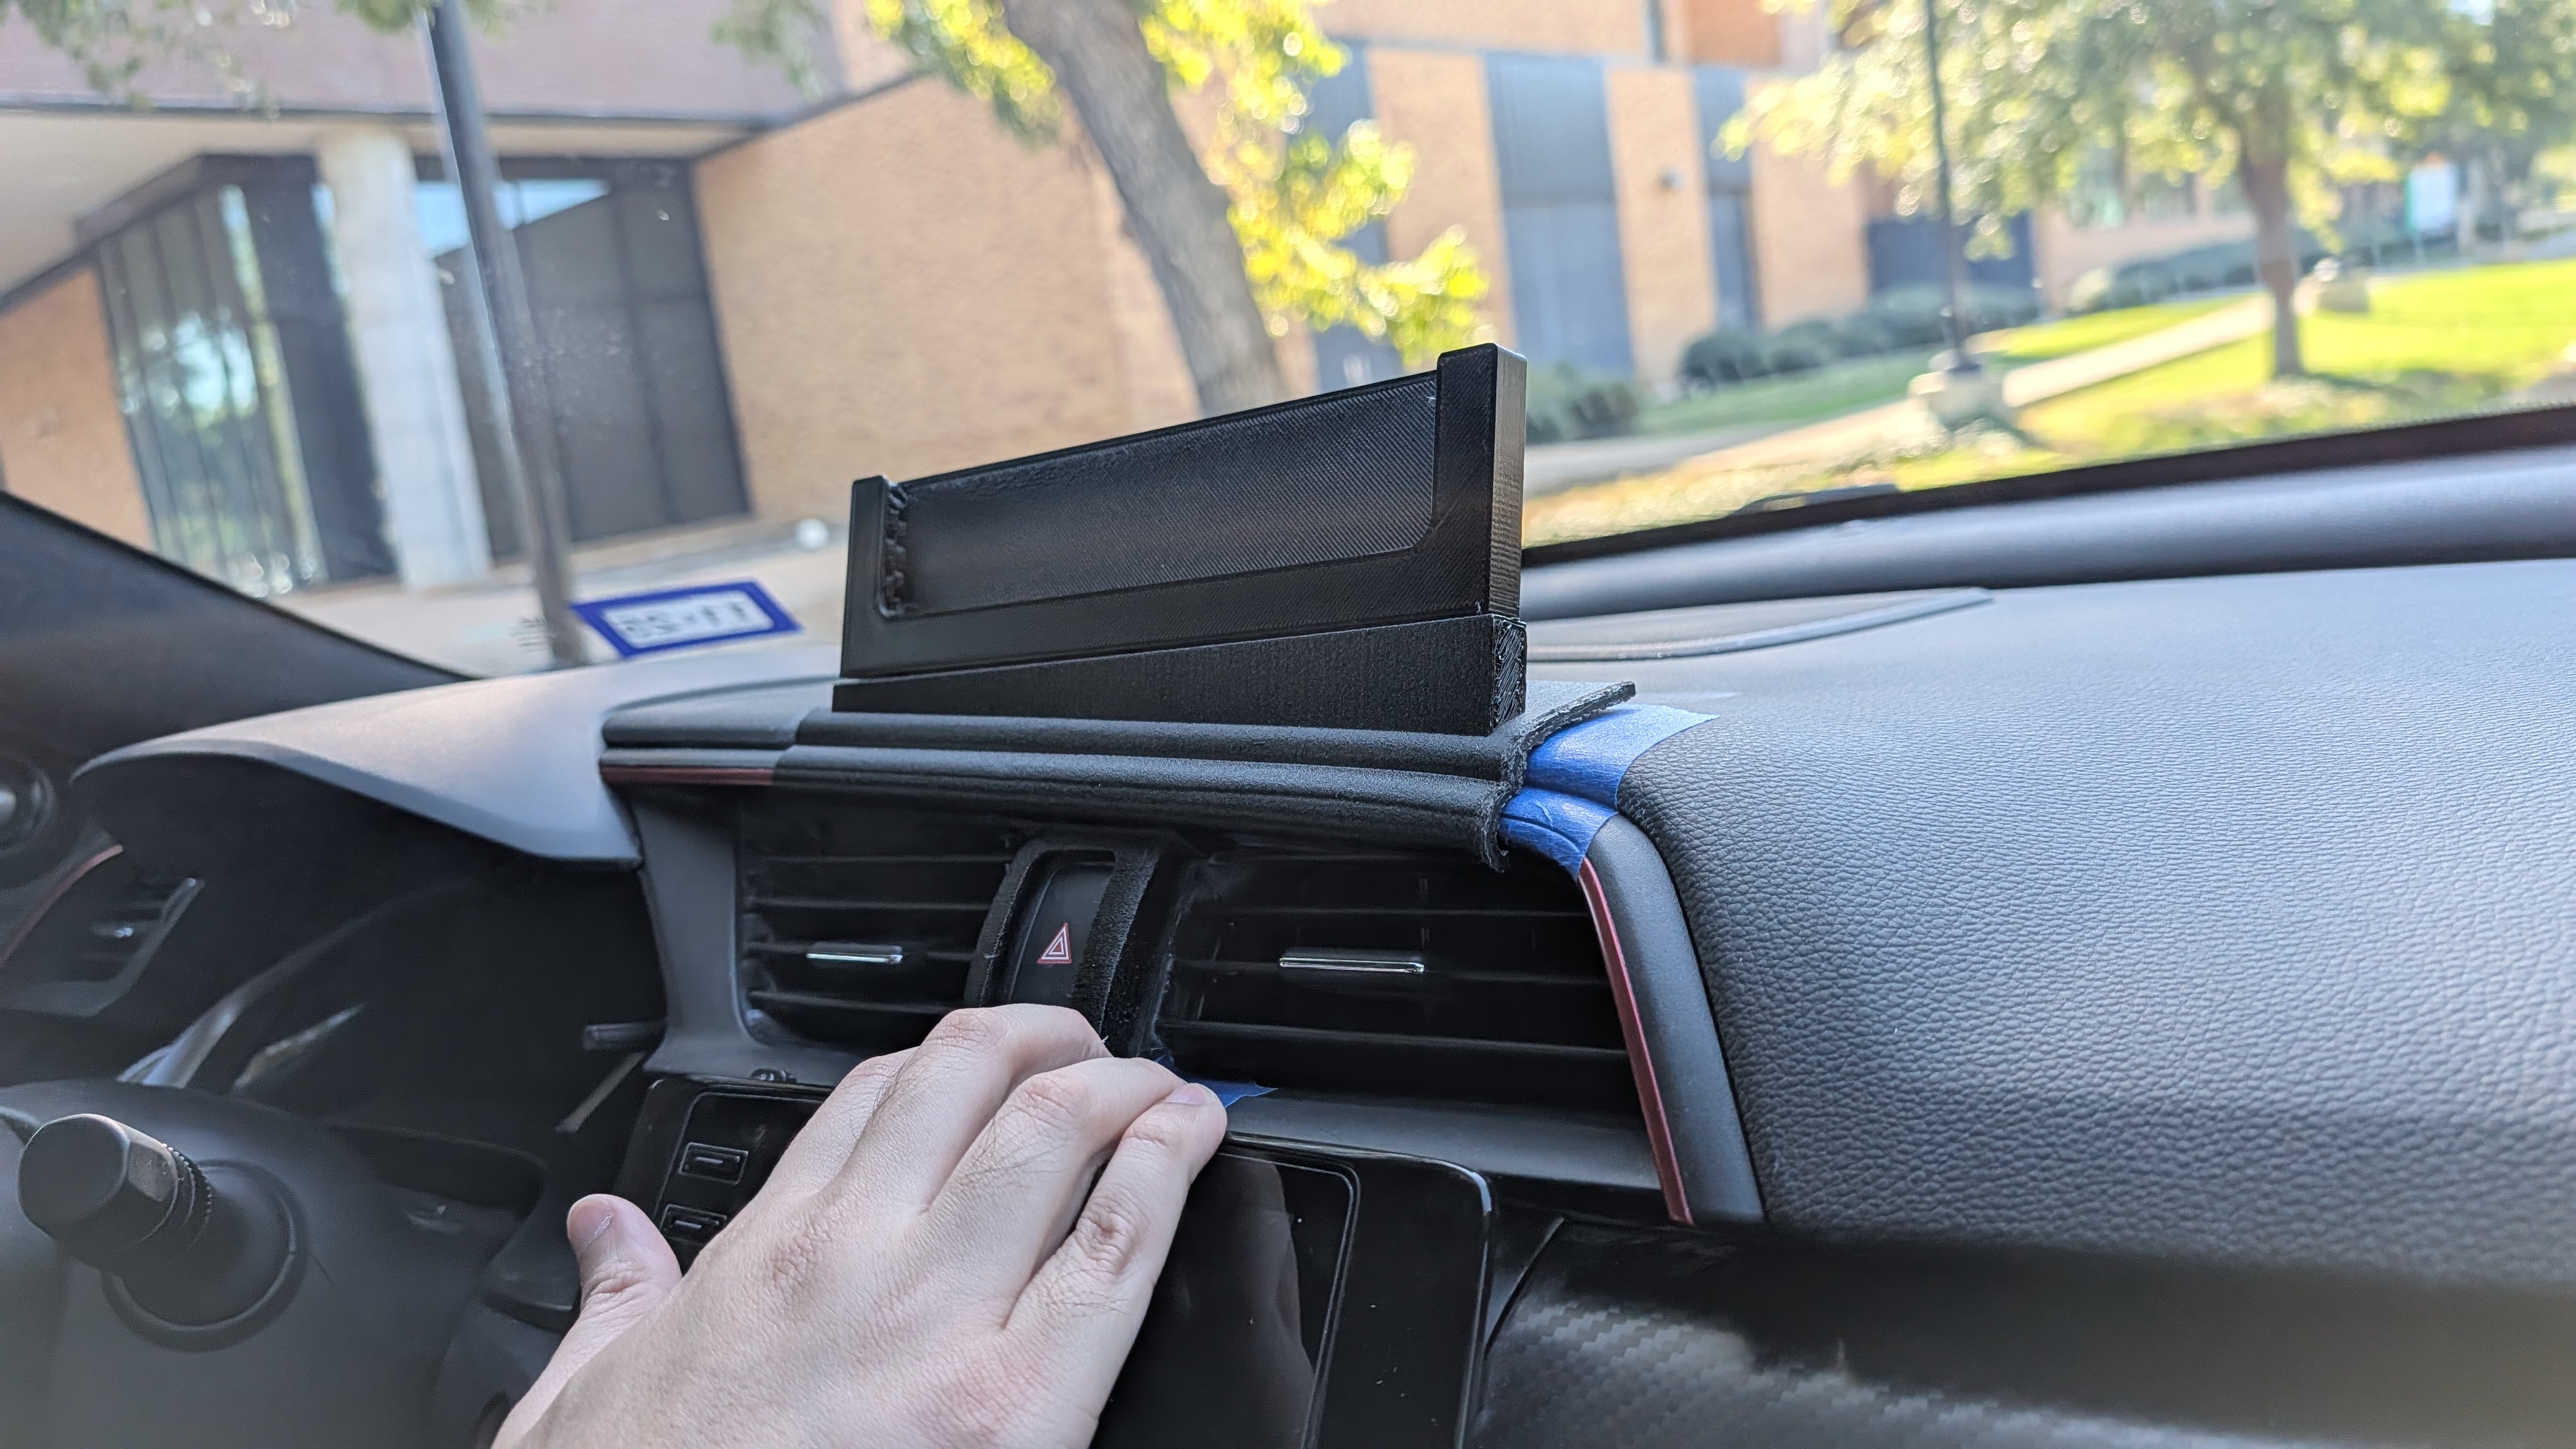
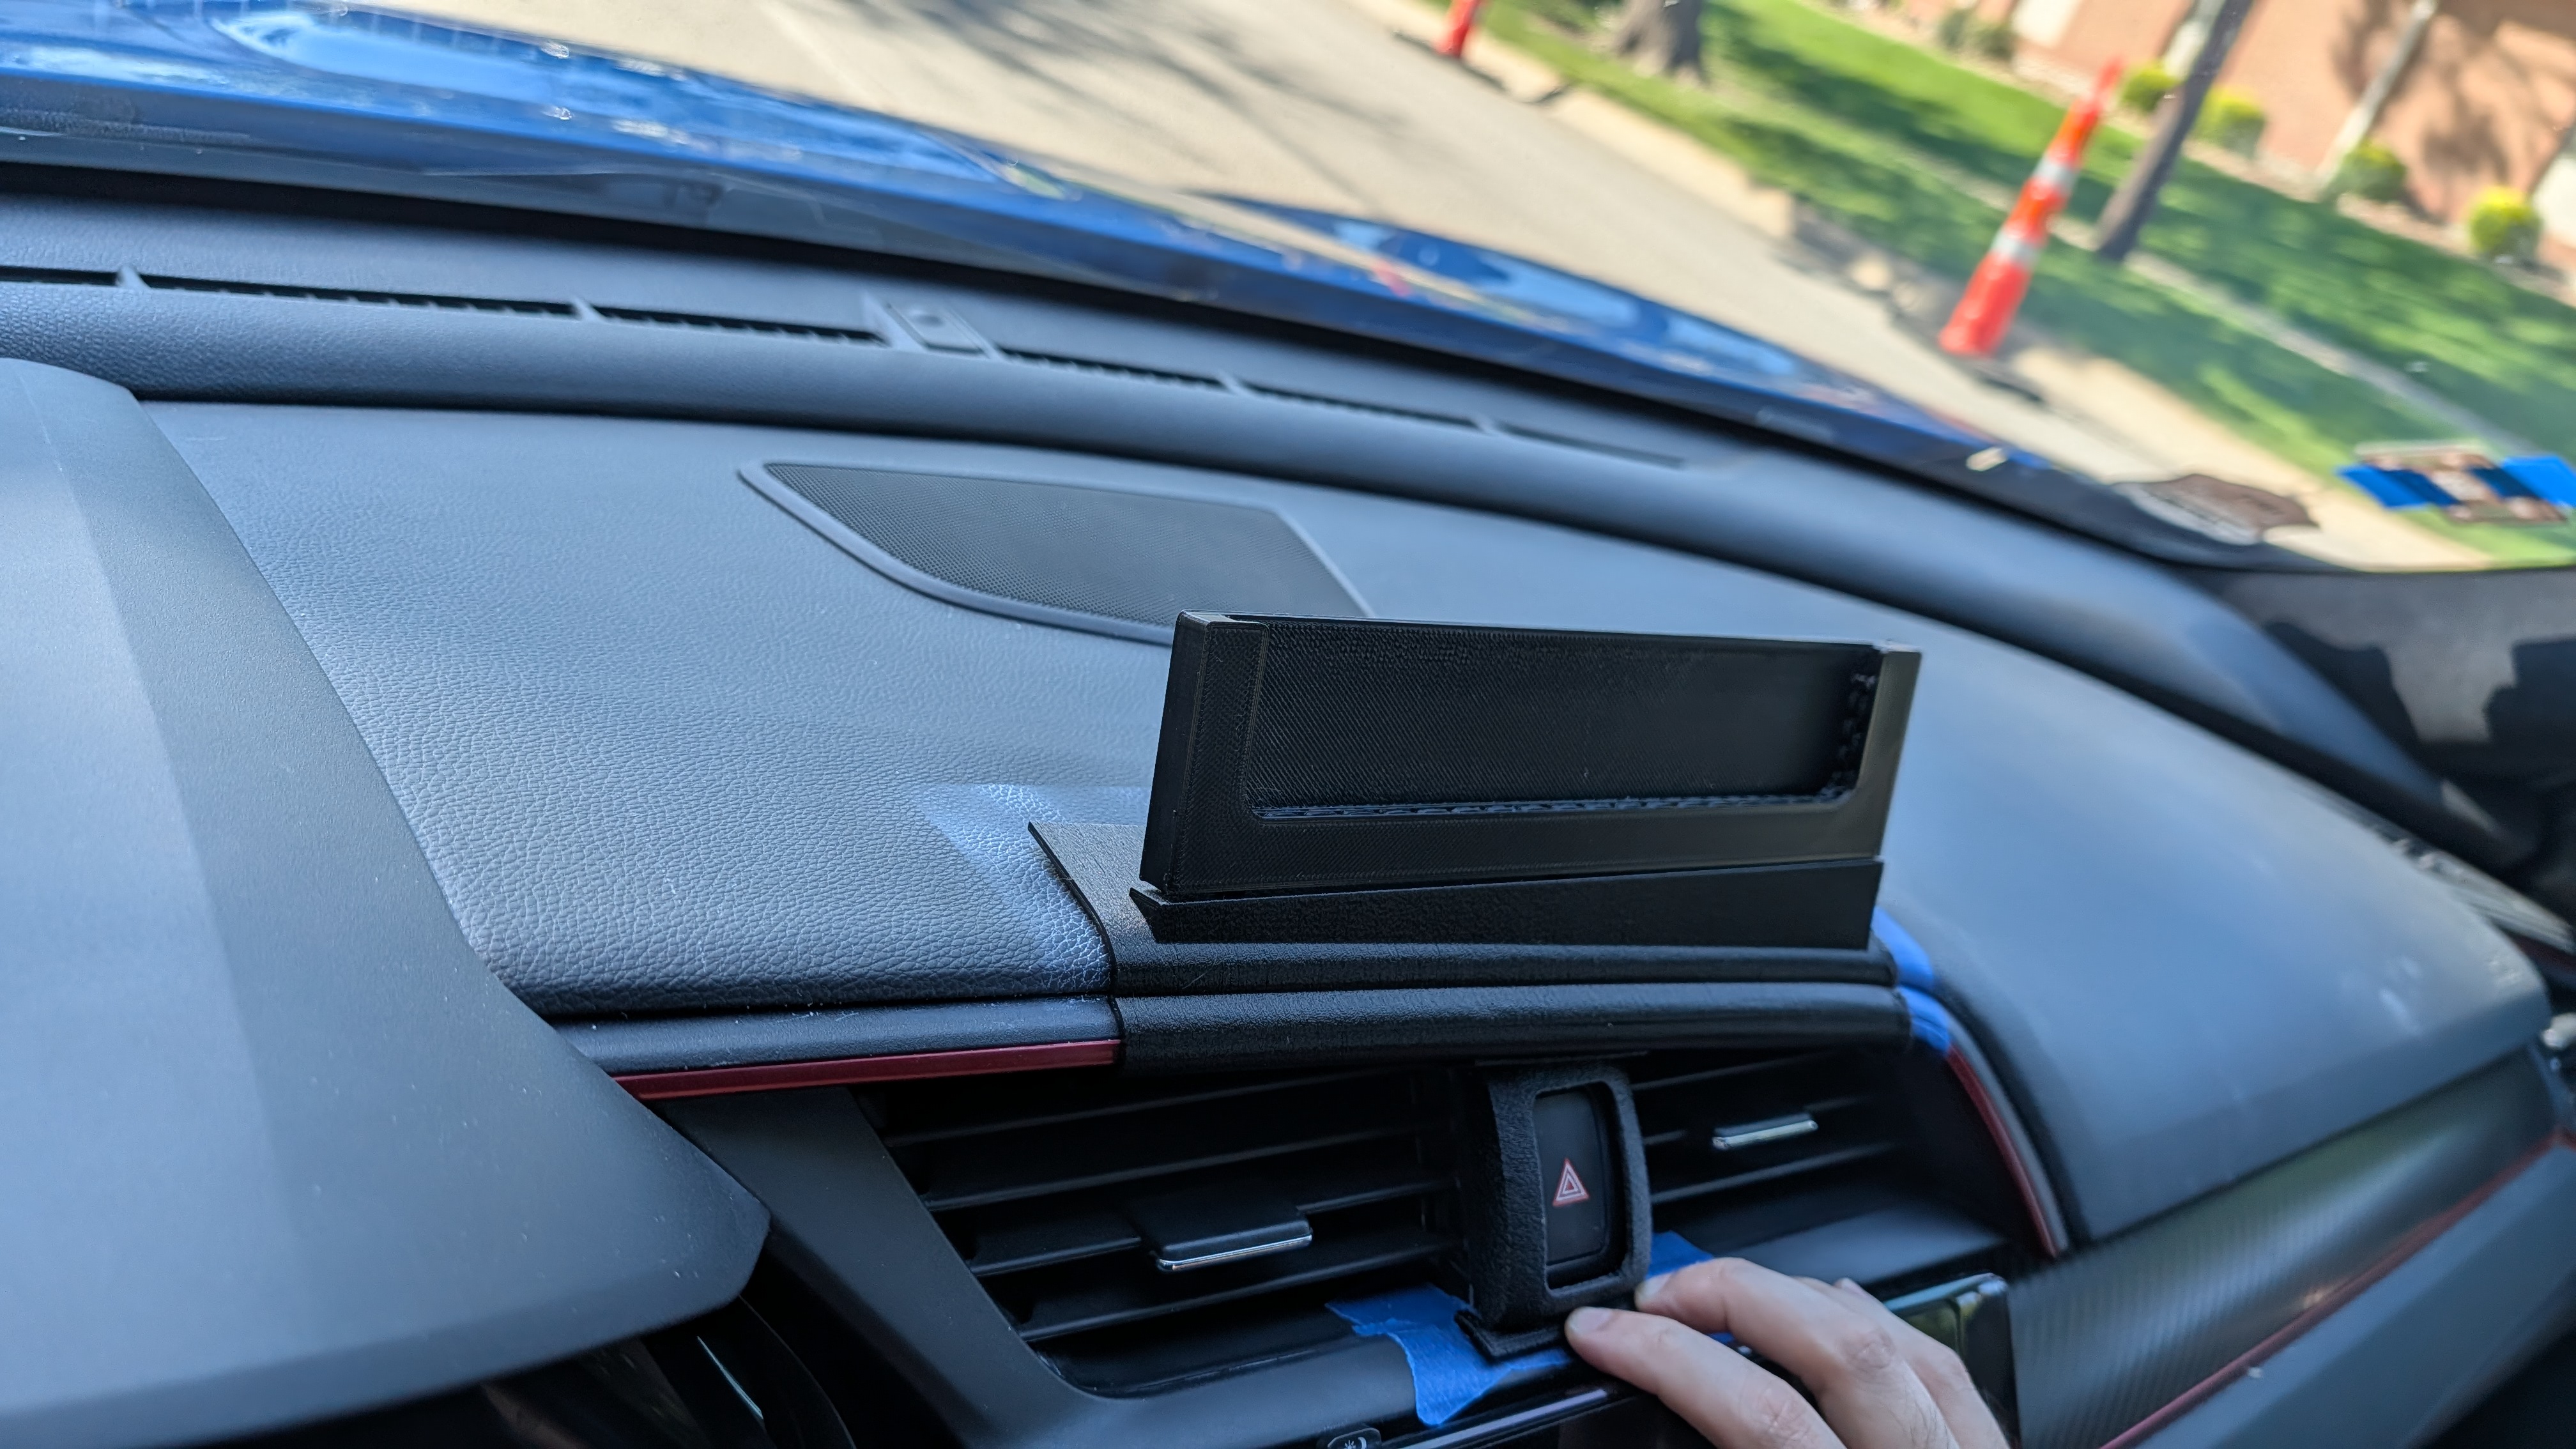
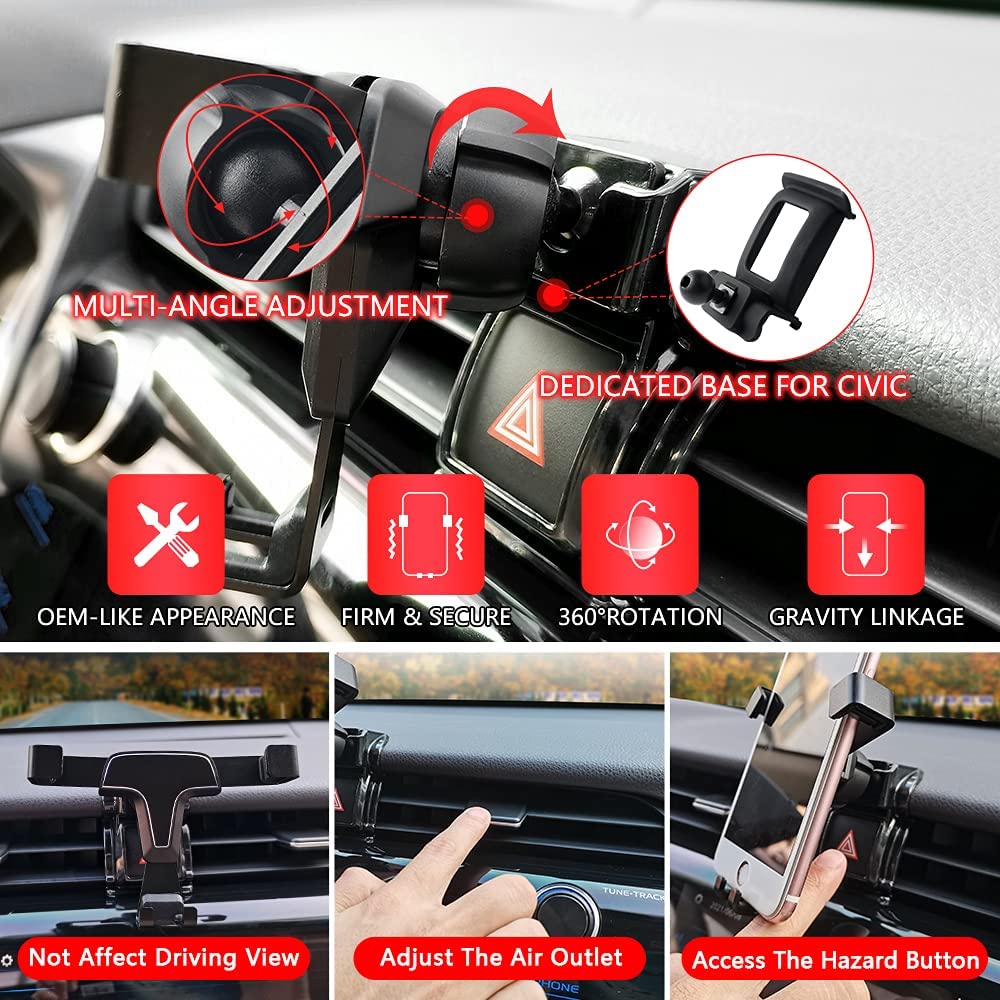
I embarked my self-taught journey into scanning and reverse engineering objects with this, a tablet mount. It's a WIP as I'm learning about fitment tolerance, print finishes, and structural integrity. I took an existing inspiration from an existing ball joint mount for phone/charger holder. Today was the first time I showed this to my local car group and had a feedback that I should consider making it more universal, while my approach had always been on making it feel and look like it came as a factory accessory catalog. What you are seeing is essentially 3 pieces of prints, with the tablet print currently measured for the dimension of an iPad Mini. I have made this print "universal" as it is fitted into the bottom piece with 3 dowel pins and holes.
I'm looking to get some expert opinions on how I should go on about this. Any feedbacks are welcomed on improving my approach.
 celest barn
sharp niche
I embarked my self-taught journey into scanning and reverse engineering objects ...
celest barn
sharp niche
I embarked my self-taught journey into scanning and reverse engineering objects ...
hi, im new in this world, how did you measure the dimensions to build that model? and what program do you use for 3d modelling
 hollow path
sharp niche
I embarked my self-taught journey into scanning and reverse engineering objects ...
hollow path
sharp niche
I embarked my self-taught journey into scanning and reverse engineering objects ...
I’d suggest using a carefully tailored fuzzy skin pattern to help mimic the texture of the other panels, or consider acetone smoothing to help get rid of the printed look.
As for universal, you could make it more of an adjustable clamping sort of thing.
A worm drive and rack style gear mechanism with a lock would do well. Similar to how a crescent wrench works, although the clamp jaws would look different.
sharp niche
celest barn
hi, im new in this world, how did you measure the dimensions to build that model...
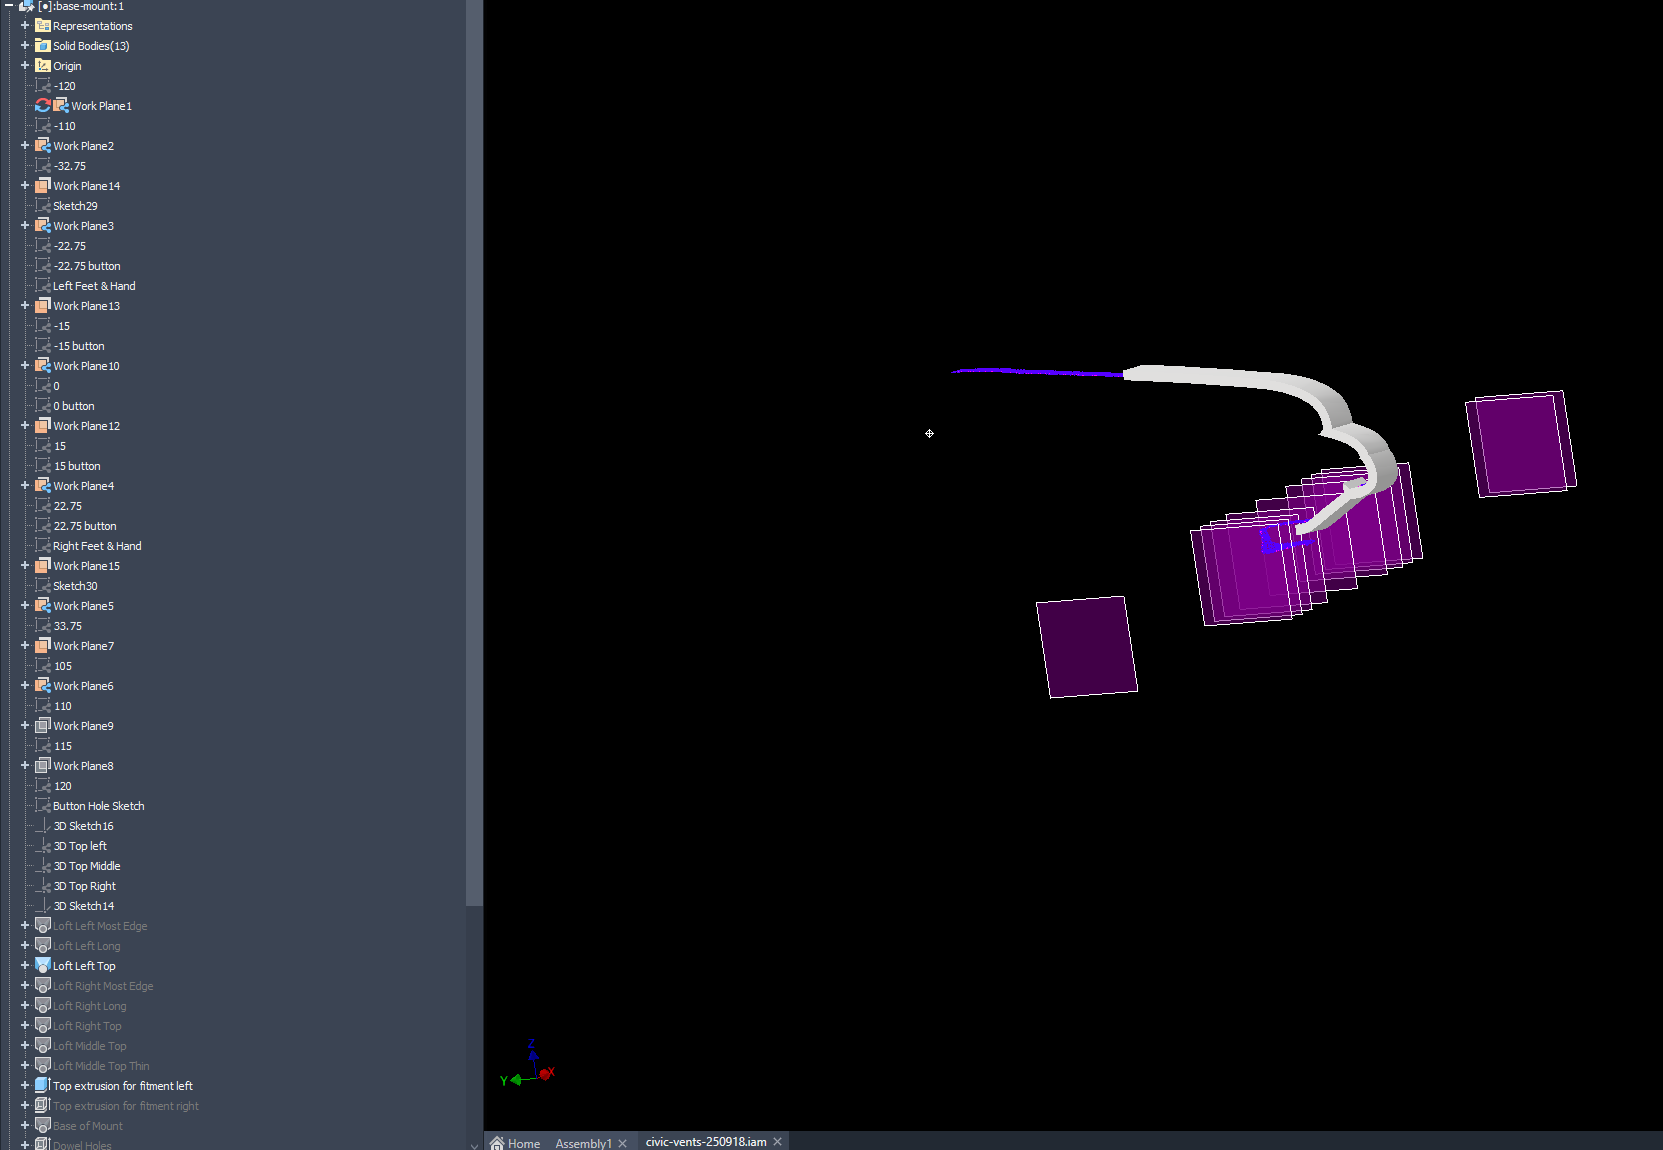
I use scotch tapes to size to measure some of the particularly tight areas and then use a ruler to get some idea of measurement I put into Autodesk Inventor. I do a slice by slice approach to make 2D sketches that I then join with a 3D sketch and then loft. I use a combination of Cloud Compare -> Autodesk Recap -> Autodesk Inventor. I find the videos made by Payo on youtube to be very helpful (despite the language barrier), amongst other 3D-related channels. This was the particular video that got me going with the idea of per slice (work plane) approach https://www.youtube.com/watch?v=eiBgfPoYo8E

Here's a step-by-step guide for creating a 3D-printable LCD hood for the Eagle LiDAR scanner. The process begins with a 3D scan using the 3DMakerPro Moose, followed by reverse engineering in AutoDesk Inventor to develop the final 3D print file for the hood.
LCD Hood STL file:
https://drive.google.com/file/d/1GIhLp00NP0lPWGtKB5AKaIP_J4iDnSUS/vie...
sharp niche
sharp niche
I use scotch tapes to size to measure some of the particularly tight areas and t...
would you happen to have an example image or video of this? I'm interested to look more into it
I went with no fuzz on the top (ipad slider) part, just to see since it's mostly simple and straight geometry, maybe I won't be seeing too much of the print lines. I went with 0.1-0.2 fuzz on the button housing and the base piece