


1 messages · Page 1 of 1 (latest)
 small apex
Ok so I've printed these lithophane boxes for Christmas presents, I couldn't get the same light fixture that was used in the original build I found and thought these would work just fine. turns out they don't. they don't seat all the way into the hole and they are slightly smaller than the hole itself. I'm not good at modeling but im willing to stay up all night and figure it out if i have to. I'm just looking for ideas on how to make this work. maybe some kind of sleeve that snaps together from either side of the wall or something? or even something I can just rig together without printing extra parts. ANY ideas are welcome.
 clever violetBOT
small apex
Ok so I've printed these lithophane boxes for Christmas presents, I couldn't get...
One possible solution could be to create a simple adapter ring to fill the gap between the light fixture and the hole in the lithophane box. This can be done with basic modeling software or by directly measuring the dimensions needed and creating a simple design. If additional 3D printing is not an option, you could also consider using adhesive putty or foam tape to secure the light fixture in place within the box. Another possibility is to try modifying the light fixture itself by adding layers of tape or a thin adhesive foam to increase its size and make it fit snugly in the hole. Remember to prioritize safety when working with electrical components. Good luck with your project!
small apex
that ai had some decent ideas actually... thanks ai.
 normal eagle
Or add a shim. Led light do heat up a little so take that into consideration....
If it doesn't yet have a base for the lamp, you can seat the black end of the lighting into the base and use that to stand up straight.

@small apex sorry internet broke for a sec... See above..
normal eagle
normal eagle
U can print with one or two walls, on the highest layer setting for super fast.
Increase print speed....get that done!! 🥳🔥
DONT FORGET TO ADD A TOLERENCE ELSE YOU LOSE TIME REPRINTING!
small apex
sorry, i should have mentioned the light actually inserts into the back of the box not the bottom. the way it is in the picture is how it actually will be oriented
normal eagle
Ah ok...!
You cant put stuff between it and the lithophane cos then u get shadows.....
Your "half half idea" is pretty cool.
If you use it like a collar and press fit into the larger hole, i think that'll solve.
Modelling not hard for it.... Should take around an hour...getting the diameter for the light will be the hard bit....unless you just make it smaller than the light diameter.
Hang on lets get a photo...
Like this...
Then u dont need the diameter... The screws make up the difference.
 small apex
ahhhhh!! yes see thats why i came here lol. thats a great idea.
small apex
k i started learning cad a while back but i fell off and got lazy and stopped. would you recommend free cad or fusion 360 for a beginner? i think i was messing with freecad before
normal eagle
360...
But you can probs do this in tinkercad...
Else...blender + boolens...
FreeCAD is super hard imo
small apex
k. ill get 360 going. if i remember right theres a free version for personal use. id rather learn on something that isnt going to hinder me when i get better at it and have to learn something else down the road
normal eagle
Dont worry about the measurement being too accurate... Add a metal nut the bolt...and u can cut out messing with threads.... 😅
normal eagle
small apex
k. ill get 360 going. if i remember right theres a free version for personal use...
Awesome good luck...
3d skills are transferrable too...so whatever you learn.... U can reuse in general sense later!
I learnt maya originally.....and now run blender and autocad 😅
Go go go!
small apex
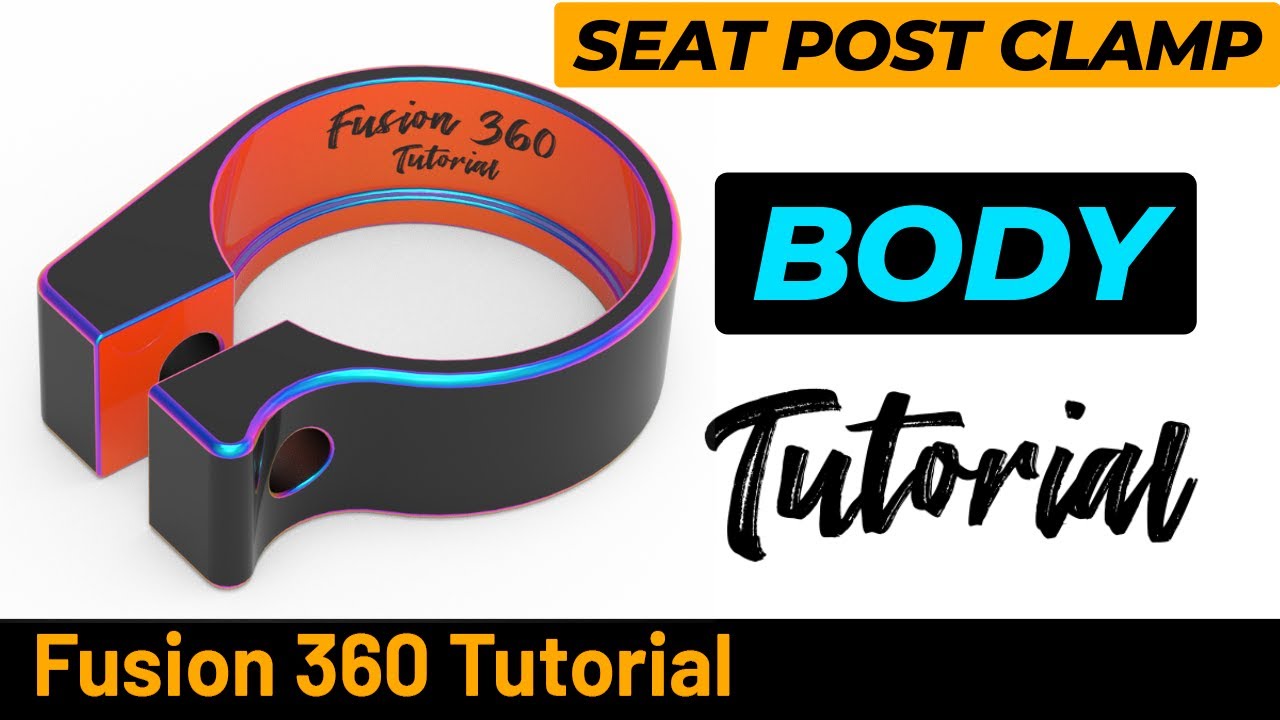
A seat post clamp is a device used to secure the seat post of a bicycle at a desired height. It's typically found near the top of the seat tube on a bike frame, and its primary function is to tighten or loosen the seat post so it can be adjusted or held in place securely.
#Education
#Fusion360
#Fusion360tutorial
#solidworks
#cad
#autodeskinventor
normal eagle
small apex
https://www.youtube.com/watch?v=pERvLpmhJuQ
YES!!
normal eagle

Add rubber if it's too large and u run out of time!!
small apex
alright. ima get more boxes printing while i make this thing. got 2 more boxes to go and they are 16h prints. should be done just in time for christmas lol
normal eagle
If u get the chance (after christmas), send a photo of the finished one, would be amazing to see!! 
small apex
i will for sure! this fusion 360 is way easier to use than free cad. runs smoother too
small apex
it feels so good to make a custom part. the first time i tried this it was a way more complicated piece and i just gave up on it. this is coming along very nicely. using this guide and modifying it do me needs. very very cool
normal eagle

small apex
 small apex
tyty. now i just gotta make one spacer ring for the outside and we should be golden
ngl... i kinda love this lol
normal eagle
🤞 GO GO GO!!
WOOOOO
small apex
ok so question for you. i wanna do the opposite of a fillet here. i want to make this outer edge and inner edge concave. how would i do that?

@normal eagle
sorry this turned into a cad tutorial lol. im sure this is an easy question tho. i just dont know the tools well enough
normal eagle
I've never used 360....i want to one day..i just know that the one the professional use a lot for product design... 😅
If this is autodesk thou aka like autoCAD....i think it may be under bevel......
If not maybe -> boolean add + use a torus to join to it...
small apex
kk ty
normal eagle
small apex
ok so question for you. i wanna do the opposite of a fillet here. i want to make...

Whats that one 👀 (blue curved edge...)
small apex
press pull, fillet and shell
i found a bevel
just watching something on how to use it
normal eagle

small apex
ohhhhkkk its just the fillet tool. inside edges fillet concave. duh lol that was easy

DONE
now i just gotta wait for this print to finish and i can test this stuff
now i wanna find more things to build lmao
normal eagle
Product design....
Then:
 clever violetBOT
This post has been inactive for over 1 hour and so has been closed. To reopen this post simply send another message.
normal eagle
WOAH NICE!! THATS LOOKS PRETTY COOL


