#Heat Block leak filament from above
1 messages · Page 1 of 1 (latest)
 reef fox
 jaunty daggerBOT
reef fox
I got Ender 3 S1 Pro I need help with doing this I got no clue how to do that, m...
AI Help
It sounds like you may need to replace the heat break on your Ender 3 and properly assemble it to prevent filament leaks. Here are the general steps to follow:
- Fully disassemble the hotend, including removing the heat break and nozzle.
- Clean any existing filament residue from all components.
- Install a new heat break and reassemble the hotend, ensuring all components are tightened properly.
- Perform a test print to check for any further leaks.
If you need more specific guidance or step-by-step instructions, please refer to the Ender 3 S1 Pro user manual or contact the manufacturer for assistance.
WARNING: This response is AI generated and may contain errors.
 sleek kindle
by "top", do you mean on the top of the heater block closest to the heat break?
reef fox
sleek kindle
by "top", do you mean on the top of the heater block closest to the heat break?
 sleek kindle
reef fox
ah, ok
so
disassemble it and clean off the plastic
when you go to reassemble it, thread the nozzle all the way till you cant turn it anymore WITH YOUR FINGERS
actually, before that, do you know how to disassemble it and clean it?
reef fox
no..
reef fox
sleek kindle
let me see if i can find a video
I found one
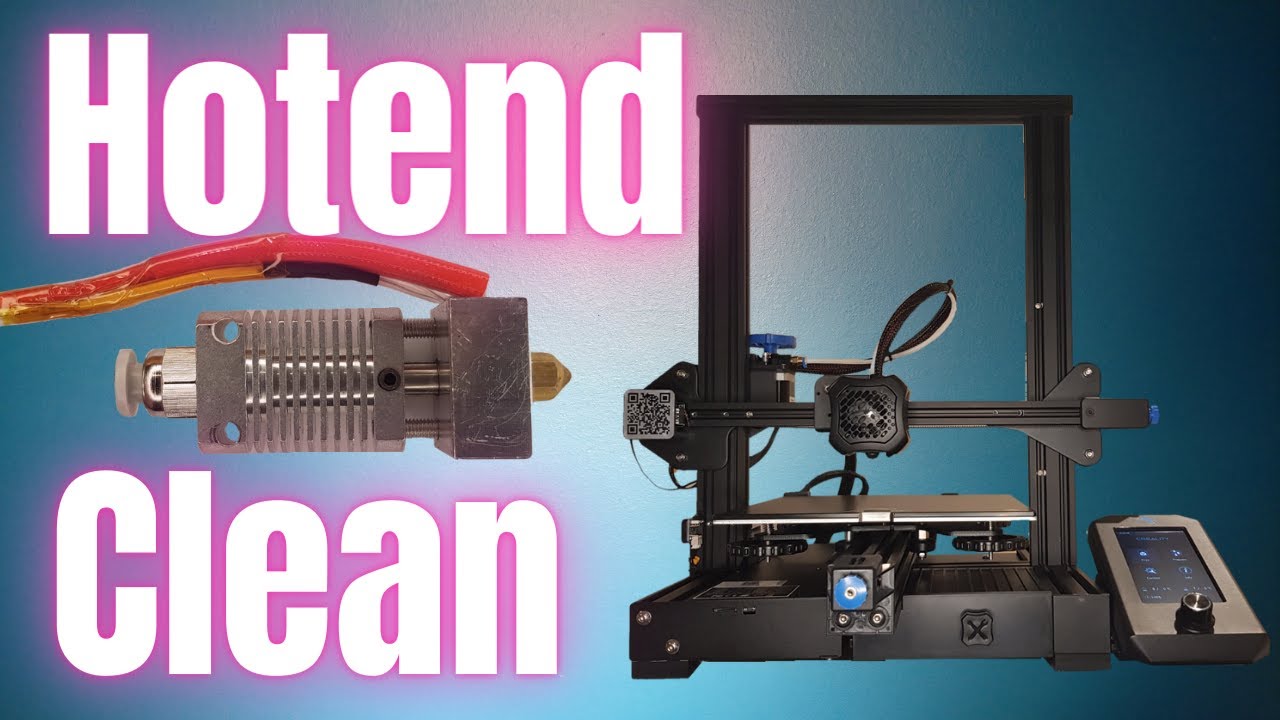
Ender 3 v2 Hotend Cleaning - Eliminate Stringing & Clogs
In this video i'm going to show you how to clean out the hotend on your Ender 3 v2 or any other 3d printer that doesn't have an all metal hotend.
If you're having problems with stringing, clogs, or just keep seeing a previous colour coming through when you change filament, it's time to c...
sleek kindle
reef fox
https://www.youtube.com/watch?v=_bZ_ETKBipQ&t=0s this?
i actually am watching a video from him right now to see if its good, a different video though
reef fox
okk
sleek kindle
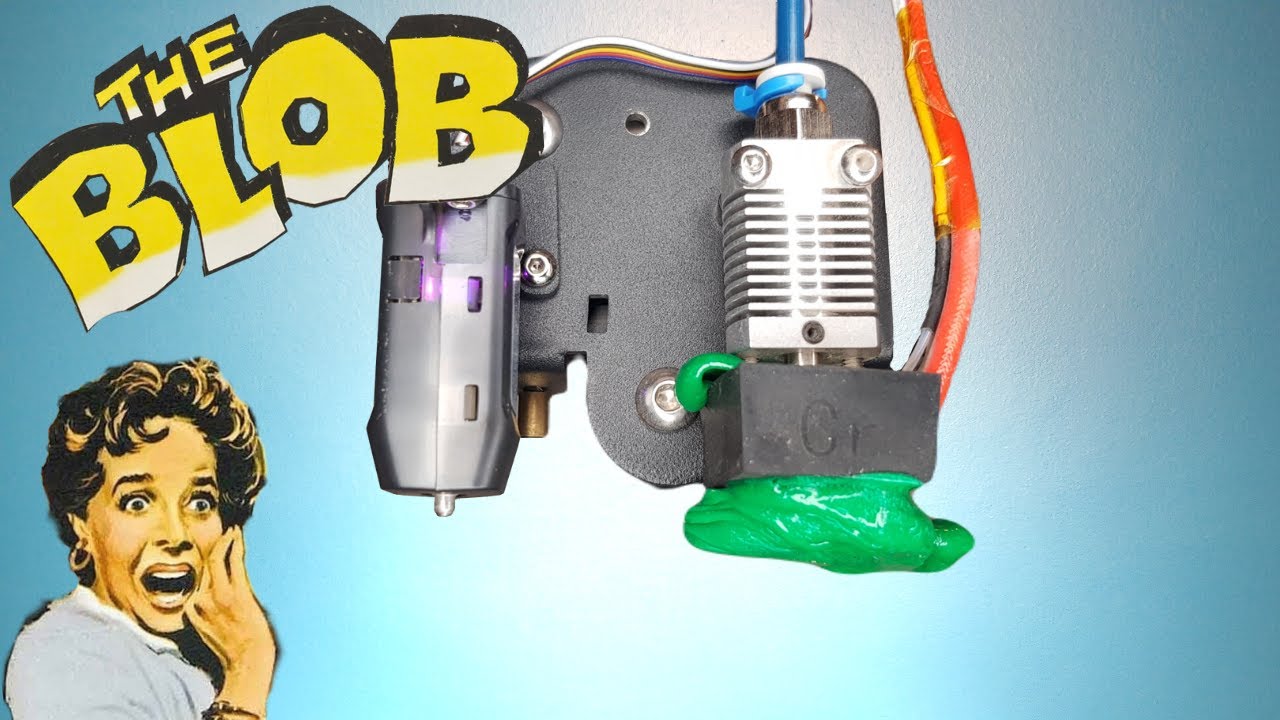
In this video i'm going to show you how to safely remove a hotend blob from your 3d printer without causing any damage.
Firstly, don't panic.
It can be quite easy when you see something go so obviously wrong with a print to immediately start pulling on the melted mess or cutting away parts.
This is nowhere near as bad a problem as it looks and,...
eh
i like your video better, it tells you how to disassemble it
sleek kindle
no, you didnt tighten the nozzle properly which left gaps in the thread where the plastic could escape
reef fox
it was working well
but then
I got to change the nozzle
and when I changed it that what happened
sleek kindle
when changing a nozzle, you first finger tighten it all the way and then untighten it a half to full turn
you then thread the heat break / throat in all the way until it stops
sleek kindle
wait what
reef fox
well
I dont have tools
I bought the printer used
and the seller did not give me the tools so that what I got
sleek kindle
by drill, do you mean like a power drill or the drill bits that create holes in things
reef fox
it look like drill it tight things
sleek kindle
ok, do you have any hand tools? like a socket wrench, pliers, channel locks, etc.
reef fox
socket wrench no I use the drill instead
wait
I will look for tools at home
my father have alot
but its not organized
they are all over the home
so I gotta search for em
sleek kindle
you really only need something to firmly hold the heater block while you tighten the nozzle for the finaly time
i wouldn't recommend using power tools as you could strip the threads
reef fox
sleek kindle
you really only need something to firmly hold the heater block while you tighten...
I used my scissor
will try to find one tho
sleek kindle
reef fox
I used my scissor
and you kept your fingers?
sleek kindle
eh, flesh isnt ideal for this
when you tighen it for the final time, you need to actually preheat the nozzle and heater block
so it will get hot
i recommend looking for these to hold onto the heater block while you do this

aside from that, a normal crescent or socket wrench that fits onto the nozzle should be fine
sleek kindle
id say those are optional, just be careful not to touch the hot metal
and really, you should be able to get away heating it up briefly to peel away the plastic and take it apart, let it cools to do some more cleaning, and then only heat it back up for the final tighten
 reef fox
sleek kindle
and really, you should be able to get away heating it up briefly to peel away th...
I will look again for gloves
reef fox
sleek kindle
i recommend looking for these to hold onto the heater block while you do this
they was one that huge but did not find it yet

 sleek kindle
reef fox
I will go to the near store
while you go for the gloves, make sure to also leave with the tools necessary for this repair if you dont have them already
if they sell any
reef fox
sleek kindle
while you go for the gloves, make sure to also leave with the tools necessary fo...
is there something messing?
this one works with the heatblock

I think thats all from my experience till now
sleek kindle
Aside from that allen key, i would make sure to have a set of tools to disassemble the hotend. So something like those channellocks I mentioned before, that adjustable wrench will work, but also something to turn the nozzle itself (so like a socket or other type of wrench that will fit it)
personally, if you dont have any full set of tools, i recommend keeping an eye out for some sale on a cheapish multi-piece set
my dad too has a bunch of tools, but it's so disorganized and missing too many tools that I got sick of it and bought a Husky tool set since it was on sale
 reef fox
back
sleek kindle
woah, that was indeed near
 sleek kindle
sort of, those are good for a power drill, i was more thinking of regular hand tools
but this is what you used before to tighten the nozzle, right?
reef fox
yes
sleek kindle
ok, now to actually disassemble the hotend
reef fox
 reef fox
sleek kindle
ok, now to actually disassemble the hotend
it should be hot right
sleek kindle
yes, though you dont need to make it too hot
just enough to soften the plastic as it'll make things harder when it's cold
reef fox
so what degree
sleek kindle
probably 110 to 150c i think should be good
with the adjustable wrench you had pictured before (with the weird spiral thing), grip the heater block
if you cant grab it easily because the shroud is in the way, remove that
reef fox
okk
sleek kindle
make sure the socket is set properly to loosen things, then once the hotend is warm and you have a firm grip with the adjustable wrench, slip that socket wrench on the nozzle and turn
reef fox
what socket
sleek kindle
is it coming off?
sleek kindle
ok, you can turn off the heater block now
reef fox
so I just take off the nozzle for now ?
sleek kindle
yes
sleek kindle
while it's cooling you can clean off any filament that may have oozed out on to the threads
it becomes easier to grab with tweezers when it's cooler than printing temp because it's still somewhat solid and will simply peel off
reef fox
sleek kindle
while it's cooling you can clean off any filament that may have oozed out on to ...
I threw it
it have stuff filament
luckilly my nozzle order arrived yesterday
I got alot now
like 30
sleek kindle
oh, ok
honestly, with that much you probably didn't pay a whole lot of money, so you may be changing these frequently then
cheap nozzles and all
clean the heater block then of filament
reef fox
sleek kindle
honestly, with that much you probably didn't pay a whole lot of money, so you ma...
I paid 3 dollars
is cheap nozzle bad?
it says creality on them dk if they are original xD
sleek kindle
$0.10 a nozzle at $3 for 30
reef fox
sleek kindle
clean the heater block then of filament
should I take off this when its hot or when its cool
reef fox
sleek kindle
$0.10 a nozzle at $3 for 30
is that cheap or good price idk
sleek kindle
touch it when it's cool, but while it's cooling try to clean the filament you can
reef fox
because
I got annoyed days ago
I went for 100km away store
and he sold me a single piece of nozzle
for 3 dollar or 2.6
thats pretty high Ig for a nozzle
so I ordered those
sleek kindle
cheaper nozzles probably dont have very good quality control on them
so the actual 0.4mm hole may not be exactly 0.4, it may be more of an oval, and or it may not be perfectly concentric
sleek kindle
lol
sleek kindle
from the printer gantry? i would
it can be done with it still on, but it becomes a bit more fiddly
can you take a picture of what it looks like right now?
reef fox
am confused now I just took off the nozzle
is there any step I should do?
like how to clean it or take it off or something
aaa

 sleek kindle
I was gonna say to get at section there, but that may or may not be actually needed

what ultimately needs to be done is to butt the nozzle up against the head break pictured here
 sleek kindle
try and clean it if you can, but to fully clean it you may need to take the heater block off
sleek kindle
what you could do is preheat the block to about 100c and then turn the printer fully off and try to peel the plastic away while it cools naturally
that way you wont have to worry about bridging the wires from the heater itself
if the heater block stays on the gantry as it is in the pictures, then you shouldn't have to worry too much about ripping them
still worry, but it's not gonna magically break on you
i recently clean my own nozzle because it was clogged, i had the damn thing hanging by heater and thermistor wires because i just didnt want to hold it while it cooled in between cold-pull attempts
 sleek kindle
that holds the heater cartridge itself in place
its fine to no fully remove it, but it becomes a pain when you cant take the heater out because of it (if you ever need to)
sleek kindle
you said it came from the top, right?
reef fox
yes
sleek kindle
is that top clean
sleek kindle
anywhere you see melted purple filament
the more you can remove from the threads the better, but it's fine if there is some left over
but it's also why I was wondering if it was possible to remove the heater block from the gantry itself, so that you may better get to the parts you need to
reef fox
ye
reef fox
sleek kindle
anywhere you see melted purple filament
whats after that
sleek kindle
reef fox
whats after that
while it is cold, finger tighten the nozzle back on
ideally, you would then finger tighten the heat break / heat throat untill it is stopped by the nozzle
 sleek kindle
well, finger tighten until its up against the nozzle
the heat break and nozzle are threaded into the same hole, the leaks are caused by the gaps between the two parts
sleek kindle
its in the middle of the block
 reef fox
how my finger should fit there
sleek kindle
thats why i was asking about removing it from the gantry
are you able to get a more close up image of that section?
reef fox
 sleek kindle
ah, I was hoping more from the front
what exact printer model is this?
ill see if i can find an image
reef fox
sleek kindle
ah, I was hoping more from the front
what exact printer model is this?
ender 3 s1 pro
I did it
I unscrew the lose one
some how it worked
I guess it was some filament there and I thought its lose
so now I can take off the heat block
sleek kindle
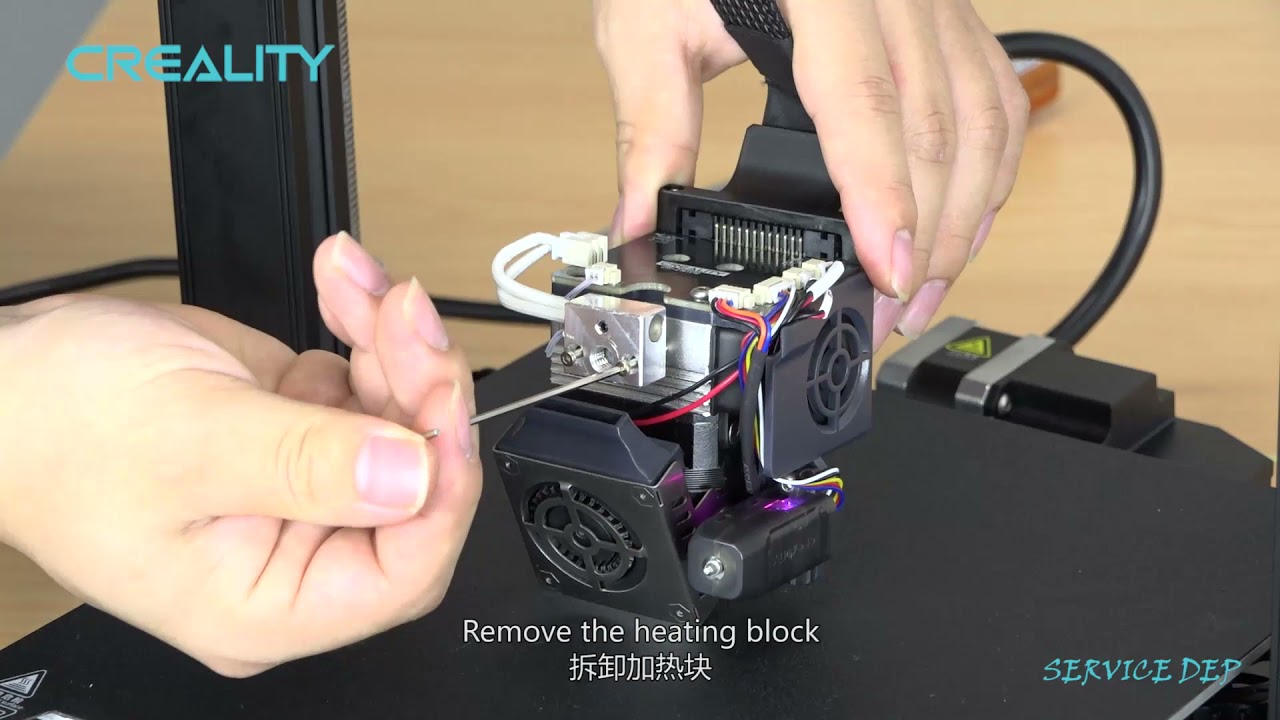
does it look like this?

oh shit
Accessories purchase, Please contact our official email or website, remember to attach your machine type and accessories pictures
Official email:[email protected]
Official website: https://www.creality.com
Any technical support in need, Please contact our official service email,remember to attach your printer model、complete orderscreenshot、purch...
reef fox
sleek kindle
https://www.youtube.com/watch?v=DnKe5KIgI4Y
mine is pro
S1 pro
might be diffrent or same idk
sleek kindle
the differences usually end up being like a size thing or something to do with controls
sleek kindle
as far as i know, the hotends tend to be the same
 sleek kindle
reef fox
wtf is even that
with printers there are two types of hotends, either it is PTFE (that white tube) lined or "All-metal"
with the ptfe lined hotends, that plastic tube goes all the way into the heater block and makes contact with the nozzle
reef fox
from where I get that?
sleek kindle
it really depends if yours needs replacing, but amazon is a good option, though there are better options than the basic white tube
reef fox
oh so I dont really need to replace it
sleek kindle
probably not
sleek kindle
did you take the hotend off?
reef fox
no
sleek kindle
did you do anything else the last photo you sent?
reef fox
no
sleek kindle
ok, like in the video there should be 3 screws to undo that will remove the heater block from the gantry
sleek kindle
seems like it, unless you find your whole assembly is different
sleek kindle
yes
ill brb while you do that, food
and back
oh, 7 screws actually
that tiny grub screw is hidden behind everything where you need to dismount the whole assembly first like at the start of that video

 sleek kindle
it's called a "grub screw" or "set screw"
sleek kindle
does your allen key just spin inside it?
reef fox
yes
sleek kindle
do you have another allen key about the same size?
sleek kindle
is it entirely circular inside that thing or does it look like a hexagon?
reef fox
circle
sleek kindle
best image i could find, but thats what it should looks like
 sleek kindle
all printers are gonna have some headache or another at some point
reef fox
ah
sleek kindle
but out of the box, i believe so
reef fox
well less headache
sleek kindle
i dont own a bambu printer so i cant tell you for sure, but considering the money and what ive heard
reef fox
I have seen alot of videos
they all saying its less headache like everything is auto ig
could not afford it here its so pricy in my region due the shipping fees
sleek kindle
do you have a hardware store in the area?
reef fox
nah
there is in the closet country
dubai is near
like 4 hours
I believe they have one

so this is 489

 reef fox
734.82
idk whats the diffrence between this 2 combos
cn version and intl version
sleek kindle
i couldnt tell you
sleek kindle
i think the cheapest option would be to find another allen key to try
reef fox
sleek kindle
i think the cheapest option would be to find another allen key to try
I found one with the drill
if the drill did not do it I dont think allen will do
its illiterly a circle
sleek kindle
go for it then
reef fox

800 dollar
almost double the price
idk what difrence with this version but this one is 979 dollar

or maybe attaching the nozzle probably will fix it
so as u said
I should finger tight it now
then?
sleek kindle
i mean, hopefully it will work, but the reason why i was going down the rabbit hole of taking out the heater block was so that you could thread that heat break further into the heater block
to see where it comes into contact with the nozzle
reef fox
omg
sleek kindle
otherwise there will be a gap between the heat break and nozzle which will lead to the filament leaking again
while this isnt exactly your hotend, it should give you an idea of what im talking about

this section here

the blue is the heat break and the gold is the nozzle
any gaps will allow filament to ooze out like it did for you originally
reef fox
 sleek kindle
if you were to thread more of the heat break into the heater block until it comes into contact with the nozzle, you can then see if there was any space between them. if not, then this whole thing could have been fixed with tightening the nozzle further while it is preheated
reef fox
sleek kindle
if you were to thread more of the heat break into the heater block until it come...
I did fully tight it before
sleek kindle
while the nozzle was hot?
reef fox
ye
sleek kindle
then the nozzle did not reach the heat break, which is all the more reason to remove that grub screw
sleek kindle
once the grub screw is out the heat break can be unthreaded from the heater block or thread further into it, you could attempt now but there are wires in the way
sleek kindle
did you try that drill bit you mentioned before? with that allen key shape?
reef fox
yes
sleek kindle
no good?
reef fox
no
sleek kindle
so i can think of two options: 1) destructive method of removing it with a actual drill bit, the sharp spirally thing, in which you will destroy the drub screw and hopefully not the heatsink / thread it is in. 2) isolate as much of that heat sink as you can (remove screws until its the only part in your hand) and buy a replacement with as few parts as you can get away with
or 2.5) just buy a whole new assembly and not bother with dismantling it further
there could be some other methods of removing the stripped grub screw, but i dont know of any
reef fox
what does assembly mean
sleek kindle
reef fox
what does assembly mean
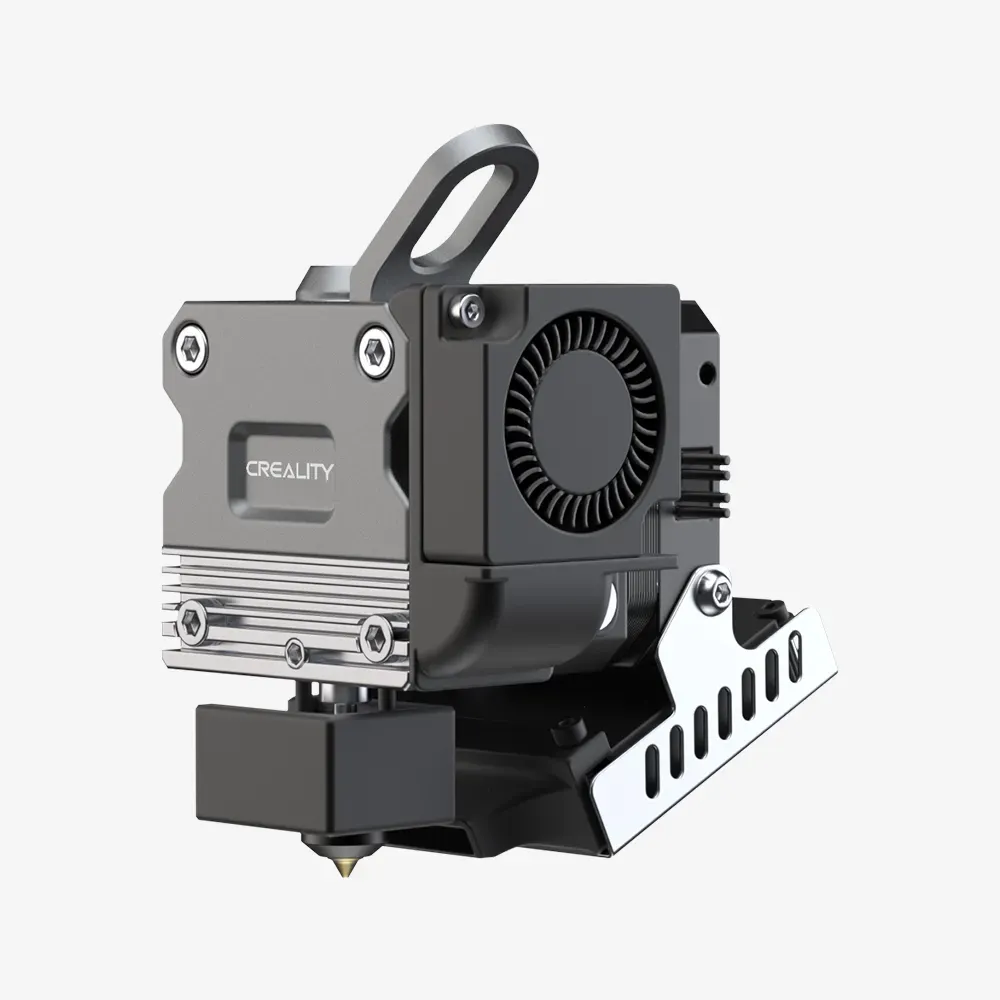
an "assembly" refers to a bunch of smaller parts being put together, it has to be "assembled". In this context I am referring to that big thing with that fans, heater block, nozzle, leveling probe, extruder, and extruder stepper motor.
 reef fox
sleek kindle
an "assembly" refers to a bunch of smaller parts being put together, it has to b...
oh
I dont think that available
where I can find this ?
 sleek kindle
i feel like they should be able to, but my browser set it to the US
look in the top right of the page?
where it says "English" right next to the US flag icon
 reef fox
sleek kindle
let me see if i can find an Aliexpress link
this ?
180 dollar to ship
ama buy new printer with this
sleek kindle
yeah, looks like it, but fuck that shipping price
do you know anyone that is more comfortable with handling drills? could they help you remove the grub screw? (though, once removed you will need to replace it somehow)
sleek kindle
bring it with you if you are able
you shouldnt need to power it while the grub screw is being removed
reef fox
ye I will
I will still buy new printer I hate this one
bambu lab is so fast they say I want that so bad
I will try to sell this one after fixing that
also idk if this screw common so I can replace it or something
sleek kindle
idk if its common in your area, but it's common enough here in the US
reef fox
if its only designed for this I won't find it
if the screw common like used for other things I might find it
sleek kindle
its common in that other machines can use it if yours wasnt stripped to hell
but they would probably all be for a similar purpose between different machines
like if you were to look on your lead screw coupler, you will see more grub screws
reef fox
okk
I will go after 4 to 7 hours and see if someone could do it
then I got to clean the plastic thing inside right?
oh no
tight the thing
I will just screw it off and when u be here will do it
thank you u are so patient
aaa
sleek kindle
this chat will time out after a while, but i think you should be able to message in it again and probably @ me any time
and i think your have the all metal version of the heat break, which is better than PTFE lined
the Ender 3 S1 Pro, right?
reef fox
sleek kindle
and i think your have the all metal version of the heat break, which is better t...
idk
reef fox
sleek kindle
the Ender 3 S1 Pro, right?
ye its s1 pro
sleek kindle
reef fox
ye its s1 pro
you should have the "all-metal" hotend variant then, from what I gather
"All-Metal" hotends, unlike their lined counterparts, do NOT have that white tube going all the way into the heater block
This allows for printing at hotter temperatures and less maintenance as there is no white tube degrading and eventually clogging the nozzle. As you print around 240c+, the white tube starts to burn and eventually constrict. The burning tube is actually the teflon plastic breaking down, during this process the teflon releases some pretty toxic gases that you really don't want to breath in (it's actually lethal for birds).
sleek kindle
no, im sure you do after looking at creality's site
usually 300c is the max anyway for printers like these, as anything hotter is getting into the territory of engineering grade plastics, but those need an heated enclosure

from their site
reef fox
sleek kindle
no, im sure you do after looking at creality's site
ye I meant I dont have the plastic things since it goes to 300