


1 messages · Page 1 of 1 (latest)
 amber cradle
Printer is an SV06 with klipper, and I upgraded both fans to 5015 blowers. On the edges of my print bed, the skirt and some of the print are having trouble sticking and consistently cause prints to fail. The center seems perfect, does anyone know what this could be?
 manic meteorBOT
amber cradle
Printer is an SV06 with klipper, and I upgraded both fans to 5015 blowers. On th...
It sounds like your issue might be related to inconsistent bed leveling. Try re-leveling your bed, focusing on the areas where the print is having trouble sticking. You could also adjust your first layer height and/or printing temperature to improve adhesion in those problem areas. Additionally, consider calibrating your bed mesh and ensuring your print bed is clean to avoid any adhesion issues.
amber cradle
Orcaslicer, PLA, printing 200 extruder and 55 bed
amber cradle
 tidal lantern
Did you auto level it?
I have done auto leveling. here is the mesh:

previously I had an issue with bed leveling that is now fixed so I highly doubt its the problem again
tidal lantern
amber cradle
I have done auto leveling. here is the mesh:
0.5 range is not great, looks like some x axis twist
also post your start gcode from your slicer
amber cradle
yep, x axis twist was also an issue that I previously fixed. but now Im hoping i did it wrong. what should I do?
amber cradle
tidal lantern
also post your start gcode from your slicer
BED_MESH_PROFILE LOAD=default```thats the slicer's
in my printer.cfg:
gcode:
    BED_MESH_PROFILE LOAD=default
    {% set BED_TEMP = params.BED_TEMP|default(60)|float %}
    {% set EXTRUDER_TEMP = params.EXTRUDER_TEMP|default(190)|float %}
    # Start bed heating (but don't wait for it)
    M140 S{BED_TEMP}
    # Use absolute coordinates
    G90
    # Reset the G-Code Z offset (adjust Z offset if needed)
    SET_GCODE_OFFSET Z=0.0
    # Home the printer
    G28
    # Move the nozzle near the bed
    G1 Z5 F3000
    # Move the nozzle very close to the bed
    G1 Z0.15 F300
    # Wait for bed to reach temperature
    M190 S{BED_TEMP}
    # Set and wait for nozzle to reach temperature
M109 S{EXTRUDER_TEMP}```yeah looks about right
tidal lantern
amber cradle
yep, x axis twist was also an issue that I previously fixed. but now Im hoping i...
do you have some soup cans or something similiar?
like any cans
amber cradle
Yessir
 tidal lantern
is that what you previously used to try and fix the x axis twist?
amber cradle
https://github.com/Klipper3d/klipper/blob/master/docs/Axis_Twist_Compensation.md I followed this doc

Klipper is a 3d-printer firmware. Contribute to Klipper3d/klipper development by creating an account on GitHub.
amber cradle
ah
tidal lantern
amber cradle
Yessir
anyways, i would use that can to level the x axis, put the cans under one side, turn the screw manually until it hit the can, then move it to the other side and do the same
amber cradle
tidal lantern
anyways, i would use that can to level the x axis, put the cans under one side, ...
I did this with other object but not the can
but ill do it again
tidal lantern
amber cradle
I did this with other object but not the can
what did you use
amber cradle
I was also putting the can above the X gantry, but your wording makes me think you mean to put it under, so ill try that as well
amber cradle
tidal lantern
what did you use
it was this one thread part of a print that was essentially a can, ill send pic

it didn't have any defects I just couldnt use it because it was too tall
tidal lantern
oh, i mean that could work too i guess
tidal lantern
amber cradle
it didn't have any defects I just couldnt use it because it was too tall
wdym too tall?
amber cradle
it was supposed to be an anti sag bracket for my friend's PC but she has a mATX case so I overestimated the space between the PSU basement and the GPU shroud
it was like 1cm too tall
amber cradle
but it works fine for gantry leveling and it was just sitting on my desk
tidal lantern
https://www.youtube.com/watch?v=lxdEzXS6AMU
You can try this method as well, but i personally find it inaccurate
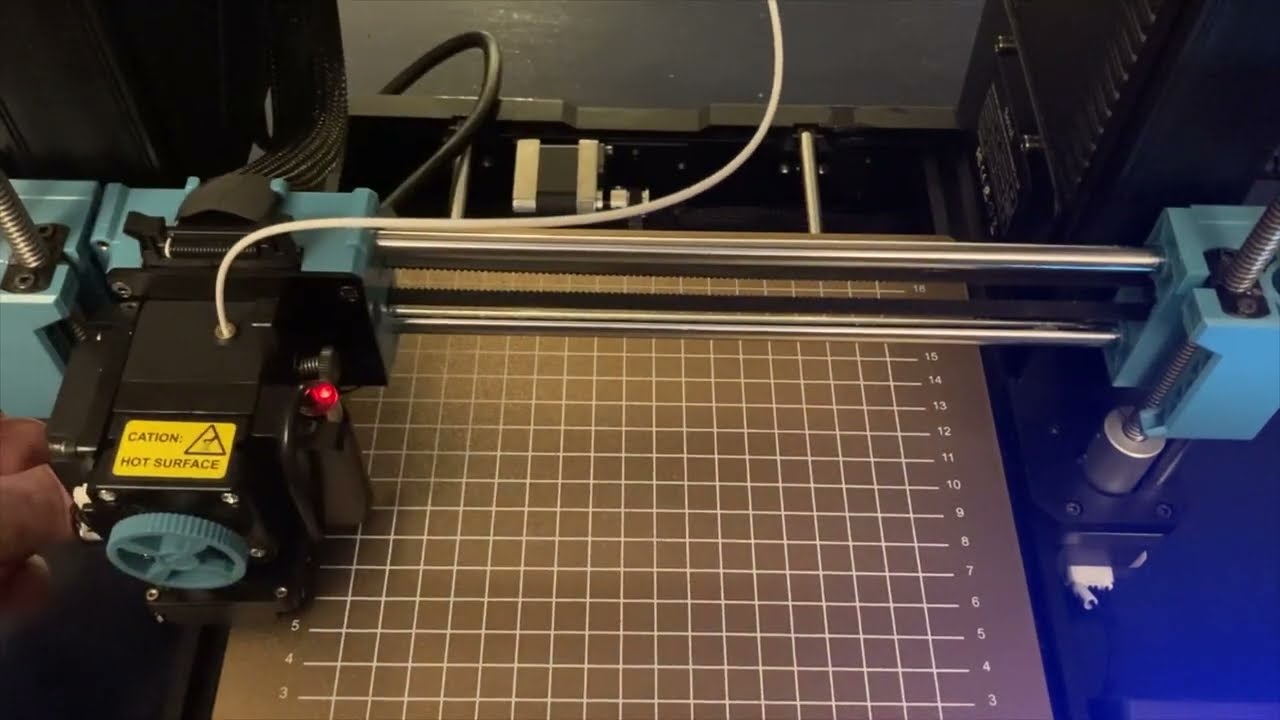
Update: Added a command to disable mesh leveling in the gcode
The SV06's built-in X-axis alignment function (named "Auto Z-Align" in the Bed Leveling menu) seems not to work for some users, so I wrote some gcode to use the SV06's inductive sensor to tram the X-axis instead.
To use it, run the gcode file (see link). It will heat the bed to 60 C...
amber cradle
yep Ive done that as well, never helped me
amber cradle
tidal lantern
anyways, i would use that can to level the x axis, put the cans under one side, ...
alright I just leveled with the soup can method, doing another test print
tidal lantern
amber cradle
alright I just leveled with the soup can method, doing another test print
i would auto level before doing that
amber cradle
...why am I blanking on what auto level is? is that bed mesh or Z probe offset or all of the above
amber cradle
ill do Z probe offset again just to make sure as well
oh my printer wants to get up to temperature before it accually cancells the print
(I pressed the button 2 minutes ago)
tidal lantern
just press the emergency stop button 
amber cradle
i cannot tell if youre joking or not
tidal lantern
half joking and half not
its fine either way
thats what i personally do for cancelling print, its a bit jank, but it works
amber cradle
yeah I figured :P
I just wish that actions werent queued
alright, NOW im doign the test print
tidal lantern
send bed mesh
tidal lantern
that looks worse 😅
amber cradle
yeah
tidal lantern
yep definitely worse lol
tidal lantern
im not sure, but .3 and .4 should be ok, maybe .5, i dont really know
amber cradle
like should I install adjustable standoffs on the print bed so I can accually fix the problem instead of working around it
tidal lantern
amber cradle
oh what
but that just looks like x axis twist still, so should be easily fixable
amber cradle
oh, I sure hope so
tidal lantern
re try the soup can method, and double check it
because i find that moving 1 side of the motor, also moves the other side
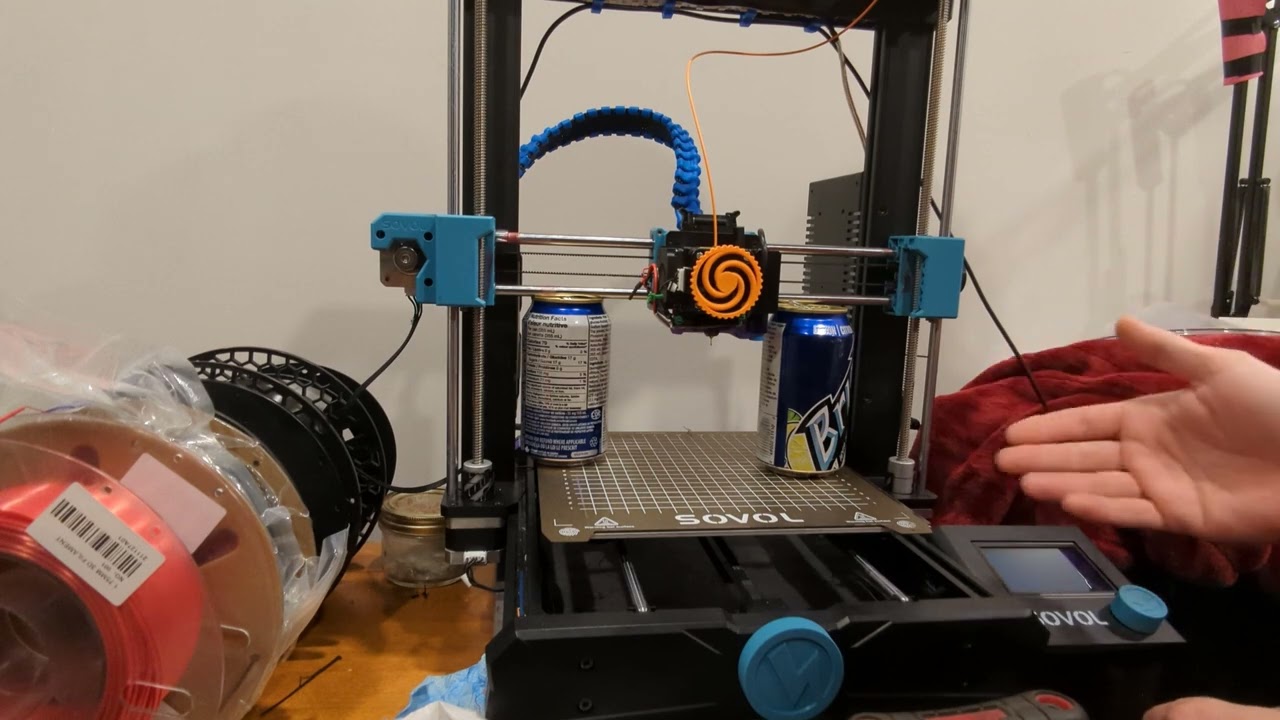
here is a very short and unscripted video on how to use the "soup can" method to lever a 3d printer's x gantry. you can use any two items that are of identical height to do it, a soup can being what was originally used by whoever popularised this.
i used empty soda cans because i had them and they are very light and handy.
ask away if you ...
amber cradle
ohhh hes putting them on the bed
I was putting them like directly about the stepper motors
*above
hugging the rods ya know
tidal lantern
that seems unstable, how did you fit a whole can on there
tidal lantern
we're leveling against the bed, because that's what we're printing on, but ive heard somewhere that it should be done against the frame, so i dont really know
amber cradle
ive heard both ways
¯_(ツ)_/¯
I did the 2 can version btw because I had an extra can
dont worry its a perfect duplicate
tidal lantern
alright, after you've done that, just auto bed level again and send mesh
amber cradle
working on it now
tidal lantern
and also clean the bed with dish soap and water before doing the test print
amber cradle

yaay
alright bed is cleaned im doing the test print now
dang, .4 is really small
tidal lantern
some have it within 0.02 or even lower
amber cradle
I’m redoing the offset and mesh

I think there might have been a bit of filament coming out the nozzle when I did the paper test
tidal lantern
?paperlevel
manic meteorBOT
While often recommended paper "leveling" also often causes issues for people. The reason is simple - it is a very inaccurate way of levelling your bed. Theres no defined units, you're working off feel alone, and that is highly subjective. It's not easy to explain through words - "just scraping the paper" can mean something to one person z and something completely different to another.
What paper levelling is useful for, is getting the bed at the same height away from the nozzle in all four corners of the bed. As long as you can consistently make sure you have the same amount feel for each corner, your bed should have minimal tilt in relation to your gantry.
It may be higher than it should be, it may be lower than it should be. But you can easily correct that - print something, look at the first layer, and just adjust the levelling knobs accordingly. Since your bed should not be tilted anymore, you can easily turn each knob, in the exact same increments to raise and lower it, or adjust Z offset on your machine or slicer. This of course, assumes your bed is not warped.
amber cradle
Okay, how do i do the leveling in four corners vs one in the center? I’ve been using MANUAL_PROBE as of now
tidal lantern
uhh, the sv06 dont have adjustable screws for manually leveling the bed
amber cradle
right, I guess I was thinking it was like bed mesh but simpler? I am stupid sometimes
tidal lantern
for z offset, just print a square thats 50x50 with 1 layer height, and live adjust z offset until it looks about right
amber cradle
alright
sorry its taking awhile; im having trouble finding an approximate offset that somewhat sticks to the bed, so im doing one final paper test to hopefully get a good starting point just so the square isnt a spaghetti mess.


