#prusa mk3s how to level bed.
1 messages · Page 1 of 1 (latest)
 golden ermine
 real bobcatBOT
golden ermine
I've tried for like 3 days to make a print and ive finally done it but I'm being...
AI Help
I'm sorry to hear that you're having trouble with leveling your bed. I'll do my best to help you out. Leveling the bed is an important step in ensuring a successful 3D print. Here are some general steps you can follow:
-
Home your printer: Make sure the printer is turned on and homed properly. This will ensure that the print head is at the correct starting position.
-
Adjust the bed leveling knobs: Most printers have knobs or screws to adjust the bed level. Start with the front left corner and slowly adjust the knob while using a piece of paper. The goal is to have a slight resistance when moving the paper between the nozzle and the bed.
-
Repeat for all corners: Move to the other corners and adjust the bed level using the same method. It's important to make sure the bed is even by adjusting each corner.
-
Check the center of the bed: After leveling the corners, double-check the center of the bed. Sometimes, the center may be slightly off. Adjust the leveling knobs according...
WARNING: This response is AI generated and may contain errors.


 tepid wasp
all good. what are the details of this printer? how long have you had it, did you get it new or used, was it kit or assembled by prusa, etc
from first look, it seems like you're having extrusion issues, bed level looks okay
golden ermine
tepid wasp
from first look, it seems like you're having extrusion issues, bed level looks o...
What's that and how is it fixed
golden ermine
 flint bane
try callibrating the extruder steps
Is that the paper thing?
flint bane
no, that's leveling the bed, which you already did apparently
don't touch the bed knobs for now
the extruder is the thing that pushes plastic, normally through a tube (bowden tube)
flint bane
oh okay
Oh shit
I thought this was an ender 3
Because I read it from your name
anyway, the same logic applies
you need to callibrate the e-steps
golden ermine
tepid wasp
also doesn't have a bowden tube
This is good, I got even more confused.
golden ermine
flint bane
you need to callibrate the e-steps
I don't understand what that is
I've calibrated everything I can
I even did the first print 1928272 times to get a good one lol
tepid wasp
how about this, why don't you list the details of this printer like how long you've had it, if you got it new or used, if it was a kit you built or assembled by prusa
golden ermine
tepid wasp
how about this, why don't you list the details of this printer like how long you...
I've had it like 3 days, it was used and the guy built it. He had multiple so I think he's ok at building them (idk though obviously)
 chrome scroll
golden ermine
This is good, I got even more confused.
?esteps
real bobcatBOT
golden ermine
This is good, I got even more confused.

Matt's Hub
Having your extruder properly calibrated is essential for perfecting your print quality, and this guide will walk you through the entire process from beginning to end.
tepid wasp
golden ermine
I've had it like 3 days, it was used and the guy built it. He had multiple so I ...
my guess is the gears in your extruder are not fully aligned, perhaps due to the pin that holds the idler gear in the door being loose in some way
i really, really doubt you need to calibrate e-steps on a prusa mk3 enough that you would see extrusion issues like we're seeing
real bobcatBOT
Calibration
Calibration and tuning can help with all aspects of print quality.
Extruder calibration should be done only once, and then again if you change any hardware on your extruder setup (new tube, gear drive, different motor, etc).
Flow calculation should be done for every filament, even different colours from the same brand.
A number of calibration and tuning guides exist online:
?calibration requested by: fryedwater#0
tepid wasp
whereas yeah that's often a good place to start, prusa machines are very rarely off by much just with default settings
chrome scroll
?tuning
real bobcatBOT
tepid wasp
you can listen to them and revisit tuning, sure, but a prusa machine with default settings shouldn't print like this so i think there's something else wrong
flint bane
golden ermine
I've calibrated everything I can
basically the motor in the extruder doesn't know how much it has to spin in order to spit let's say 1CM of filament
the default settings are often already good but sometimes they aren't
so you have to calculate that yourself
golden ermine
I don't even know who's right or what to do LOL
flint bane
tepid wasp
you can listen to them and revisit tuning, sure, but a prusa machine with defaul...
you don't know if it has default settings though, he bought it already built
well at least I think we all agree on the culprit being the extruder
golden ermine
flint bane
you don't know if it has default settings though, he bought it already built
It does actually, I factory reset it. Probably should have mentioned that, sorry.
I updated it all and reset it
tepid wasp
my suggestion would be to reset it to factory defaults, do your first layer calibration again (write down your current z offset and just dial that in again)
oh, nice
so it was factory reset
then forget it, just try to diagnose what is wrong, it shouldn't need any tuning to not print the way it's printing
they are giving very good advice if you had a creality machine, but not so good for a prusa mk3
golden ermine
I did the paper thing then adjusted the z to -1780 (I found that to give me the best first layer) but that's about all I've done.
tepid wasp
if it's not printing acceptably at default settings then something is wrong probably mechanically
this isn't a leveling issue
your level looks great, you did a good job with setting the z offset
do you know how to open the extruder door? there's a screw with a spring around it on the left side of the toolhead, screw goes left to right through the toolhead and into a nut that holds the extruder door on the right closed
flint bane
tepid wasp
they are giving very good advice if you had a creality machine, but not so good ...
advice for creality machines also work for your beloved prusa, believe it or not, a printer is a printer no matter who manufactures it
tepid wasp

The Original Prusa FFF printers and upgrades use a screw(s) with…
flint bane
your entire point to diagnose a mechanical issue is the brand
tepid wasp
flint bane
advice for creality machines also work for your beloved prusa, believe it or not...
you're not wrong, but at default settings it won't have these extrusion issues fixable by changing e-steps
you and fryed were suggesting tuning for what is much more likely to be a mechanical issue
with default settings and default printer profiles a MK3/S will not have significant extrusion issues without there being something mechanically wrong
golden ermine
tepid wasp
this one: https://help.prusa3d.com/article/idler-screw-tension_177367

I'm unloading the filament now and I'll try and go according to that.
I assume I can keep track and just tighten as I print or losen?
tepid wasp
i want you to take that screw entirely out and look at the gears
golden ermine
Oh ok ill take a peak and some pictures. Give me a sec!
tepid wasp
removing that screw opens a door on the right side of the toolhead
there should be a gear held in to that door, make sure it moves freely but isn't falling out of the door or coming loose or whatever
if the door is difficult to open it may be that the metal pin that holds the gear in the door has been dislodged
anyway make sure both the idler gear, the one in the door, and the main extruder gear are free of dirt or debris. with the door open, push a bit of filament in the top like you're loading it and make sure it aligns with the teeth on the gear.
also there is a grub screw that holds the main extruder gear to the motor shaft (you may have to spin the gear/motor to see it), make sure it's not loose or protruding up
basically thsi step: https://help.prusa3d.com/guide/5-e-axis-assembly_169235#170804
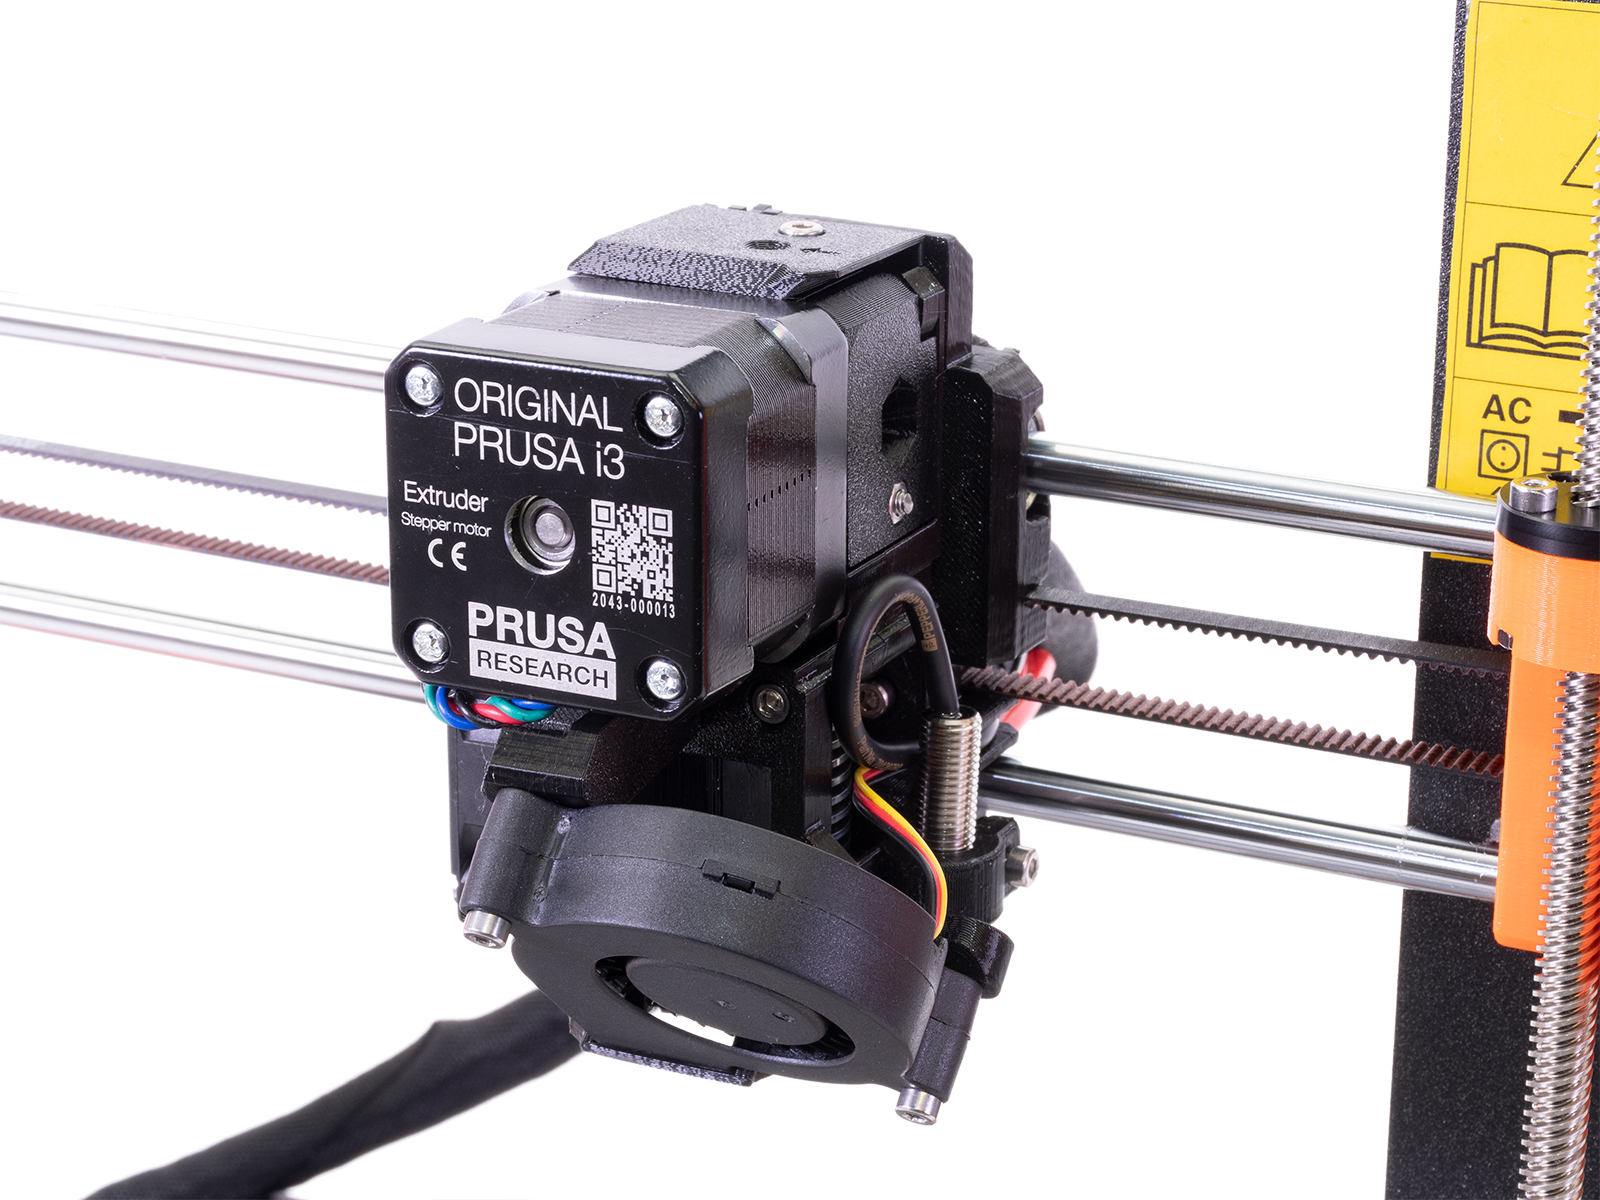
- Tools necessary for this chapter, 2. Few tips before we start…
golden ermine
I cleaned it out a bit but I'm not really sure what I'm looking at tbh (I'm sorry it's my first printer) nothing looks damaged? Should the gear that loads the filament be tight to it?


 tepid wasp
looks good, looks aligned
can you see the metal pin that holds the idler gear into the door you opened? does that pin move or feel loose at all?
 tepid wasp
the pin that holds that into the plastic piece, does that pin move left and right as i've drawn in red?
 tepid wasp

the pin goes through the gear you're wiggling
it looks like it's snug and not moving in that plastic part, just wanted to make sure
i've personally had and have helped at least 3 or 4 others who have had that pin come loose and then that gear you're spinning isn't supported anymore
it causes extrusion issues just like you're experiencing, though you don't seem to have that issue from what i can tell
anyway, if it's not the extruder then you may have a partial clog in your hotend
golden ermine
It seems ok?
I put a little pressure and spin it and the pin seems to be holding it
golden ermine
tepid wasp
anyway, if it's not the extruder then you may have a partial clog in your hotend
Like the nozzel? I put a new .4 in but I can swap it out.
tepid wasp
i would suggest following the prusa guide for partially clogged nozzle, though just to confirm you did install the nozzle while the hotend was at like 280C right?
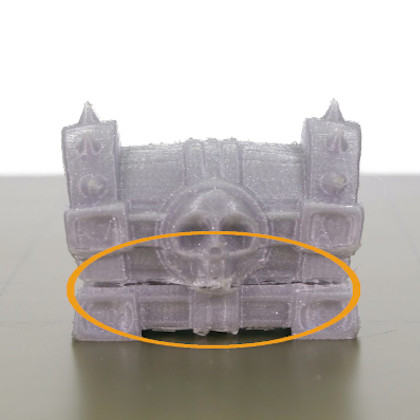
A 3D printer's hotend can get clogged. This article explains the…
golden ermine
tepid wasp
i would suggest following the prusa guide for partially clogged nozzle, though j...
Yes and i used a wrench to apply back pressure to my block also to not damage it.
tepid wasp
good deal
tepid wasp
i love doing cold pulls, fixes a ton of issues
golden ermine
Ok ill try it, seems advance but I've done most everything else, fuck it haha.
I got to the cool down lpart
I'm using petg so idm what I'm supposed to heat to but it only says 85 for pla
To grab it and pull it
tepid wasp
personally i open that idler door like you did before, set the temp to the temp of the filament (so 230 for petg), and just pull gently as it heats up
at some point it'll just give and then y ou're done
golden ermine
Ok I disabled auto load and steppers set to 280 then started to manually feed it then pressed x to cancel it and kept feeding gently but with a little force until I could no longer
All with the door open, your saying that "shouldddd" be ok? Lol
tepid wasp
yep
golden ermine
So not that I can't move it anymore, shut the door again and just attempt to re print something?
tepid wasp
did you do the pull part?
golden ermine
Like what do you mean after it cooled?
No I couldn't, I set it to 85 (for pla) I didn't know the petg heat
tepid wasp
wait for the hotend to cool down after you did the feeding manually part you mentioned above, then set it to 230 and pull on the filament as it heats up?
at some point around like 100 or so it'll just suddenly pull out
and then you're done,t hat's the pull part of cold pull
golden ermine
Ok so it cooled now re hear to 230 and start to pull it? Sorry I'm confused haha.
tepid wasp
you don't have to pull hard or anything, and yes now you would reheat to 230 and then start gently pulling
all with door still open and motors still off
golden ermine
tepid wasp
at some point around like 100 or so it'll just suddenly pull out
Ok ill put the temp to 230 and grab pylers and pull what I can grab out.
tepid wasp
the idea is you jammed the plastic down into the nozzle and let it solidify, and now as it's heating back up the surface that is stuck to the nozzle will melt first and if you're pulling it'll just pull out while still mostly solid
nah no pliers, just with your hands, just gently pull
you don't have to rip it out, you just want some upward pressure
golden ermine
Your saying PULL from the nozzel tip NOT push the top
tepid wasp
pull on the filament upwards like you're unloading it
that's what the prusa guide says, doesn't it?
tepid wasp
good
golden ermine
Not re install it all I guess and print?
tepid wasp
then cut off the end and set all your settings back to how they were, autoload filament on and whatnot, and load the filament back in
and print, yeah

 tepid wasp
looks good, if there was something stuck in there it'd be a very small piece of something and likely stuck in the end of that plastic now
golden ermine

I ran a fair bit though I'd say.
I'll try a test cube now with all my first layer settings.
Gunna do a quick first layer to make sure it's ok then cube.
Well back to original settings with everything inspected first print looks not bad for being new. Hopefully this purge got rid of the problem. Printing a cube now, will update.

 tepid wasp
yep, that looks good
golden ermine


Still happening, possibly I didn't do the cold purge correct but seems like I did. Is it possible something is broken? Or maybe it not level?
I've also been told PetG is alot harder then PLA. Unsure why it would be as I'm not the one doing it haha! I'm only using the petg cause he gave me 7 spools 5 were petg 1/2 1 was pla and the rest were rubbery and abs. I was also told the texture pad I'm using isn't for pla and it's for petg. Plus the petg was black so it looked cooler  I could order more PLA or use what I have left if the issue could be caused by that? Also not sure where or how this filament was stored and maybe it was exposed to humidity (I heard that's bad) so many factors and me with such little knowledge 😂
golden ermine
I swapped new filament and it's still cracking. I seen an article saying to lower my heat in increments of 5 lower and it could possibly fix the problem but if your under 20 from the recommended then there is other greater problems?


New filament, not even done and I can see it "cracking"
