#3d-modeling
1 messages · Page 86 of 1
 runic nymph
remake it, or better yet retopologise it, decimating from 8 million is gonna tank performance too
 oak cairn
ok i'm autistic myself what does retopologise mean i am so sorry to ask
runic nymph
the process of modelling a lower resolution model from a high resolution sculpt
better off watching a tutorial about that
google and youtube are your best friends
runic nymph
2 million tris 
oak cairn
he made this not me I wanted to try and get him to join discord but he doesn't do well in social situations sadly
https://drive.google.com/file/d/1LA-9oofXf6py2sLem764Tjzf1seMQRrn/view?usp=sharing I'm gonna share it with people like if someone is interested in making it render able would really help him
Google Docs
if someone does anything with it could they mind screen record what they did so he can watch haha i know it's a lot to ask
and just to let people know this was made on a Macbook Pro...
before the PC i built him
 inland sky
why are the tail bones in a straight line when the tail is curved,,,
 plucky jolt
are there supposed to be 2 of them?
Okay, just realised the purpose. My computer cannot handle the vert count though
Yeah viewport models would help. Send him this. It gives an idea about how low poly models are easy to work with for animating, but they do not typically show up in final renders
https://youtu.be/UAIoEp1pPPQ

Previs Dummies 2 by Shane Newville!
Three previs dummies--Red, Blue, and Yellow--fight over the most delicious food in the world: a Goo Cake. But this time a dummy named Pink gets dragged into the fight...
Also I have an avatar now! You'll probably be seeing anime Goo more o...
 stuck solstice
So I imported this from blender to unity but for some reason it looks weird. Does someone know how I can fix this?
it isn't solid like it should be
 rotund meteor
Can you show us what it looks like inside blender?
stuck solstice
stuck solstice
you mean this?
stuck solstice
normals?
i'm sorry, this is the first time for me using blender
Oh it's blue in solid view
rotund meteor
go to edit view press a to select all then go to mesh->normals->recalculate outside
stuck solstice
but red in rendered view
ah this made it blue in rendered view as well
So what does this exactly do?
rotund meteor
you can view a face one way only this is why in most games when you glitch through the ground you can see everything
 white moth
The model is inside out essentially
rotund meteor
np
 spiral sigil
hi guys
i am the modeler of the blender apatosaurus model you guys viewed yesterday
i am able to render fast enough\
i only got one issue
when i was trying render my apatosaurus putting his head down or just do the basic render testing of my apatosaurus but only the teeth and eyes were in the right place, the body it self stood still in it's default location and doesn't move at all
oak cairn
hey guys this is the guy who I was talking about who's model crashed @gleaming slate's PCs
i had him join so he can get the right help with his models as i only build PC's not do blender
spiral sigil
this is an image of one of the frames of my apatosaurus being rendered. the teeth and eyes are in the right place, but the body is in it's default location
how can i make the body do what it is suppose to do as i render my apatosaurus?
 quaint jasper
Apply transforms ?
oak cairn
so I brought @spiral sigil to the group as I'm trying to introduce him into VRChat but also get him the right help as he been making this models with a Macbook Pro and then rendering them on a Windows PC with a i5-4590 16GB of DDR3 RAM and a EVGA 1050ti
spiral sigil
what do you mean apply transforms?
quaint jasper
ctrl + a in object mode
 red glade
Never had any problems with uh this
But the transparency dipped
Checked nodes its allgood,
Space reflections is fine also
It does this over all of the save files
 still wadi
runic nymph
still wadi
runic nymph
by not asking the same question in multiple channels
 craggy lintel
Its says they are added but i see zero evidence
@runic nymph The first channel was not the correct one so buzz off..
runic nymph
pepega
 stable edge
p e p e g a
stable edge
are you ticking the box to have the addon active and saving active addons
nah im pog
stable edge
is it someone elses code or yours
runic nymph
you didnt unzip the file, rite?
stable edge
show us whats in the file
runic nymph
actual pepega
craggy lintel
No I'm Joe
 devout scroll
open search with f3 and type kn triangulate
 wind zinc
slowly getting the sculpting done
red glade
@still wadi Worked before all out of a sudden it died
its most likely a render setting but i cant see where
 green ember
is the material set to alpha hashed or blend
@red glade
or alpha clip if you're doing cutout
red glade
All checked
its on alpha blend
Lemme check the other modes
But i remember them not working either
Nope
@green ember all of the textures became like this at once,
green ember
if your texture actually has alpha in it doing this and setting the material to a different blending mode would show it
red glade
Yes iknow this all,
Ive already checked this
But thanks sorry
As a result you get this
wind zinc
@autumn badger i just stared useing VRchat like 2 weeks ago so no dont have a world for anything, for the most part i imagine i will just be doing person works for people
this model is my friends OC well one of them
 charred ember
hi
uhm, i want to have a 3D avatar(i tried to draw it and use live2D for make it easy but i don't know why, is just broke) and i dont know how to use 3D so..any advice on ppl to commission?
wind zinc
go check out the VRchat traders discord
spiral sigil
red glade
Do know 3D models from scratch can become very expensive
 autumn badger
@wind zinc well. You def would be good at it
wind zinc
thanks, been doing 3D for like 6-7 years now
also yeah they are expensive if they are from scratch
charred ember
so, the easiest program to start?
wind zinc
blender is the best to start with, since their is so much online tutorials and support and its free
no 3D program is easy to start with though if you have never done 3D before
wind zinc
it should be able to for basic modeling
i once used it on a computer with 4gb ram
and who knows what else shitty specs
tbh i think i even used it on a computer with 2gb ram
charred ember
uhm, i tried it once with my pc and was lagging a bit
so idk
wind zinc
what did you try to do in it?
charred ember
i was just looking settings ans things like that cuz i want to learn it
but is pretty hard and i actually hate follow so many tutorials etc
then it was lagging a bit so i just deleted hahah
wind zinc
that is odd for it to lag for that, but ya from my experience i was able to do a lot on 4gb ram
lol ya its hard to learn 3D
charred ember
indeed
yeah i know haha
i wanted to sign up on a 3D online course bbbbbut nop
they're expensive too;_;
wind zinc
i honestly mostly just buy pre recorded videos
charred ember
uhmm
red glade
@wind zinc bruh when i started there wherent even good vids kekw
But thats most likely most of my experience lies in something not allot of ppl do atleast then,
wind zinc
lol same the doughnut video didnt even exists when i started, lol i feel like i missed out on the classic starter tutorial
i watched any video i could find on some odd things back then
devout scroll
I personally don't like the donut tutorial
While it has all the basics in, it's drawn out and blender guru rambles way too much for my taste
If you aren't a complete beginner to 3d modelling you can probably find better tutorials than that
wind zinc
i never done it, i kinda want to lol cause it seems its what everyone does
devout scroll
Well, you can
It's recommended to try out a bunch of courses
To find out more perspectives
wind zinc
https://www.youtube.com/watch?v=DiIoWrOlIRw i swear i watched this video series so much back in the day
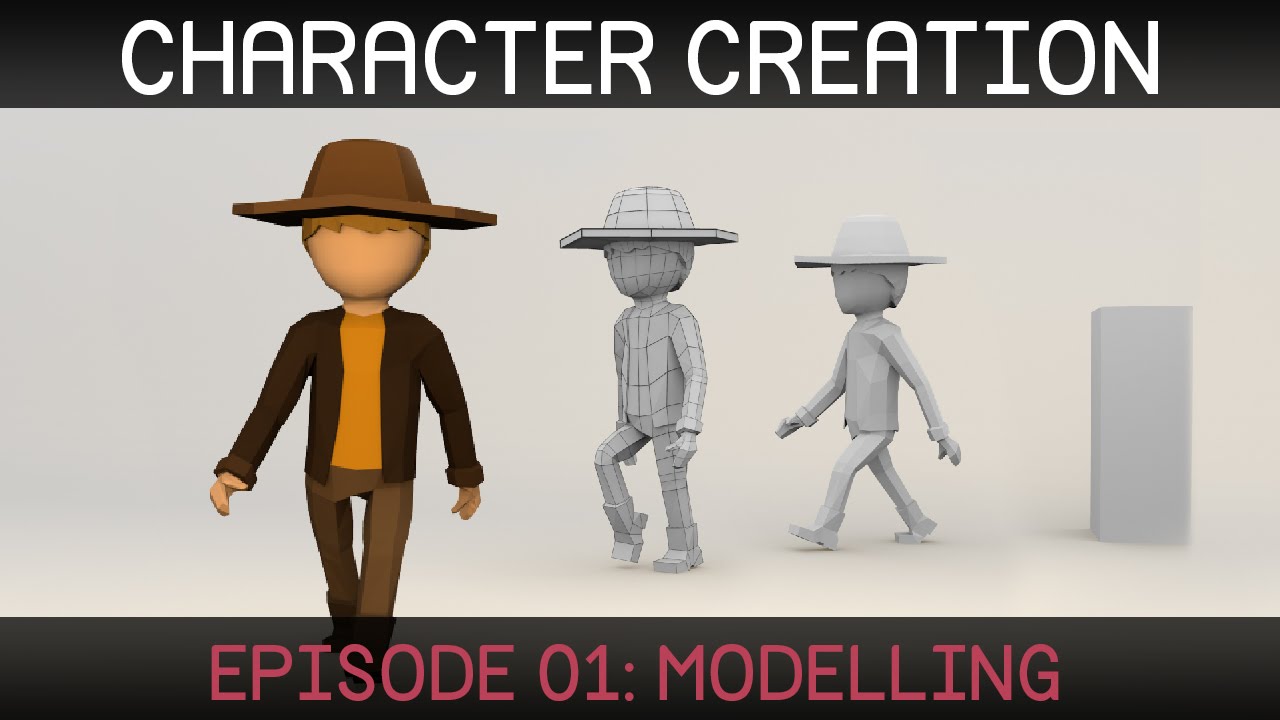
Welcome to the first episode in a series on creating a simple character in Blender. (http://blender.org)
Download reference images:
http://i.imgur.com/7LPDejZ.jpg (front)
http://i.imgur.com/Bjfeafn.jpg (side)
Download blender file:
http://www.blendswap.com/blends/view/77613
...
devout scroll
Buuut, I'd do something more succint
wind zinc
also yeah ill be doing much more than that
i probably will buy some tutorial thing at some point to
devout scroll

In this video, I share what I think is the best way to learn Blender 2.8.
Blender 2.8 Launch Pad Course: https://academy.cgboost.com/p/blender-2-8-launch-pad?affcode=206256_je5wtd2f
Get free resources here: https://gumroad.com/curtisjamesholt
Blender 2.8 First Steps Playlist...
I always recommend this as it goes over a bunch of good options
And channels
wind zinc
you probably know better than me with blender tutorials, lol i havent used in it over a year
devout scroll
I just really don't like when people waste time in their tutorials
wind zinc
i dont like to rushed ones, but i like ones that they talk about things more indepth and odnt just do
XD sounds like a long way to do it
devout scroll
I like structured content
But that's fine because everyone has their style and preference
devout scroll
That's why it's nice to go through a bunch of different creators
wind zinc
ya good to see many different views
wind zinc
very nice
wind zinc
https://twitter.com/Gantz_The_Gay/status/1274312164673613826 finished the sculpt on this
lol i mean its good to specialise once you know the basics of most other things
red glade
Nice
i barely have any experience in sculpting
Id imagine its gonna get retopoligized?
Or has that already been done
wind zinc
ya thats the next thing retopo
red glade
mans boutta come in with a 2mil poly model KEKW
wind zinc
this is all im doing though for now since retopo will be another few hours and its already 10pm here
red glade
Nice,
I hate Retopo takes so much time
But i mean i have spend like 50+ hours on this car
wind zinc
i dont mind it in maya, its the one thing i know for sure i love in mayaay better than blender. its easy but takes hours so i just listen to long videos while i do it
wind zinc
looks cool, lol i couldnt make something like that
red glade
I have absolutely nothing with furry stuff
i did do a test run with this car,
since its gonna be actually driven
it got WR on 2nd run
wind zinc
damn f only this discord let outside emojies cause i would post a blinking one right now
fuck
red glade
kekw
Sponsor kekw
my friend made this game, He helped me tuning it
All of the sponsors actually made somethin for the car
wind zinc
thats so cool, i want to be working on games some day but lol seems os far away sometimes
red glade
ah lmao
Lemme get my pro FD car
need to make the interior, engine, engine bay and trunk for it
 sharp crown
That looks sick
red glade
Thanks 🙂
wind zinc
lol if i ever made a car it would just be the outside XD
red glade
Fat tires
Not sure what engine to run
Because it needs to hit 1000hp and stay stable at it
sharp crown
How much effort did you put in that projectso far?
red glade
The Miata or the S13?
Both of m are like 80 ish hours, But thats bcs i stare at the model once i get something done
- The s13 has 3 other versions
the Stock silvia and the 180SX front end
sharp crown
I'm interested in both since I'm quite new to modelling
sharp crown
nice
What I'm trying to do atm is a basic human pm for VRChat but I don't have any down or side view of a hand and without it it'd look like trash KEKW
wind zinc
lol the truth
red glade
get a blueprint
@wind zinc Facts
i do video editing also
And i just replay the vid and spam spacebar
over and over
green ember
that image do be kinda true tho
red glade
https://www.youtube.com/watch?v=lNiNezoX8u8 Like im just in Vegas,
 wind zinc
for anatomy and stuff you often want multiple refs from multiple angels
red glade
i just spam spacebar to replay it
Uh ffs
i had a good refrence sheet somewhere
lemme find it @sharp crown
wind zinc
i got a whole book on human aantomy and a model of a half naked man on my desk 😅
red glade
monkas
red glade
pmuch the best way to do it
sharp crown
kk ^^
craggy lintel
@red glade Would you 3D model my car for me? I drive a 2010 Ford Raptor with a GT40 livery
I’ll PM you
autumn badger
Also
Hands are tough to model
You can always go to Sketchfab and study via the wireframe mode to help understand how hands work
Or you can totally download MakeHuman, and steal a hand, mirror it, and conveniently delete the rest of the model... but I most def did not just say that
Studying people who know what they are doing really helps
green ember
its easier to understand it if you base it off your own hand
 marble rapids
Ok, i made pants in blender. But now i would have to texture them and i don't have any clue what's the best practice for it. Does anybody know some good video what would help me? Or give other tips. Like seams, stiching, text etc.
green ember
Substance painter is pretty easy to learn and use and has the option for a student trial. theres a video ruubick made https://youtu.be/L6f87psKYyk
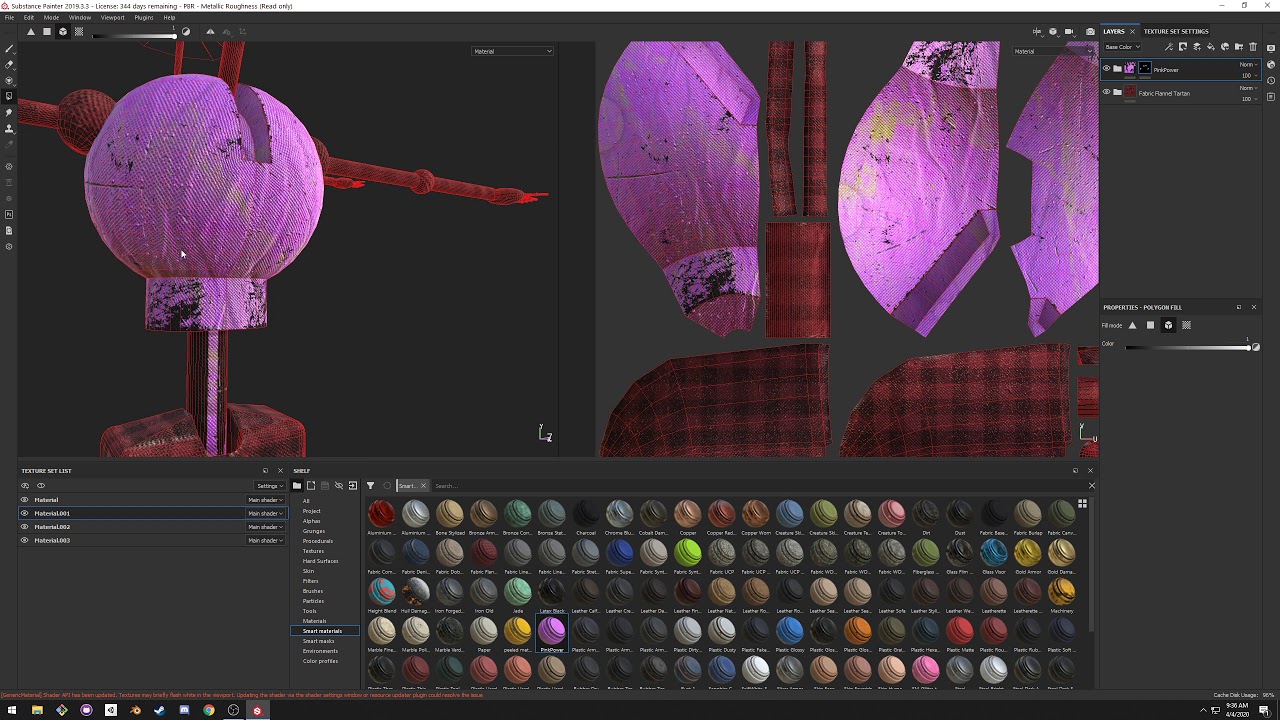
This mediocre tutorial goes over the basics of substance painter for the VRChat avatar/model creation workflow.
marble rapids
Actually downloaded that program before seeing your message. Gotta check that video out!
 polar osprey
dang it... Im stumped. I tried sculpting and I made a model that looks nice- but I feel like ive done the process all wrong. I sculpt from dynameshing and I don't know much about zremeshing or retopos
I have everything in subtools but I dont know if everything must be merged when I retopo.
https://gyazo.com/95a9b5ae56fa003a2be20732964a49f1
Not sure if zremeshing is retoping gahh...
 quaint jasper
zremeshing is an automatic retopology tool yes
runic nymph
which requires a lot of manual fixing afterwards
quaint jasper
I never had to fix anything 
mess with the settings as long as it doesn't look good
runic nymph
your head is a sophisticated triangle, shut up
polar osprey
okay cool, Flippednomals was confusing me, I was seeing them doing it by hand in blender
quaint jasper
you can also do that
polar osprey
and- I wasnt sure what they ment, because they said it workedwhere the retopo is just for the animators
quaint jasper
retopoflow most likely
polar osprey
but im not sure what linking would be a thing
quaint jasper
well, your model is animating in vrchat, so it's important
quaint jasper
Definitely merge at the end
polar osprey
oooh kay o 2o!
So retop > UV unwrap > Paint > Merge > Rig?
quaint jasper
rig > weight paint > done
polar osprey
okay thanks, this should be a good lead to work from 🤔
runic nymph
rubick doesnt texture
quaint jasper
Can't be shit at texturing if you don't texture 
wind zinc
Bruh don’t use zremesh for character models to retopo, it will give you spirals in your topology
But to get cleaner finishes I normally first dynamesh to sculpt out the sketch then zremesh then subdivide that
Useing subdivisions with your sculpting will give you cleaner finishes
Also you want everything that’s connected in real life to be connected with your character, so that means your hands need to be apart of your body
But for the feathers and stuff it depends how your going to back meshes, I normally combine some things like claws into one subtool or the bottom row of teeth into their own one and the top row
It’s good to keep most of the high poly in groups of things that are not touching so you can bake cleaner maps
For the low poly I retopo each thing in parts, then merg those low polys at the end since they will need to be one object for Vrchat or at least it’s better that way
But to keep bakes clean you can split the low poly up into texture sets, which is basically assigning multiple textures to different parts of the model
Oof I need visuals to explain this stuff
polar osprey
I only got pass the scuplting phase lol
wind zinc
Oh yeah I normally save the version of zbrush with all the clean poly groups and then save another version with every sub tool only have one one poly group
Since at least in maya it breaks the mesh if you try import it with poly groups
polar osprey
Im not sure how to make polygroups, mindset for that is confusing 🤔
Like how to do the head, how many groups would that be
wind zinc
Ctrl W I think
It will just make the whole subtool one polygroup
If you have something masked though it makes that masked area a polygroup
The head, body, hands should be one subtool and polygroup
The eyes should be their own subtool though
polar osprey
yee- it is their own subtool, I might need to change them later
not sure what shape keys are or layers so that is on pause for now
wind zinc
Ahh don’t worry about those to much. Shape keys and layers are good for making blend shapes which are used for Visems and other animations
polar osprey
yee- I wanna make him blink
wind zinc
Ahh yeah, I don’t normally use zbrush for my blend shapes so I can’t help you much with those details and integrating it with your pipeline
There is lots of videos on it online though
polar osprey
should I merge everything in the end for vrchat?
wind zinc
Don’t merg the high poly stuff
Export them in parts, retopo them in those parts then merg the low poly
polar osprey
and when I retopo, I wanna do that all by hand?
wind zinc
Yes
This way you will have low poly count and it will be good for animations
Zremesh and any other fully auto thing will not give you good topology
And it’s harder to edit it than to do a new one
polar osprey
what about for the zbrush mesh I made, is that gone or is the retopo acting as a 'suit' to deform the mesh?
wind zinc
It’s not hard to retopo it’s just boring a long
No the retopo is used to bake maps like normal maps to project the detail of the higher poly model onto the lower one
polar osprey
oooh that is what baking is
wind zinc
Idk why it’s called baking, I’m just happy it’s not called cooking XD
polar osprey
I think Ive been over looking baking. It didnt make much sense earlier to retopo, after making a mesh. I was worried about all the textures and details, crease lines est.
but baking, that keeps all of that?
like a suit for the mesh-?
wind zinc
Ahh well you will need to I think re do the colour
Since I’m zbrush your just poly painting
Not sure how to bring that onto a new mesh with new UVs
It will show the forms though if the high poly
Normal maps don’t change the mesh to the low poly but they change how the light reacts to that mesh, making an illusion of more detail than there is
polar osprey
oki! Thanks, Ill try to learn a bit about baking!
wind zinc
Ahh don’t worry to much I guess right now, I think just get the retopo done and Uving
And make sure you have your zbrush file saved with the high poly
 naive turret
spiral sigil
naive turret
spiral sigil
just got blender
what should I attempt?
steve with sans plastered on it
steve from minecraft
 compact mulch
WIP 25k polygons when the eyes are in. Looking forward to rigging https://gyazo.com/0e69cb1ec48b9155ae20c62124560668

...It's a Gengar lol
 solar fossil
woh, that looks nooice
 spring vigil
hey guys
spiral sigil
just got blender last night and some controls are hard for me
also is there a mirror tool?
 onyx juniper
Better than the official design, since it doesn't just look like an evil Clefairy
Good solution for the legs
white moth
I hope it has amazing high def visiemes
 stable acorn
@spiral sigil you can mirror on the top right on the x y z axis
spiral sigil
ok
 lusty tendon
hey can someone tell me whats the best way to paint avatars as the blender way feels kinda complicated.
 hallow bough
@lusty tendon SubstancePainter or 3DCoat perhaps. You can use photoshop or any drawing program but your uvs are gonna have to be done pretty well. I'm sure there are other options.
 steady zealot
@lusty tendon Quixel Mixer is a free alternative to substance painter
craggy lintel
Anyone online
If so
What’s the easiest way to throw textures on your avatar
The tutorials I watched didn’t answer
Or at least I tried and it didn’t work right
devout scroll
Wait, do you want to paint over them?
craggy lintel
Yes
Mainly add emissions
To my tattoos
Pumkin you made a VRC unity helper thing right
I want to try it out soon lol, it sounds nice
devout scroll
yes, thanks
devout scroll
i don't really know how to use substance
craggy lintel
Ahhh gotcha
it's pretty complex but simple on the outside
weird system tbh
I'm thinking maybe importing materials
devout scroll
¯_(ツ)_/¯
But I think you should be able to make a map for emissions without substance as well
 terse hemlock
 cerulean shoal
todoroki be looking kinda different
craggy lintel
Got it to work wooohoo
 brittle geyser
Does anyone know how i could learn to 3d model anime characters lol like a video or a website or something, i already know how to use the basics of blender but i don’t know how things go when you actually do modelling and stuff
 median lantern
Yep! This is a seriously awesome Blender tutorial for exactly that: https://www.youtube.com/watch?v=F1CTfis1TEg
Be warned though, it's a 40-part serious that really goes in-depth!

This video is the 1st part of 40 in this very detailed tutorial series about modeling. I'll take you through all the steps of anime style character creation in the 3d software called 'Blender' and without any time lapse.
If you haven't watched it already make sure to go throu...
Also, the same video author just released a new tutorial for creating an anime character in Blender and ZBrush, if you're looking for something newly updated
brittle geyser
Thank you so much !
median lantern
No problem! I hope you have fun with it!
 charred tulip
In blender 2.8 how do you mirrir the all the work?
 glad steeple
spiral sigil
glad steeple
spiral sigil
https://www.youtube.com/watch?v=iMVs6BP1Q48 hi im just wondering how do i get the apply pose at reset pose to show up because in this video he doesnt explain how
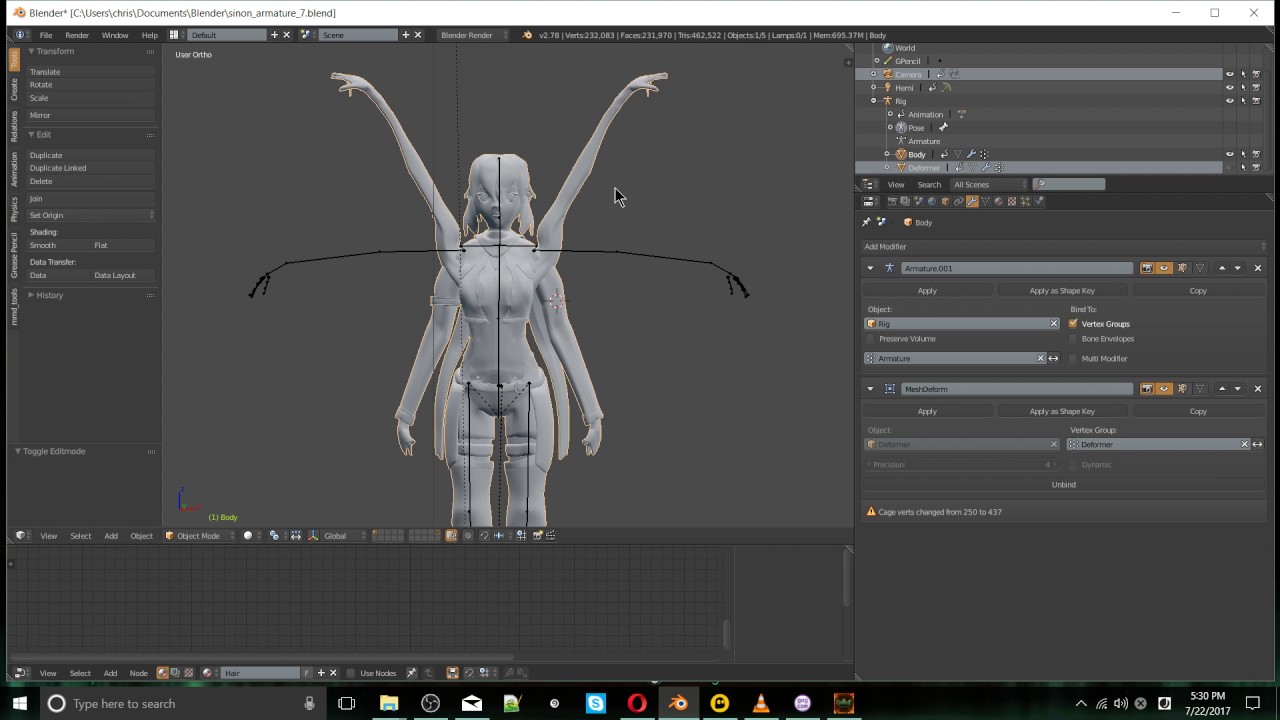
Written instructions https://nixart.wordpress.com/2013/03/28/modifying-the-rest-pose-in-blender/
See My Full Udemy Software Courses
https://www.udemy.com/user/chris-navarre/
Software and Tech Video Courses also on
http://christutorials.teachable.com
►►Help Make Future Video...
like what keybind
quaint jasper
The main one, Model, at the top
 shy trellis
Some kind of new problem has developed with my avatar. After importing and generating the rig, he looks normal in T-pose
But when I hit Play the animation controller puts him in this pose (which may be expected?), but his jaw is open a bit
I have an Animation Override that I created from the empty sample. Maybe it got messed up somehow? I could try making a new one
That didn't help. As soon as I put the CustomOverrideEmpty in there, it messes up
 hardy agate
i guess out of the 3 this makes most sense, but ive been designing this world in blender and these edges around the arches are causing some serious shading issues, looking them up tells me that they are non manifold edges and after looking they def are. however all the ways it tells me to fix it are to just delete them or use destructive modifiers. how do i fix these but keep the same shape?
shy trellis
@fringe rock I should be using the Runtime Animator Controller, the default one/
and yeah, looks like the jaw is set correctly. I'm using visemes for talking, which work
 near crown
 fringe rock
@shy trellis no
You need to unassign the jaw in the head rig if you use blendshape.
Leave the jaw and controler blank
shy trellis
Ah, thanks, I need to unset it
 edgy fog
It looks like you were trying to texture paint a part of your mesh, then realised it's texturing other parts of your mesh that you don't want to colour at that stage. Your UV's may be overlapping eachother or not be unwrapped to begin with.
@mortal pollen
 mild nimbus
Finished another model from scratch of course https://gyazo.com/e11e036888467794e1fd1869b095f2c3 https://gyazo.com/f4c8869f0eddb37623c2cd1fdc931d3a https://gyazo.com/baf4ec5258e1dd5f91b209f1bc854be6


 runic nymph
reminds of kda akali a lot
 clear geyser
@hardy agate Idk if you count this as destructive for you but have you tried using boolean modifier? You can cut the archway shapes into the wall with it or cut the area at the top and stitch the meshes together to create a seamless look
devout scroll
try adding a bunch of cuts with the knife tool, boolean cuts are pretty dirty as well
you need to clean them up with the knife anyway
 gaunt aurora
just use subdivision surface
 mortal pollen
@edgy fog I fixed it. It’s just when I cats fixed it, it ruined it
hardy agate
actually i already figured out what was wrong with it earlier lol just some odd design on my part
quaint jasper
Help with what ?
 peak grail
genrally just makin an avatar
i got this neet skecth i want to make into an avatar.
but i have no idea how to use unity
quaint jasper
Unity is not a modeling program, blender is, find tutorials for that
Go through the donut or chair tutorial first
peak grail
k thanks
craggy lintel
Hey guys, How come my object wont scale when I press
"S" and attempt to scale
I have both bones and mesh highlighted
Like something is wrong with my blender, My Scale tool doesnt even work.
I'm not getting transform arrows ughhhh
Really need help if anyone can- been sitting here for an hour trying to fix this BS lol
I know theres a simpke fix
shy trellis
@elder heart have you tried with just one object selected? what's the origin for the selection? (period "." key)
are you in object mode?
oh, I'm assuming you're in Blender, forgot this is for Unity mostly
craggy lintel
It just turns white!
Yea Blender
Whenever I try to Scale or manipulate the object it just doesn't work
craggy lintel
Yes I'm in object mode
No tutorials can answer this issue
Complete mess. I hate this blender
plucky jolt
Have you looked at replacing the preferences file with another one?
 south flax
Is anyone good at making 3D models
stable edge
i ask myself that everyday
devout scroll
They might be locked https://puu.sh/G0IdS/87e2ceb784.png @craggy lintel

 median pike
If youre working with mmd models they are offten locked as pumkin mentioned
 vapid galleon
can i have a 3d model
 gray pelican
can anyone tell me how to emote and turn into a different 3D model? dm me if you know how to help
white moth
Animations that turn off one model and turn on the other
gray pelican
i did that but the other model just appeared and stood there, i couldnt control it
white moth
If you want to control it it must be to be weighed to the same bones, it can’t be a separate armature
One armature with two models in blender- can’t combine them in unity, won’t work
gray pelican
how do you get one armature with two models
 young vault
You can use two armatures. Technically. Just gotta parent constraint each bone to the other armature. Which, should be a bit more performant since you don't have two active avatars?
Though, it probably won't look pretty
And only turn off the skinned mesh renderer, not the whole avatar.
gray pelican
do you think you could do it for me?
young vault
Yeaaa.... no. I'm not doing that. I'm going to bed.
gray pelican
no worries, have a goodnight
runic nymph
@white moth well, technically - you can
solar fossil
Just use constrains on the hips head and extremities, than use ik to control the in-between bones 
runic nymph
you and your ik obsession
 bleak raven
does anyone know how to seperate only certain materials off a model and not loose visemes
every time i end up getting them seperated all my visemes disapear
 lean rampart
If you have 800k poly model, but in 30 separate meshes (still 1 fbx file), vs the exact same model, same stats, but all merged into 1 mesh, will it render faster in Unity?
 old fable
Hello, i was wondering if i could recieve assistance with the 'Vrchat SDK'. I am currently attempting to upload an avatar , however, the 'Vrchat SDK' is detecting a large amount of polygons that is not apart of my avatar. Despite me removing the one mesh that i had connected to the avatar, the SDK is still detecting a large amount of polygons.
quaint jasper
@old fable Either a piece of your model doesn't have read/write enabled or its shapekeys are broken
old fable
@quaint jasper Thank you so much! I was unaware that it was disabled
devout scroll
@bleak raven don't use cats to separate by material, go the materials tab, pick a material, click select under it then just hover back into your 3d view and press p to separate selection
 dreamy epoch
@old fable Judging by UI you seem to be on wrong version of Unity.
https://docs.vrchat.com/docs/current-unity-version
VRChat
This page lists the current Unity version you should use when creating content for VRChat, as well as links to the correct version for both Unity Hub and direct downloads. Current Unity Version The current Unity version in use is Unity 2018.4.20f1. Unity Hub To install the cu...
devout scroll
what are the issues
spiral sigil
result
what's weird is that the breasts are also bigger overall
you know what, it's probably related to the fact that i subdivided them
devout scroll
uncheck smooth under normals in the mesh menu
spiral sigil
idk where that is
but it's like the original or the new verts from the subdivision aren't being affected
devout scroll
o that looks like overlapping stuff
spiral sigil
yeah it's not the normals, the topology is totally fucked
devout scroll
were there multiple layers on top of each other
spiral sigil
nope
like i subdivided the breasts on a shapekey
and then posed the breasts to scale them up
i'll go back and subdivide on basis
spiral sigil
yeah that was it
it didn't like me subdividing on a shapekey i guess
all good now
white moth
Typically you can’t do anything that adds verts, the shape key will not animate the new verts
 potent pond
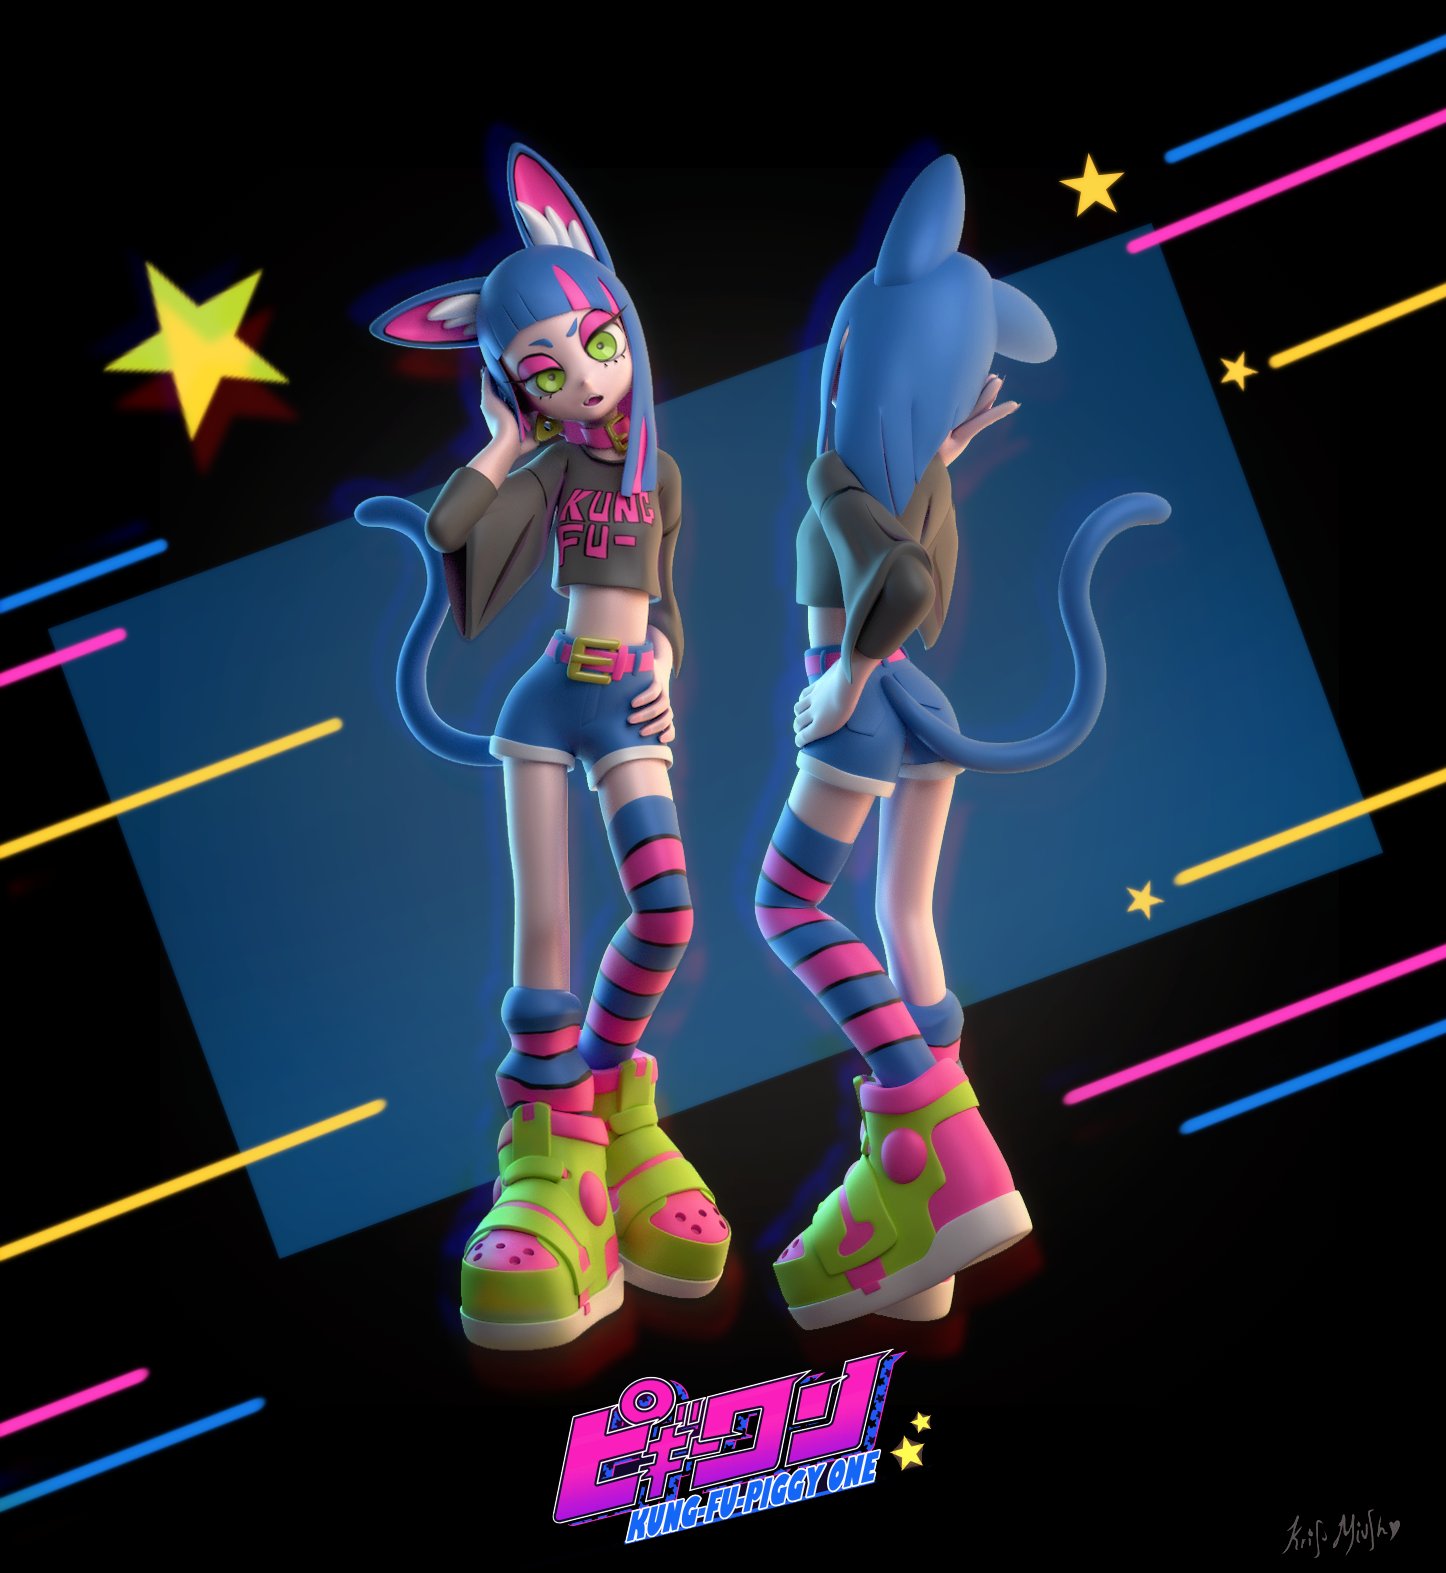
I made this :3

I Tried ;_ ; Hope you like it 🥲
2 Different faces.
@hanabushi_ #hanabushi_ #KUNGFUPIGGY #3dart #3dmodeling #character #はなぶし #figure
Retweets
210
Likes
1313
 Twitter
 spiral sigil
I'm trying to update my UVs to make parts larger - i've followed a guide for blender 2.8 on texture atlassing but i'm having an issue where, when i move the parts of the uv, the texture updates on the model
https://www.youtube.com/watch?v=lqe8JRiYuu0 following this guide and some of my guide for 2.79

If your bake miss texture. Be sure to double click the texture node we add on each material.
I show how to bake multiple textures so you will run better in game. VRChat player and you will have better performance if everybody have fewer materials.
Here a VRchat world with su...
i'm expecting the textures to remain unchanged on the model and for the textures to bake into my updated uv
spiral sigil
@rain flax p-pls...
i've been at this for like an hour
feels like a 'check this box' type thing
tried following the video exactly and it's still updating the texture on the model
 unique widget
Blue do you know how to fix something
spiral sigil
whoever warned me, would you rather i pm
i'm friends with tupper brrr
i'm not a dick
solar fossil
Doesn't seem like you have the "tupper's friend" role assigned, must have been a mistake
spiral sigil
i've been pissing about for an hour on this, i'm fed up :sadcat:
devout scroll
😔
devout scroll
i'm gonna go to sleep
 vivid crater
Based on what
devout scroll
scientific evidence, provided by real scientists doing science
 frozen shell
Hi
solar fossil
Yes indeed, very science things
spiral sigil
you guys really gonna take the piss when i just want a tiny bit of advice :sleep:
like i have the video
If your bake miss texture. Be sure to double click the texture node we add on each material.
I show how to bake multiple textures so you will run better in game. VRChat player and you will have better performance if everybody have fewer materials.
Here a VRchat world with su...
done it plenty of times in 2.79
vivid crater
seems like the normal shaded view always updates, try to switch to look dev/material preview, works for me
spiral sigil
what the fuck
so it's not actually broken
i want to kill the developer of blender
holy shit
vivid crater
why, its not broken
spiral sigil
how can i repay you
vivid crater
nah its fine, dont worry 
spiral sigil
or put it here w/e
no i'm been crying about this for an age
you need reward
my savior
vivid crater
just give me a thumbs up, that really gets me going
spiral sigil
i'll put a thanks in my map then brrr
spiral sigil
@vivid crater don't suppose you know how to bake transparency in 2.8?
the transparent parts come out black
if it were 2.79 and check the box and pull the slider to 0 on the texture tab but it's all a bit fucky in 2.8
oh i guess i could do a layer style
vivid crater
yea thats what i was gonna say
thats one thing a friend was really hating on 2.8, baking doesnt just have like a transparent option
lookin at a couple vids and posts, most of em just plug the alpha into emission and bake that out to mask
spiral sigil
beb
 fervent light
Is it common for neck mesh to be separated from the head? I'm working on a base, weight painting is rough when the meshes are separate
quaint jasper
What's preventing you from joining them, weight painting and separating after ?
spiral sigil
😔
fervent light
Sorry, not separate meshes, I meant disconnected
unjoined vertices
The neck geometry was already so stretched at the front of the neck that looking up didn't play well 😂 I smoothed it out and extended the geometry of both the head and neck to prevent gaps, so it's fine now. Just wondering if it's more common to see those two joined rather than separate
young vault
MMD bases most of the time have them separate. I do believe nothing adverse happens if you put them together. As long as you split their UVs.
The reason why is because the head and the neck are modelled separate to serve the purpose of putting heads on and off different compatible bases. That's why you can find a bunch of heads on deviantart.
I assume it was a MMD base, it could've also been another base that has swappable heads though. The Lexichi does this. And, well, for the Lexichi unless you fuse them you get weird lighting and small seams. It's so hard not to notice them.
spiral sigil
might someone know how to refresh a texture in 2.8?
there's no reload button next to it like in 2.79
solar fossil
eh, i just reimport the texture, don't know of any other refresh method 🤷♂️
white moth
Unless sometching changed, reload current texture is alt R
young vault
Open the image in the uv/image editor, click image, reload. Alternatively, use alt + r in either editor. This will undo any non-saved changes though.
spiral sigil
looks like you need to have the image editor window open and active
thanks frens :kannabear:
 rain roost
Do anyone know how to remove materials from the blender library
white moth
In the outliner, change the drop down from current scene to blend file. Then you can go into materials and textures and delete anything
Although typically any data block that has no users will be automatically deleted the next time you save and reopen
 frosty plinth
mild nimbus
frosty plinth
mild nimbus
Turns out i have an issue
Whenever I talk it seems the shading seems to change when I speak ingame
I dont know if this is a normal issue based off its direction when the mouth deforms but
The entire body shading does change to
I even remade the shapekeys
and re auto smoothed the model
and I still get the same results
I am also just using a standard shader for this since it is a PBR workflow.
https://gyazo.com/1ee7e1e2866ca3150b0cda29210126c0 it even happens with textures off
and I cant seem to wrap my head around it
 next jungle
 mild nimbus
oh....
Im try that
Im save this to
@next jungle Thank you its fixed
all this time I was like tryng to correct the actual normals itself vertex after vertex
and it was just this easy
xD
next jungle
Easy thing to miss 👍
mild nimbus
👌 ty again
green ember
made this in like the span of today
from the new adventure time special on hbo max
also cool thing i didnt know you can do is render viewport and i've found that to be the quickest laziest way of rendering a quick image or animation
mild nimbus
Ohh
I read it wrong
my bad
xD
Viewport render
thats nice actually
wait is this how you playblast in Blender?

green ember
basically
mild nimbus
noted
green ember
this also lets you keep all the gizmos in the render
mild nimbus
Thats hella helpful
green ember
/
spiral sigil
ah right
okay so the actual issue
why is my basis shapekey wrong
it's annoying i can't just google this
spiral sigil
yeah
runic nymph
seems like you set a shape key as basis somehow
spiral sigil
the problem is that it's wrong in unity
i had a similar issue in the past where parts of the mesh would remember things that no longer exist
in this case it's the tongue
ughhhhhh
i've tried creating a new shapekey from mix and replacing the basis (with an identical shapekey)
So... I'm trying to put a model from sketchfab into vrchat, and videos online haven't really done helped so far... Anyone think they could help me with this?
that's very vague
devout scroll
entirely depends on the model
spiral sigil
i separated the tongue and rejoined and now it's fine
thanks blender/ unity
very cool
breaking for no good reason and fixing for no good reason
i have learned so very much from this experience
 dire sable
I know this is simple but i'm really new to substance painter, how do i change the color of the brush?
spiral sigil
hi @gleaming slate , how is your day?
yesterday i completed my spinosaurus animation video
it is now on my youtube channel
and here is the link to the video if you want to see it https://www.youtube.com/watch?v=HuZRmyR8D1M

I don't own everything in this video except for the #rendered #blender #spinosaurus I modeled for this video.
I made for video for the following reasons
I borrowed the #brontosaurus scene from the 1933 #KingKong
this is my first rendered blender animation I ever made in my who...
it is my first rendered blender animation i ever made in my life
mild nimbus
@spiral sigil you modified the basis probably which is not good
Need to delete basis and make a new one
 halcyon blade
I've got an issue with an avatar ive been working on. I created it in 3ds max (combined two existing models for meme purposes), put it into blender, turned it all into a single object instead of like 20 parts, simplified it down to 4 materials, yadda yadda. and it looks great in blender
problems arise when i put it into unity
the body and hat are partially transparent. you cant see the layer you should be seeing, but you can see the inside of it which is the exact opposite of what should be seen
this better shows the issue
the model shows up fine in 3s max, blender, and the default windows viewer so ive got no idea what unity is doing
fringe rock
Check for flipped normal
halcyon blade
im a bit new to this, how exactly do i check for that?
by any dhance did i mess up big time when i took all of the parts of the model and turned it into one big mesh thing?
halcyon blade
yep.. it was flipped normals
but now ive got a new problem
its gonna be very very tedious to select only the right verts
fringe rock
Look like its the face. You can select in the material tab the material in edit mode and it will only select the plane assign to it. Then flip the normal. All this in your sofware
halcyon blade
i had combined everything into a single object. i dont know the correct terminology. anyways though i just manually selected a couple thousand verts and it seems to be working fine
i uh.. feel like there was probably a much simpler way
and i missed a few things. seems this avatar wont be absolutely perfect and it has a few holes in it
fervent light
Modeling software tends to have the common use case of "select all vertices that share x property" so yeah, there was definitely a much simpler way than manually doing that
halcyon blade
i wish there was a "shares same material" property in blender. coulda saved a ton of time
fringe rock
The an option in the normal window. Check vertex normal. It will flip normals out if the serounding is
halcyon blade
i wonder how they got flipped in the first place.. is there a way to prevent this in the future?
needless to say i had no idea how that worked
stable edge
You can literally just go into edit mode, select the material you care about then under that press select all
That's how you select by material
halcyon blade
huh... i wish i had known that. ill be sure to remember that
 stark ore
egg
fervent light
Rule of thumb, if there's a common use case in modeling, there's a solid chance blender can do it. Selecting by material is extremely basic and common, it shouldn't be a surprise that blender can do that
mild nimbus
Maya master race
Jk
There student license system is Doo Doo now
Maya excels in animation now tbh
And uving
Rigging is debatable
But then again they have mel
🤷♀️
green ember
maya is also paid and a few gigabytes so itd be kind of embarrassing if it wasnt better in some places
but blender is open source and has an infinite amount of addons to make it comparable if not better than most other programs 🙂
green ember
blender workflows are usually way quicker and more optimized than maya, maybe last year maya was better than blender but now blender just holds so much more
its more viable and feature packed than maya i mean, wasnt autodesk abandoning maya like a few months ago
im saying that while knowing people who use maya over blender and keep saying how blender has so much more stuff but their brain wont let them switch
 wheat delta
a company nearby made everyone use Blender except the one guy who refuses to let go of Max, but then he's also blindingly fast and effective with Max so they let him have it
 tender sun
I seem to have issue where i wanna sculpt a mesh and it wont update in the mode when i try to sculpt but it shows when i go into edit mode
gaunt aurora
check if you have shape keys active
tender sun
oh thanks apparently it had a shape key on that mesh that wasent even active but fixed it by deleting it
white moth
if there's a common use case in modeling, there's a solid chance blender can do it.
Why can't I apply mirror modifier when there's shape keys
There is no reason it can't mathematically 
 untold steeple
anybody know why my CATS plugin keeps getting uninstalled?
white moth
Open a blank project and install the plugin. Then save it as the default startup project.
it's also possible you may have more than one blender installation, plugins don't carry over between versions
untold steeple
its not that big of a deal but now im getting an error when i click fix model
should i put this in #avatars-2-general instead?
white moth
More of a cats error, they have a separate discord. Are you using a blend file you obtained, or created?
untold steeple
created
i may not need the error to be fixed, i exported the model, ill see if it works
white moth
Well for sure the auto fix did not complete.
If you created the blend yourself I can’t imagine what happened. Cats devs would probably have to be given your blend file before the error happened and see what went wrong.
untold steeple
i made it before all the updates with unity (not that blender = unity, but time)
white moth
I recommend exporting as FBX via blender, then in a new blank blend project import the FBX via cats and see if auto fix suddenly runs without error
Keep old files, this is just experiment
If no error happens, it was some odd setup with your blend file, if the error still happens, it is potentially a cats bug and your model has something cats does not know how to handle yet
untold steeple
still error
white moth
Could be a cats bug. Or just something very unusual about your model that was not planned for
Auto fix is just a series of cats features done all at once, Avoid auto fix and do the various cats features one at a time and see if one of them also throws the error
It is something unexpected with the armature... does it even have one?
gaunt aurora
could he be on the old version, i was getting errors on the newest patch of blender with a slightly outdated version of cats
white moth
Just noticed, wasn’t even aware 1.83 was out already
gaunt aurora
i have blender through steam, so i’m always on newest release
untold steeple
i have the latest of everything and yes it has an armature
if i upload it and it doesnt work, then i will try going through each of the fix options
white moth
I use steam as well but I have the splash screen disabled so I don’t realize I’ve updated lol
young vault
If you care to know the error. It's trying to change the draw type of the armature. To change this manually (though, I don't think it really matters...) go to the armature, armature settings, viewport display, display as "octahedral". Not entirely sure why it broke. You might be on a beta version of Blender or smth went wrong with your cats installation. @untold steeple
Either that or it's trying to match the draw type to something, either way. It's bugging out.
I'm pretty sure it's about changing the draw type though. But, I really should head to bed. So, I'm not clear in the head enough to remember python.
untold steeple
lol ok, i will do that if needed, thank you
fringe rock
There is a plugin to apply mirror with shapekey. Dont remember where I got that
quaint jasper

I’ve been rigging a lot lately, and I’ve found some invaluable add-ons for the task at hand, I’ll probably write a post later on related on how I would go about rigging a characte…
 lament pond
 zinc shore
Getting my new model ready to go as an avatar here
 versed socket
So I'm trying to make a world. The texture of the floor seems to be going outwards, how do I make it go inwards? I tried to flip normals like it outlines in here https://github.com/rikeri/vrchat-room-tutorial/tree/d972e853c02ff0ee218e893e8bd6cb9859f816a8 but I think I did something wrong.
GitHub
A somewhat complete guide for creating your very own room for VRChat - rikeri/vrchat-room-tutorial
The inside of the room
zinc shore
You could try unwrapping the mesh UV and readjusting the texture
versed socket
How do I do that? Sorry I'm really new to blender haha
zinc shore
When you're in the shading tab just press U and it should bring up the UV unwrap menu
Then I'd click on cube projection
Oh, make sure you press tab first to go into edit mode
so 1. TAB 2. U and 3. Hit Cube projection on the menu
versed socket
Okay, I did that
zinc shore
Okay, now on the bottom left hand side of the screen there should be a 3rd window that looks like this
zinc shore
Okay, then click the drop down menu on the upper left corner and select UV Editor
zinc shore
Okay cool. So next step would be to select the part of the mesh you need the specific texture on by selecting the area on the model. And you're welcome ^w^ Blender has been my thing for 5 years now so I'm glad to help
versed socket
So let's say I need the floor, like... so?
Does it matter which direction the letters are going in? Or how dense they are?
zinc shore
Yep. Just select that area you want to adjust. then in the UV editor window you can adjust where that part of the mesh is in relation to the texture. And nope, you can always re-adjust where your mesh is in relation to the texture within the UV editor menu if you need
So to adjust where the mesh is on the texture you can use G to move it vertically and horizontally
versed socket
What do these uh.. yellow and grey lines dots mean?
zinc shore
That is the area of the mesh you currently have selected
each dot is a vertex
So, in the UV editor, you can select specific vertexes on the area of your model you have selected and move them around on the texture independantly
versed socket
Haha oh man, I'm... I'm a bit lost xD
zinc shore
Yah, I'm not too good at explaining things without physically showing how to do them myself ^w^'''
versed socket
No worries! I'm just extremely new to this, literally downloaded blender yesterday and started today haha
zinc shore
Ahh gotcha, my explanations are most likely a little bit too advanced for ya then, sorry >w>''
versed socket
Haha no worries! I'll try and keep up ^^
Okay.. so from what I can tell..
These are the vertices?
The edges?
zinc shore
Yep, the ones on the left are vertices, and the ones on the right are edges ^w^
Wait those are both vertices in the second image
versed socket
So did I do something wrong here? why's there a kinda ... weird uh line that crosses
zinc shore
Hmmm, Not sure. Might just be one of the edges that connects your roof to your floor but stretched due to the Cube projection unwrap ^w^'
Not sure tho
versed socket
You think it's okay to have there then 😂
zinc shore
I guess so ^w^'
versed socket
Haha sounds good then!
Btw how do I hide these again?
I clicked them open and now I'm not sure how to make them hidden
zinc shore
Mmmm, to tell ya the truth, I forget myself XD
versed socket
No worries then!
zinc shore
Okey
versed socket
Hmm... in that tutorial it has this:
It looks way cleaner than mine
How do I get rid of all these extra vertices?
zinc shore
You can hide them using H, or just deselect them on the model itself
versed socket
Ohh, alright I'll try that!
 versed socket
Ohh, got it thanks!
zinc shore
Cewl
versed socket
Alright, I think I did something wrong haha
I'm guessing it's not supposed to wrap around weirdly like this?

 vivid crater
always those circular bits
white moth
At that point I'd just normal map the circle.
vivid crater
well, they didnt have ridges or anything, just having it smooth shade with auto smooth would be alright
steady zealot
Again, model on the right is the actual game model
left is high poly details
so it doesn't matter how dense it is
white moth
got ya
quaint jasper
i mean, that's just asking for a bake high to low
or make your own normal/height map from that detail
quaint jasper
So the back will just be flat ?
vivid crater
its nice how many super detailed high poly electronics there are
steady zealot
I made it
steady zealot
ye
vivid crater
gud shit then
steady zealot
thanks!
onyx juniper
The details to be baked into normals will look great, but the poly reduction of all of the protruding cylinders is very noticeable. I wouldn't be able to stand them like that, personally.
white moth
I am immune to anything higher than an octogon. My brain just registers circles.
runic nymph
you.. round them up
white moth
What’s the best way to smoothly join two intersecting shapes almost like a meta-ball? “Boolean intersect” creates really weird normal shading and awful topology
Example; putting a head on a body and wanting to round off the neck seam
Boolean Intersect creates edges along the intersection and I can shade smooth but the the result is kinda ugly
What’s the best way to create a more gradual flow from one model to the other?
fringe rock
Manually cut
young vault
Boolean union if you want to fuse two objects. Be careful to see that the inside of the two objects get removed.
You'll probably want to clean up afterward though.
 latent charm
Manually. Get the vertex count at each edge matching and join them up.
white moth
Well the bottom of the head is just a smooth grid of quads like a floating head, body is just a neck poking up with a hole
Joining them JS trivial if you don’t mind an ugly seam where it all intersects
 scarlet dust
forgot to make screenshots of the progress... I was to focused of modelling it! XD
Head from Scratch:
https://gyazo.com/2f6e4308f74d8e9ca395eb4d58af59fc
https://gyazo.com/cdbf00cad13b28ddaff6b21cbb3a1c84
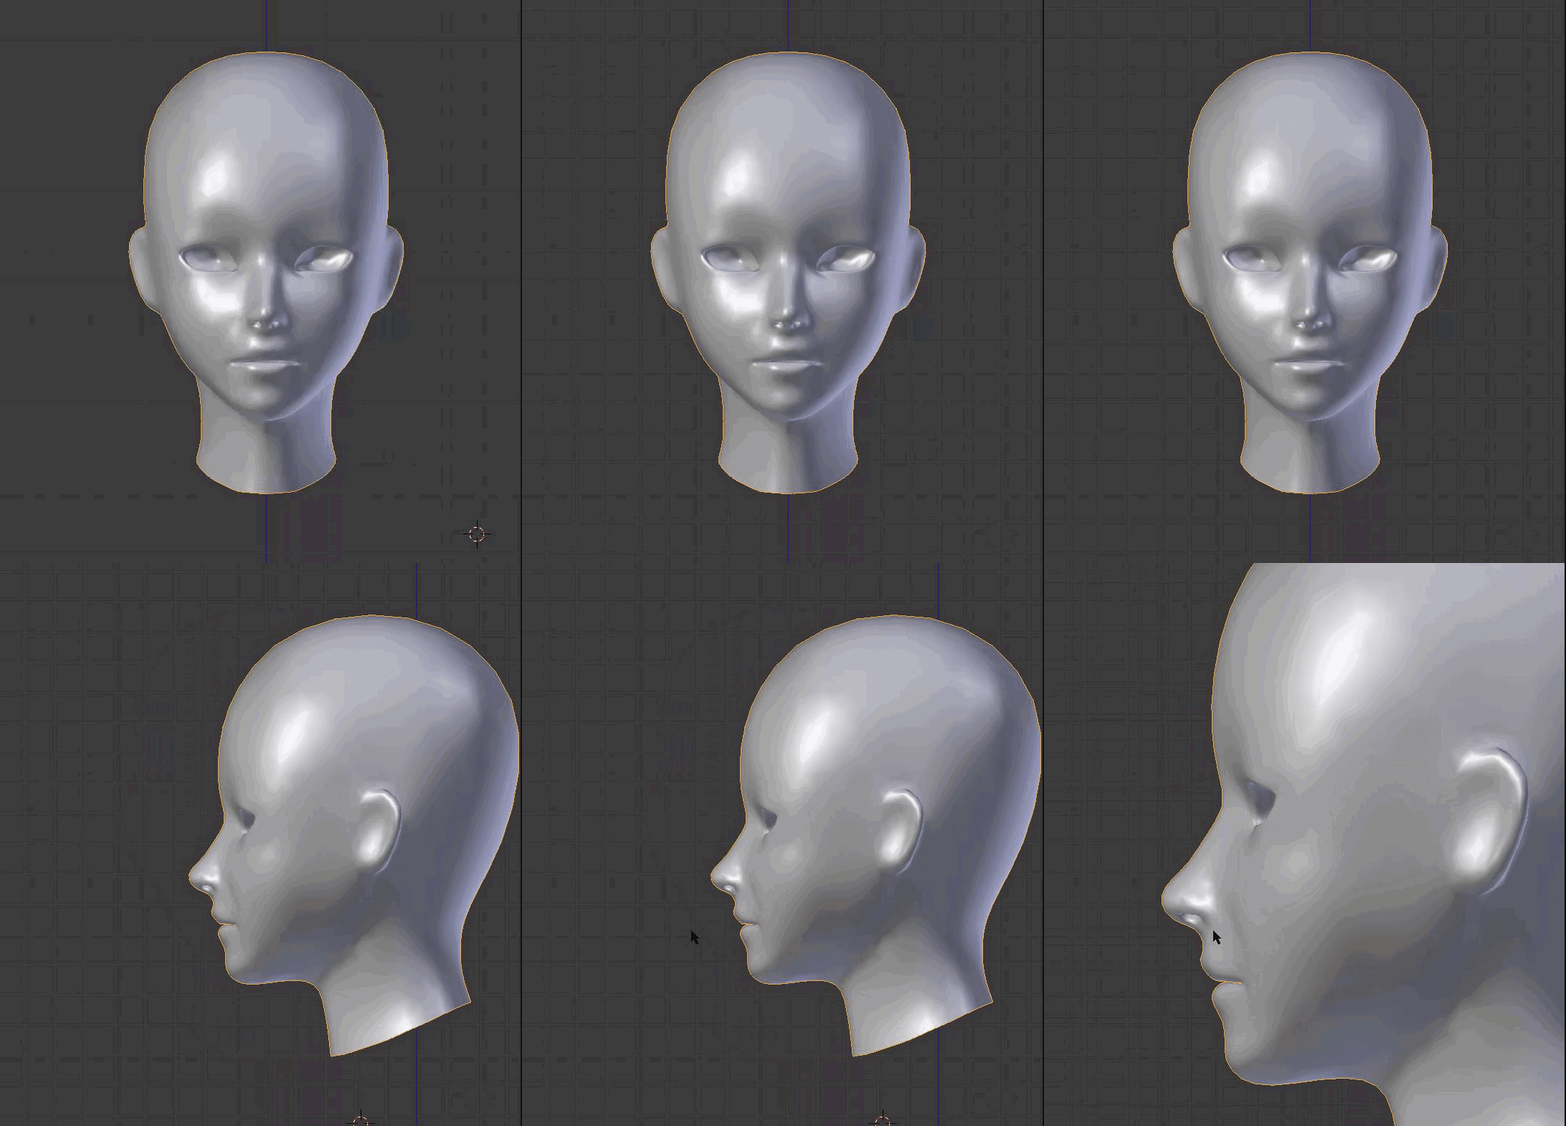

making the mouth inside
https://gyazo.com/33655bca8ee9ff3938a3658a78afb3d6
and really detailed Eyelashes
https://gyazo.com/cb06a6e2b59dd035f9b9914b978c066e

 spiral sigil
I'd consider looking up hair cards to abstract the detail on the eyelashes and eyebrows to not be such a dense area of polys.
 calm zodiac
yea 240k polys is too mush and you don't even have hair yet. if you're planning to upload it to vrc
solar fossil
even if you don't want to upload to vrc, that is a lot of polygons to work with
onyx juniper
Maybe Neona just has the subsurf level higher than 1 I just noticed that none of the objects have any modifiers at all
craggy lintel
Hey guys which mesh do you select first when you do ctrl J
Hair or body
And for armature
I keep forgetting which to select first
vivid crater
it gets joined to the second thing selected
craggy lintel
Wait which type of parenting do you do
 green zodiac
ok so because something has a lot of triangles that doesnt nececarily mean it has a lot of polygons
 plain spruce
Anything with a lot of triangles, quads, can have many polygons
Due to vrc limit you can reduce the amount of polys by converting some of those tris to quads etc
stable edge
Wha
No
Everything triangles in the end
If you make two tris a quad they'll get converted back to tris
???
green zodiac
so is there a way by which i can reduce triangle in a model i download? i know nothing about modeling but i'm not gonna let that stop me
plain spruce
You can just use the decimate modifier
stable edge
Reduce loops
green zodiac
whats a loop
stable edge
Decimate modifier has a setting that plays nice with keeping the model to deform as it should
green zodiac
i see. if i am reading this correctly, closer to 1 = less polys removed?
stable edge
Add on the mesh the decimate modifier and change it until you have a good amount of faces
green zodiac
my planned model will be a spaceship head and two hand puppets (i think they're called that) so deformation isnt a factor for that (i think?)
the other bones will just be invis
ok so poke at the decimate modifier is the vibe im getting
thanks
stable edge
If you're making it yourself you probably don't need to decimate
Just keep it lowish poly when you make it
green zodiac
i am not is the thing
im downloading some models for the head and hands except the triangle count on the head model is 6 digits
ill scope out the decimate modifier and google the loops you mentioned, tho, thanks for the halp
stable edge
L
fervent light
I've got a model with materials per different color, rather than a texture mapping. Which means hundreds of materials. Is there any way I can make a texture out of this?
quaint jasper
sure, 32x32 color atlas
fervent light
Is there a way to do that with the materials I already have?
quaint jasper
If they don't have at least color textures i'm not sure
fervent light
Nope, they're just diffuse colors
lament pond
green zodiac
i downloaded a sketchfab model, it said it downloaded fbx but blender can't see any model or anything in the "open" menu
devout scroll
look at the import menu, the open menu is only for saved blender scenes
green zodiac
that did it, thanks
green zodiac
ok so now im having trouble applying the textures
i loaded the file in the texture menu but it doesn't seem to have applied
and when i hit the "render" button a window pops up but nothing is there (presumably because there's no textures)
the tutorials are all like "scroll down to mapping and use this setting" and when i do that the setting is not there
stable edge
Uhhh 1) material preview, don't render 2) take a screenshot of what you see for the textures then
green zodiac
what and where is a material preview
context: am currently trying to import someone else's venator star destroyer
stable edge
3d view, top right, there's like four circles iirc, use the third one
Wont matter if your materials are bad thou :)
stable edge
Again, show materials
green zodiac
like post the texture file?
stable edge
In blender
Chose a material
And show us what the settings are
Why can't you scroll down to mapping and do so and so, screen shot that
stable edge
Lol looks ok
Base colour > the dots > image texture
Chose the image used there ig?
You could also just go into nodes if the texture just exists already and just wasn't connected
green zodiac
I’ll give it a go, thanks again
 green zodiac
ayyyyy it works!
 plucky crest
Hey guys. Super newb question. In blender, what's the shortcut for drag-DEselecting in edit mode? I used to know it but I forgot what it was and its driving me bonkers >.<
plucky crest
Thank you so much you're a life saver haha
 late hull
anyone knows a good way to find realistic materials for unity for free not from unity store
solar fossil
very much like plastic and somewhat lifeless, nice
 lilac cypress
green ember
lilac cypress
green ember
really like the robotic parts
 dark junco
.............
green ember
you can get most of them to work right ingame with either constraints or dynamic bones
either way it looks cool
runic nymph
ngl that looks a bit uncanny
 floral tide
Hey everyone I'm making a 3d project of reverse parking cam working. If anyone interested DM me pls
wind zinc
https://twitter.com/GuiltlessGantz/status/1279666922749964289?s=20 some stuff for artfight


 green zodiac
ok so i'm having an issue with importing textures onto someone's .gltf model. The thing gets textured, but the textures are all misaligned and ugly
im using blender btw, and i already have a .fbx model in the file/scene/thingy
quaint jasper
Check the UVs then
green zodiac
the whats? i am a superbeginner
quaint jasper
yeah that'll be problematic
You should do the donut tutorial at least to get accustomed to blender's UI
green zodiac
ok
quaint jasper
that's the minimum expectation here is that you know where stuff is 
green zodiac
thats unreasonable everyone here is mean im gonna take my fire truck and go home /s
have fun doing dev stuff or whatever you do
green ember
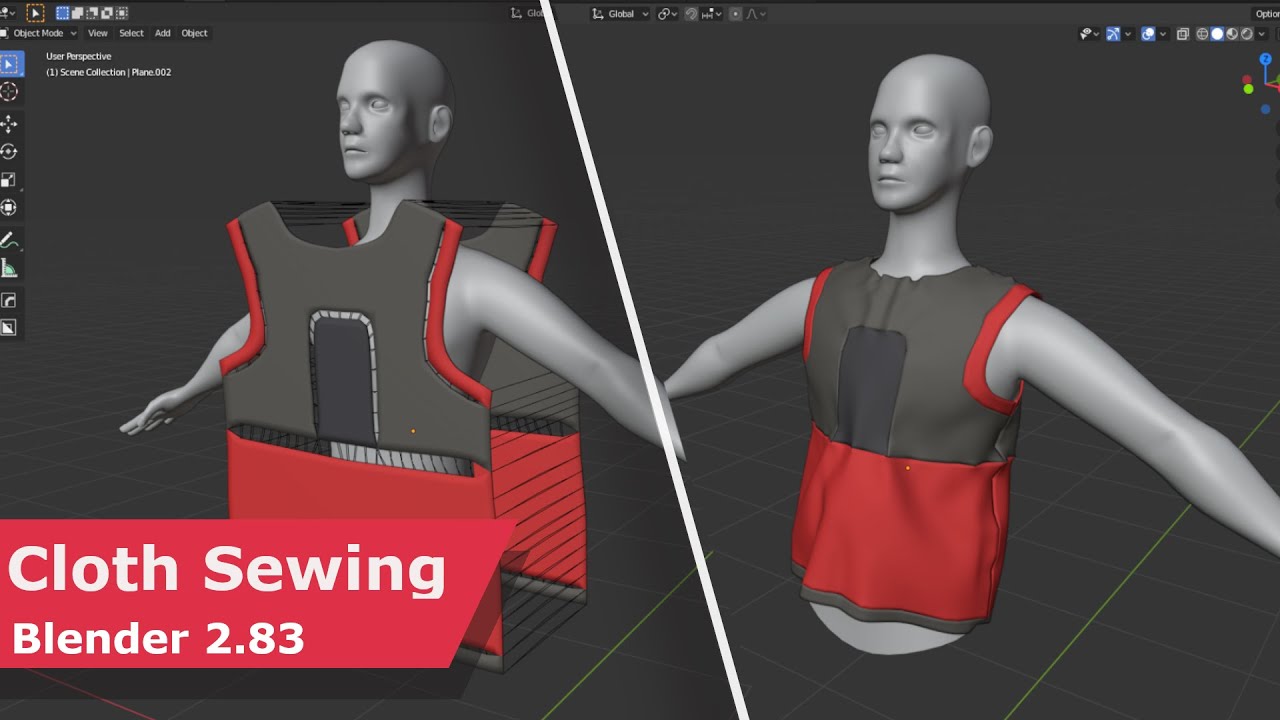
Learn step by step how to do cloth sewing in Blender 2.83 Alpha. I will be making the scene files available to Patreons.
🎉Patreon:
https://www.patreon.com/PIXXO3D
📷 Follow me on Instagram:
https://www.instagram.com/juandrepixxo/
❤️ BIG THANKS to all my SUBS, you guys mak...