#3d-modeling
1 messages · Page 42 of 1
 small cloud
 flat oriole
thx, this makes the work much easyier^^..
 covert fractal
Anyone know where I could possibly find a TV remote control model (for free), that I can add to my world?
flat oriole
on all 3d model website you can download stuff for free^^ like sketchfab.com or turbosquid.com and so on
and use the "downloadable" filter
covert fractal
How can I look for 'only free', when on those websites?
flat oriole
when you click on Free in the filters, on some website like turbosquid you have to click on Price and click on Free
 solid shale
Messing with a friend's model for vrchat and wondered if 18K is really too bad a polycount
I could remove some covered areas but it's a pretty clean and even mesh to begin with
solid shale
That's cool
 zinc furnace
The difference between 10k and 20 will be absolutely negligible
What matters is material counts
solid shale
Ran fine on mine but I was worried people on toasters would cry for my blood
And yeah, materials is going to be tricky. There's a whole bunch of different textures on it
 zinc furnace
That's fine, there's texture atlasing for that.
Tupper has a guide on manual atlasing
Not strictly necessary but I would absolutely recommend it if you have more than 4 materials
Texture atlasing gets easier with less materials though, so I end up doing it anyway
solid shale
So far there's ones for the body and 'hair'
But I may give the eyes their own since they're blurry and may need one for the metals
https://i.imgur.com/6drVN3P.jpg It's the amount of 2048 textures that worry me
 flat oriole
what can be the problem when on some faces the new circles will not be there like on the picture?? https://abload.de/img/bild424ol6.png
 solid shale
Looks like stray verts
 latent charm
@flat oriole You've got a extra/double edge/face of some sort. Look at how the edge the loop cuts refuse to cross over looks different?
You might have accidentally split it, or split & filled with a triangle or an n-gon that the loop cut can't cross through.
flat oriole
now i finish my rigging and weight painting, how can i add the viseme stuff/ shape keys?
 blissful sleet
create shape keys and use proportional editing to shape the face
flat oriole
i dont have the value bar by shape keys? is the shape key function depending on some other stuff?
blissful sleet
click the plus to add shape keys?
flat oriole
no doesnt work
an other question, because of i made new face parts on the mesh the texture is not looking correct on this new faces, how can i fix this?
shape key problem fixed btw.*
 gusty crypt
so anyone know any simple way to make a curve like this. it is a Bezier curve and has no mesh so i can not joint it to the head. i tried creating a torus and editing it but having some trouble . https://s1.gifyu.com/images/blender_2018-05-09_16-13-27.png

nvm sorry should have done some research i found out how to do it thank for those that saw
 brave dune
should be able to jsut turn the bezier curve into a mesh
Alt + C can be used to convert a bazier curve into a mesh
gusty crypt
yeah thank you very much. i will have to use that more often.
 mental blaze
https://cdn.discordapp.com/attachments/353351685982388234/444036750524809216/LLENN_Progress_5.png
The face is okay for now, but I'll have to redo the hair again after the props are modeled.

 spare fulcrum
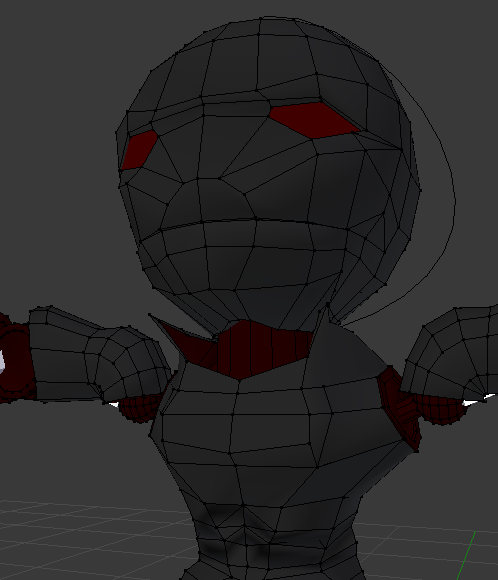
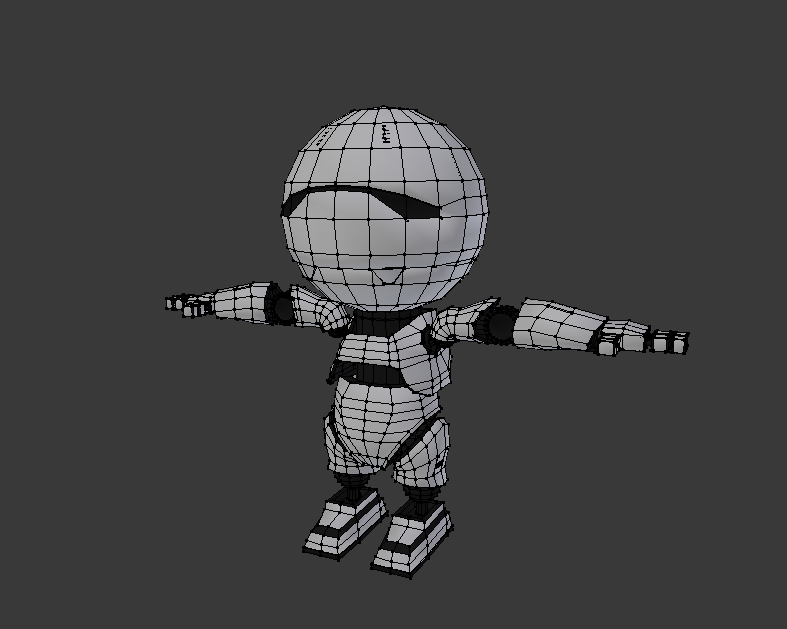
https://i.gyazo.com/81341dd9d5c659ab32be79ddb1579d18.png The Tiny Penetrator Robot Boy deserves a little six pack
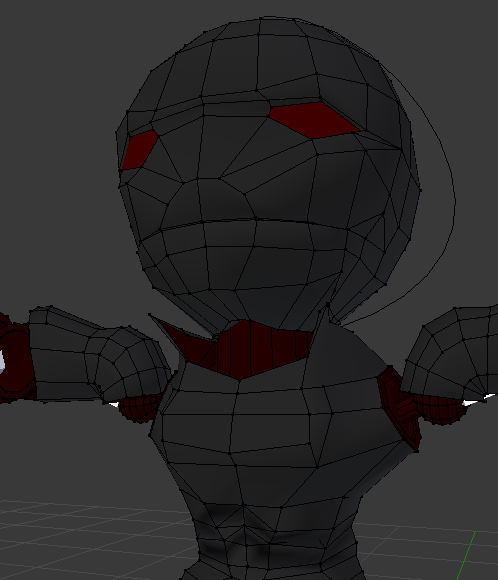 mental blaze
Looks good so far.
spare fulcrum
https://i.gyazo.com/dfcacd2a97427ecf8d0fc0cb9a074246.png sharing my progress here, because I want to show it to someone and noone I know cares about this.
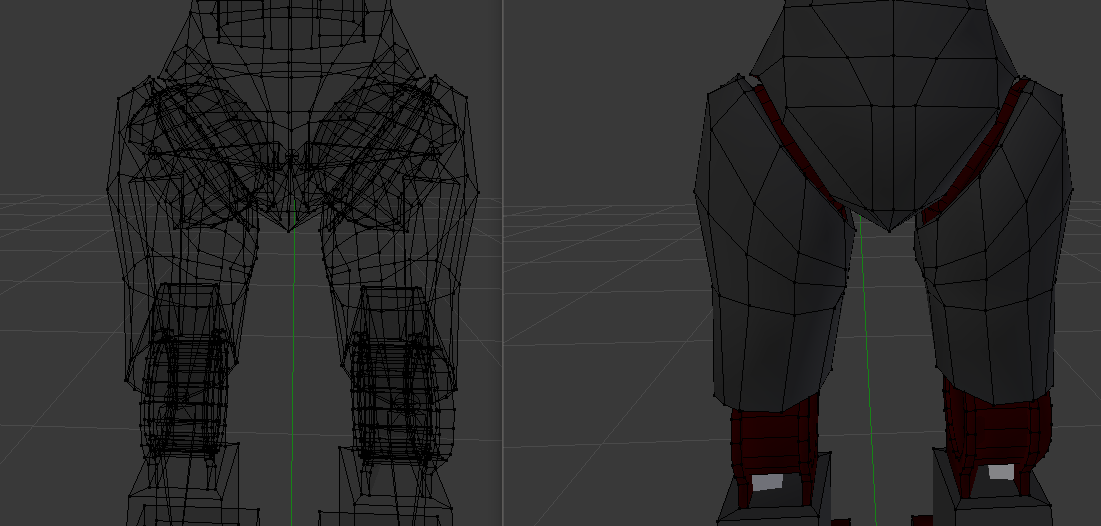
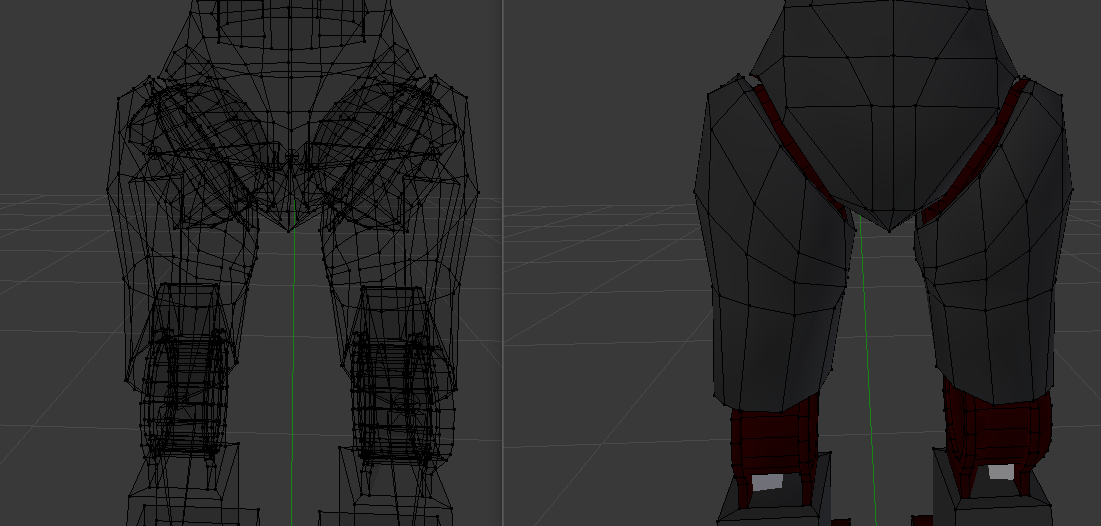
Ball jointed legs and hinge jointed knees.
 hasty crane
could someone help me? I got a problem with wing where I added extra bones so I could lower them below my back, however this happens
 static sun
looking good so far @spare fulcrum

 spare fulcrum
Thank you, @static sun
hasty crane
Would anyone know a way to fix this without getting rid of its thickness
static sun
np... im just fixing some topology on my character atm
blissful sleet
what's the problem @hasty crane
hasty crane
That outline you're seeing normally connects the front side of the wing with the backside for added depth but moves out of its position
static sun
If you wanna keep it low impact, just use a flat plane and a transparency cutout
spare fulcrum
https://i.gyazo.com/c5511a4ba9f2199e72b5cdf2f6bbb57b.png for a moment I freaked out because I thought some iron giant was peeking at me in Blender, but then I realised that's just the robot's thumb...
 spare fulcrum
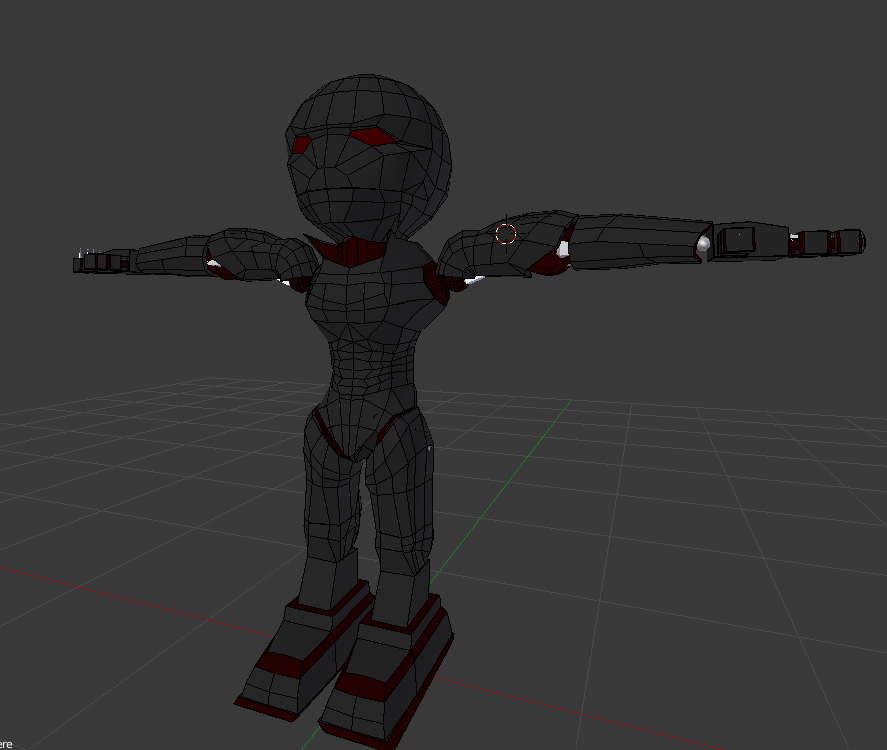
https://i.gyazo.com/e83e4122ff024adc48fd3eac0f505b65.png The model is slowly entering puberty
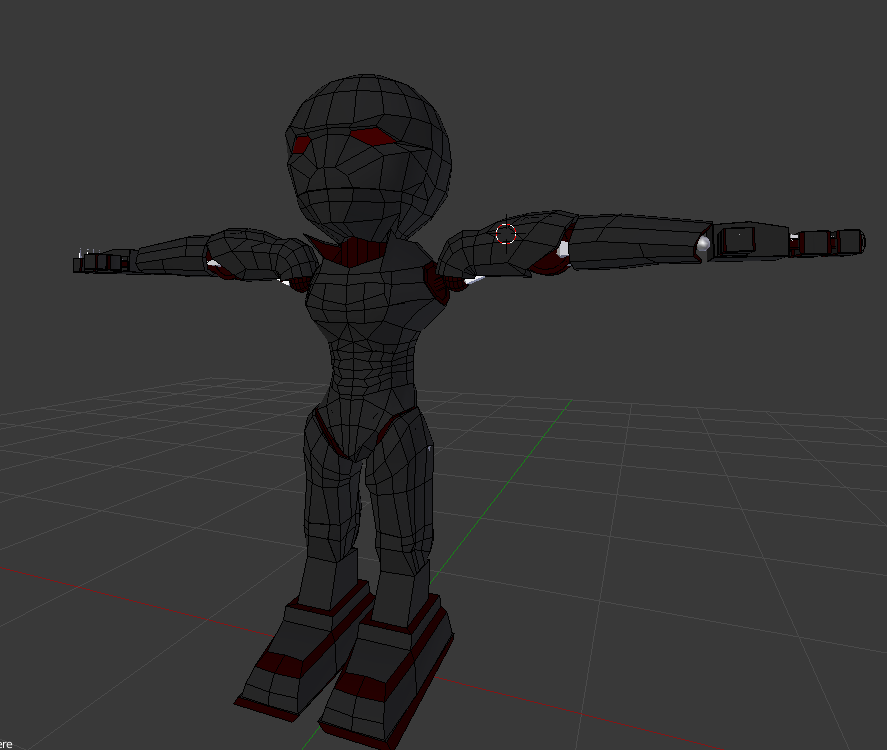
https://i.gyazo.com/e82ca2b4c4b202b4cc0d9b60b1871ab0.png has come a pretty long way
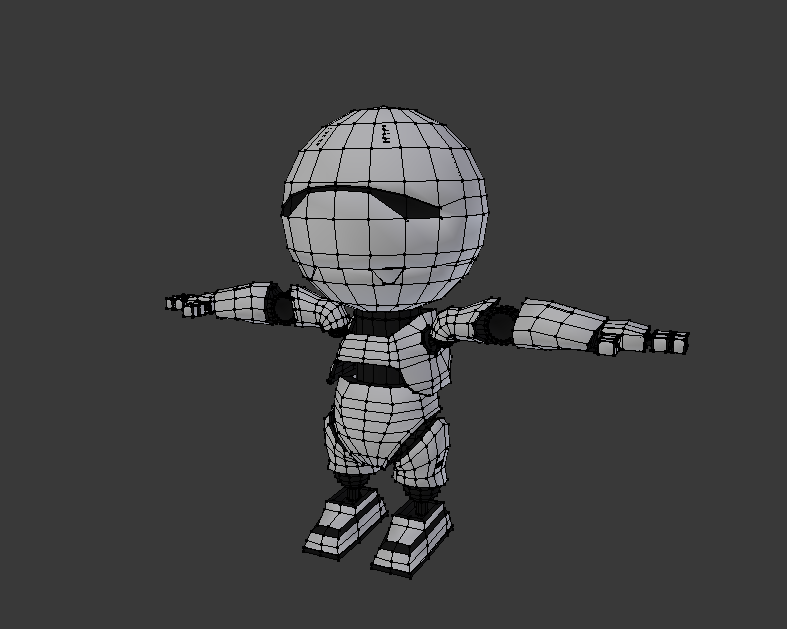 flat oriole
i know i can fill square gabs with bridge edge loops, but how can i fill triangle gabs?
 indigo hatch

can i make my sweater visible? lol
it doesn't show up in blender 👀
kinda need it cause i'm frankensteining something
spare fulcrum
@flat oriole Select only 2 edges and it'll make a triangle.
flat oriole
i get everytime an error: "Select at least two edge loops"
spare fulcrum
What program?`
flat oriole
blender
spare fulcrum
Select two edges and press F in edit mode
flat oriole
ah ok, thx
indigo hatch
nvm found it
 green terrace
Eyy
I'm new
Mostly here for announcements but if anyone here ever needs help with Blender, feel free to ping me
I'm like a walking encyclopedia 👍


 green terrace
Oh I remember my LiS days
I've worked a lot with the models
Haven't even played BTS yet
static sun
do et D:
and bring tissues for Farewell
also i created the character from scratch <. < didnt pull it from the game ^- ^"
green terrace
I've done a few level commissions for fan projects here and there but mostly it was during my 3D learning phase so I didn't create a whole lot of original content other than an HD re-texture of Chloe
static sun
i do all my stuff from scratch
green terrace
Nowadays I do that too of course 😄
That was over 2 years ago when I wasn't confident enough with that
static sun
awesome
i have 4 years in the games industry as a 3D artist and nearly 10 years total 3D experience
green terrace
I'm at about 5 years now. Started working on my first large scale Game project in January
static sun
awesome
im coming round to the end of my first commercial project that should be out by the end of the year
green terrace
Would love to know more, maybe ping me a link in the lobby channel, I'm heading off for today so I can look at it tomorrow
static sun
we dont have a discord ^- ^" maybe after launch
green terrace
Ah so it's all confidential still then
static sun
yus
flat oriole
how can i connect single mesh parts together? in blender
 eternal crow
i really wanna make this one but its got so many tiny pieces https://image.prntscr.com/image/y7c7zhctTquk8Gz1D7F4eg.png

just the weapon not the character
but for now ill just work on the sword
eternal crow
well im still kind of new to hand modeling so its a bit difficult on my skill level
http://prntscr.com/jgcjl7 i also have a image of it at a upwards angle
 flat oriole
between two mesh parts i have a gab, how can i fill the gab? (blender)
static sun
bridge
eternal crow
kinda how like this one lacks a lower torso and shoulders?

which are basically huge ass gaps
flat oriole
@static sun how?...
static sun
select 2 edges and hit F
flat oriole
there are two different meshes, i can only click on one mesh to edit
static sun
join them together first
flat oriole
probably you mean ctrl + j?
static sun
yh
flat oriole
ok but then i have a new problem with the material, because i can see the texture only on one part of the new mesh
static sun
i cant help you there
flat oriole
jea...
static sun
sorry... i make all my stuff from scratch and dont get these issues
mental blaze
he's working with a mesh that already has uv mapping on it.
so whatever is on the mesh is being distorted.
static sun
just UV the newly added faces then
mental blaze
^
static sun
Maya auto UV's
flat oriole
easy to say.. i dont know how to work with uv mapping
static sun
results arnt clean but its there
select the faces, hit U
then in the UV panel hit "G" to move them around, "S" to scale, "R" to rotate
mental blaze
 static sun
that looks kinda creepy o. o
mental blaze
The face doesn't match the reference, but it's a start
flat oriole
after pressing u i dont see a new panel
flat oriole
i did, but i cannot comprehend it for my situation
static sun
its the area under the nose
static sun
the reason why i sculpt and retopo instead of freehand model characters is cause you get the face planes and forms down properly and avoid this level of creepy <. <
the issue is you box modelled it
mental blaze
is edge and box modeling the same thing?
static sun
Box modelling and edge modelling are the same
its basically where you extrude faces, verts, edges and form a shape
good for things like cars, buildings and weapons
bad for anything organic like characters

sculpting (zbrush) modeling\retopology (3ds max\3d-coat) texturing (substance painter)
you get a more natural feel if you sculpt then retopologies
mental blaze
I'll give it a try after I make the p90 and combat knife
static sun
blenders sculpt tool is half decent... look at Yan's work on youtube for tips and tricks
mental blaze
mouth/nose area cleaned up and ready for sculpting
 quasi flame
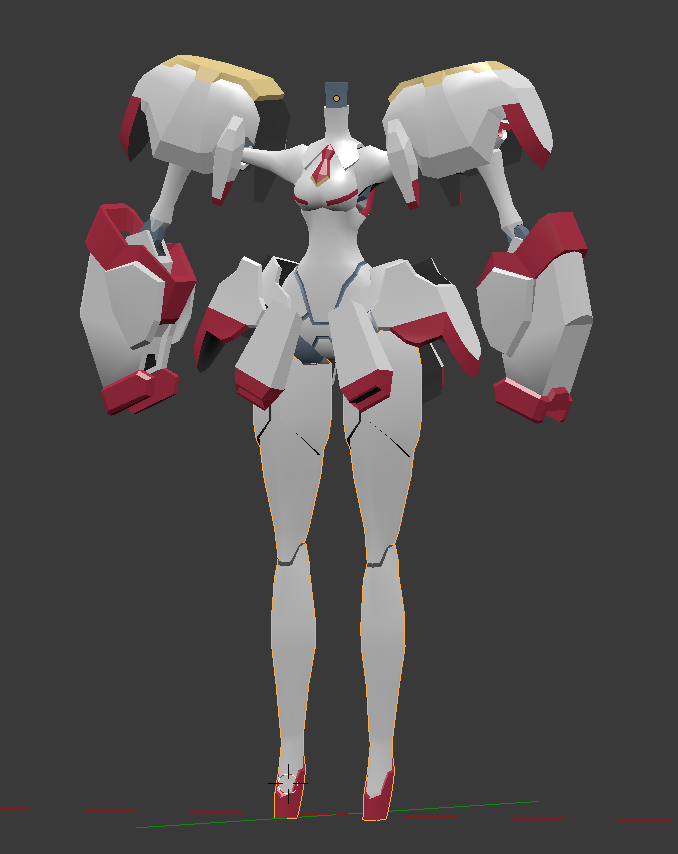
sexy robot legs, check!
https://i.imgur.com/6VJYhrK.png
 hot flint
Looking clean as heck!
well done!
also noticed that you bumped up the tris on the chest, haah
it was originally very deprived
 hallow shore
https://imgur.com/gallery/JQ5lSUE you can probably guess what this is
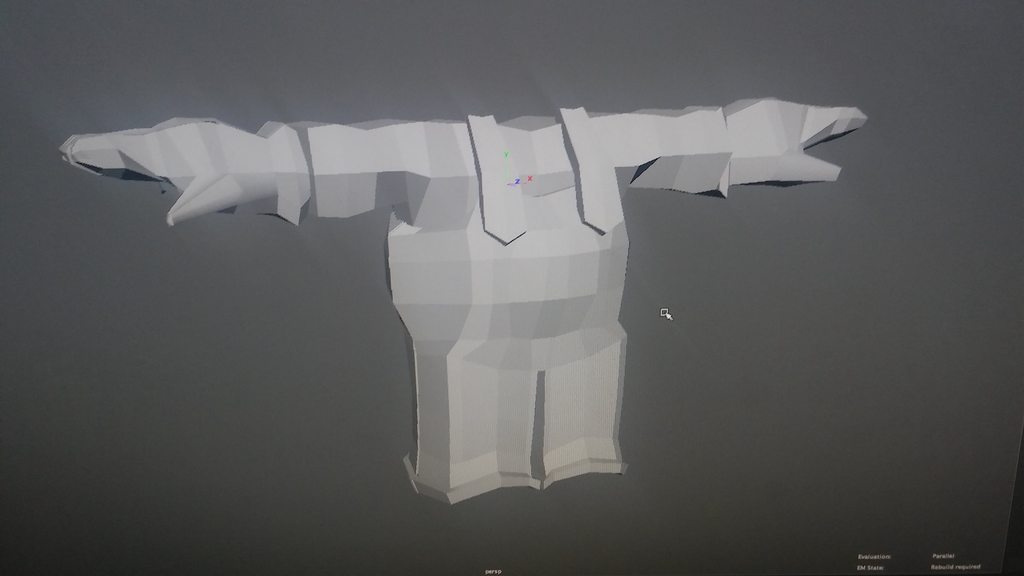
Any tips on making right and left hands symmetrical?
quasi flame
mirror modifier if that's blender
 stable edge
And if you have no keyshapes
hallow shore
i use maya, but thanks anyway~
mental blaze
https://cdn.discordapp.com/attachments/353351685982388234/444373924059414538/LLENN_Progress_7.png
I found her sheet reference, now the colors are set. (p90 model placeholder used)
 hallow shore
👌 cute
stable edge
Your models face isn't cartoon or real enough
That's why it looks off
It's in uncanny valley
mental blaze
that was an interesting google search, m8.
stable edge
The eyes are too open for the iris and co the hair shading is weird and the middle of the nose/mouth is extruded too much
mental blaze
but yeah, the face will get a do-over in sculpt mode after the other props are made.
already fixed the nose/mouth disfiguration
stable edge
Dunno what you mean by google search
mental blaze
never heard the term uncanny valley
stable edge
But the shoulders might be for too high for a childish character
mental blaze
I'm working strictly from the character sheet reference
stable edge
Unless their arms are usually that stiff
stable edge
All g!
hallow shore
https://imgur.com/a/CHqEvCN make this next
 hallow shore
smack
mental blaze
Just checked the sheet, I have to scale up the head ._.
mental blaze
Oh I know, the most important element of all
stable edge
Right now they just kinda stare soullessly
quasi flame
Maya has the same thing, you make an instanced duplicate special across the axis
@hallow shore
 junior idol
anyone have tips on how to model a face?
spare fulcrum
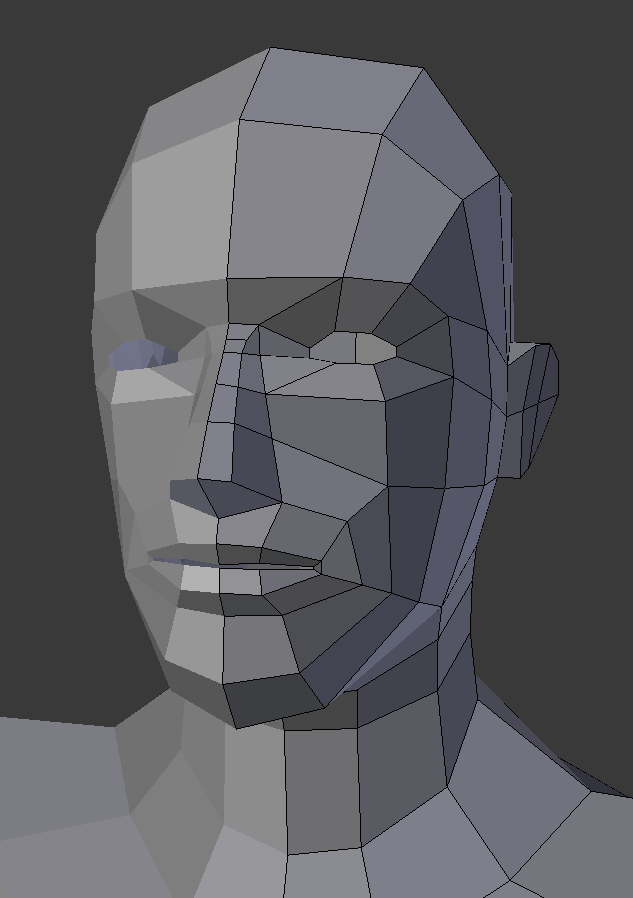
I did it like this - start with a ball, then for the chin, then the jaw, and then the cheekbones. You have the basic front shape then, and going from there should be fairly natural.
https://opengameart.org/sites/default/files/human_male_face.png for a low poly example.

https://s3.envato.com/files/18241030/Human Head Base Mesh - Preview Image1.jpg for a slightly higher quality example.
 junior idol
thank
spare fulcrum
Damn, that low poly example is hot, I'm definitely going to take some guidelines from that to my own model.
static sun
Just look at face topology examples
spare fulcrum
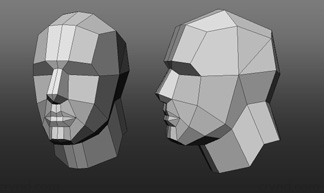
http://cryrid.com/3d/temp/planes.jpg for some reason the low poly faces look amazing to me
 junior idol
👀
static sun
The ngons don't help it
spare fulcrum
Only the last pic seems to have an ngon
The rest are all quads.
And that one ngon could easily be divided into two quads.
Or even triangle+quad.
junior idol
wtf is a ngon
spare fulcrum
Faces with 5+ vertices
For animations quads work the best(4 vertices)
Triangles are better than ngons in most cases, but still not as good as quads.
green terrace
triangles are the only stable faces so they're recommended as a baseline until you know what you're doing when moving to quads
spare fulcrum
Common workflows that take advantage of quad-dominant meshes. Triangles have limitations they do not. In most cases triangle heavy meshes are not ideal, but it all depends on how you model the character.
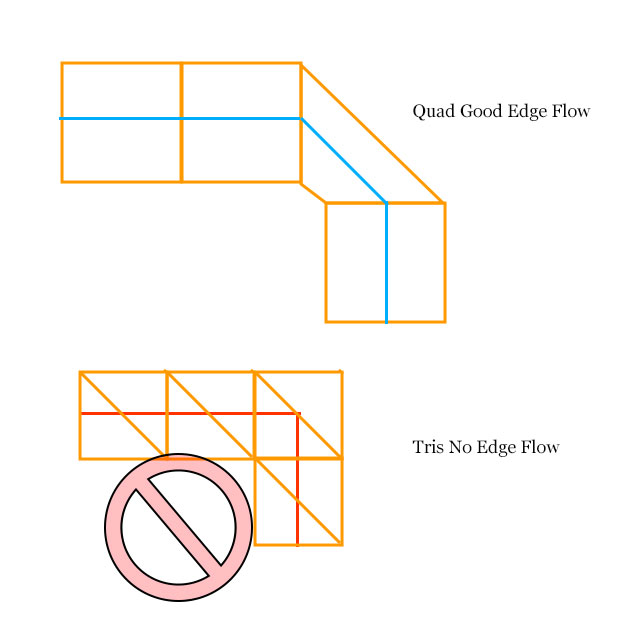
Triangles are not good for smoothness.
Ngons subdivide smoothly and therefore deform better.
green terrace
I avoid triangles where I can
because it disables edge loop detection
which speeds up modeling workflow by the hundreds
ah your image shows exactly that
spare fulcrum
In short: quads > tris&pentagons > everything else
latent charm
Tris are okay if:
They're on a non-deforming area of the model (like a gun barrel, etc)
They're evenly sized, because long thin tris can cause weird smoothing artifacts
The engine is automatically converting a n-gon to tris with the edge going the wrong way
Otherwise yeah, try to avoid them for reasons shown above.
static sun
regardless of if it shows in VRChat or not... unity will automatically triangulate the mesh cause it deforms better.
quads are just easier to work with
triangle deform better, quads are easier to work with
work with quads.... but dont avoid tri's
latent charm
I think the reason is GPUs can't actually work with anything but triangles (last I heard anyway) so everything gets converted down to tris eventually.
static sun
its mostly to do with textures
latent charm
probably because tris cannot be nonplanar. (seriously, try to imagine a nonplanar triangle. It'll blow your mind out. :D)
static sun
the CPU is the bit of hardware that handles topology... the GPU just adds the textures, shaders and post processing
latent charm
I... what. The GPU absolutely handles geometry. How else can the model even be shown on screen?
static sun
the main reason why the poly limit on characters in the SDK is 19,999 poly is cause the world average of players means it wont screw over people frame rates in VR as much
you say that... but Zbrush is CPU based and doesnt touch the GPU in any way other than for display output... and can handle millions of poly
latent charm
That's completely untrue. GPUs are amazing at handling polygons. The framerate killer is people using too many skinned mesh renderers and too many materials which slows the CPU down.
static sun
again now
latent charm
ZBrush does really weird shit to do its stuff.
static sun
materials and textures are VRam dependent... poly are CPU dependent
the reason why Vram gets eaten in VRchat so much is cause so many people think its ok to have a character at 19.9k poly with 20+ materials
A world of people in VR with correctly done characters wont have any lagg
latent charm
The problem with having 20+ materials is that for each material the CPU has to switch from one to the other. That switch time is what contributes to fps drops.
20k polys is nothing to a vr capable GPU, even at the lower end.#
Specifically, in unity 5.6, a well made avatar will have 1 skinned mesh and 1 material and a well made shader.
And up until somewhere around 64k polys that will have minimal impact.
static sun
multiplayer games require lower poly because of the CPU strain.
and yes... few materials mean less GPU strain
its better to have 1 material with 20 texture layers than 20 materials with 1 texture layer
latent charm
https://docs.unity3d.com/Manual/OptimizingGraphicsPerformance.html
The unity docs literally state that a PC GPU will only begin to struggle over several million vertices.
 static sun
each material set has a shader call and thats more gpu intensive and VRam heavy
VRchat needs LoD implimented
latent charm
In worlds LOD groups work as expected, and on avatars too but all LOD groups show at once in mirrors.
static sun
from my experience LoD only shows up with dynamic bones
if LoD with avatars where implemented correctly, you should need to upload a high poly, mid and low poly for 1 character
high poly being around 65k poly, mid being 20k poly and low being 5k
means more detail and less performance issues
green terrace
@latent charm Yeah that's right but if you're working with it it's easier to have quads
spare fulcrum
Doesn't VRChat make the animations before turning the end frames into tris?
 cloud verge
Quads are a nice organized way to keep track of the topo when modeling and allow you to quickly add detail with edgeloops...they typically deform in animation a little better
But I also come from an animation background so they were quite essential if you were putting smoothing on them for rendering
So to this day I still avoid orphan tris and 5 poles whenever I can (though sometimes neccessary)
 tepid mirage
Can we upload avatar with +20.000 Polygons ?
static sun
19999 poly
spare fulcrum
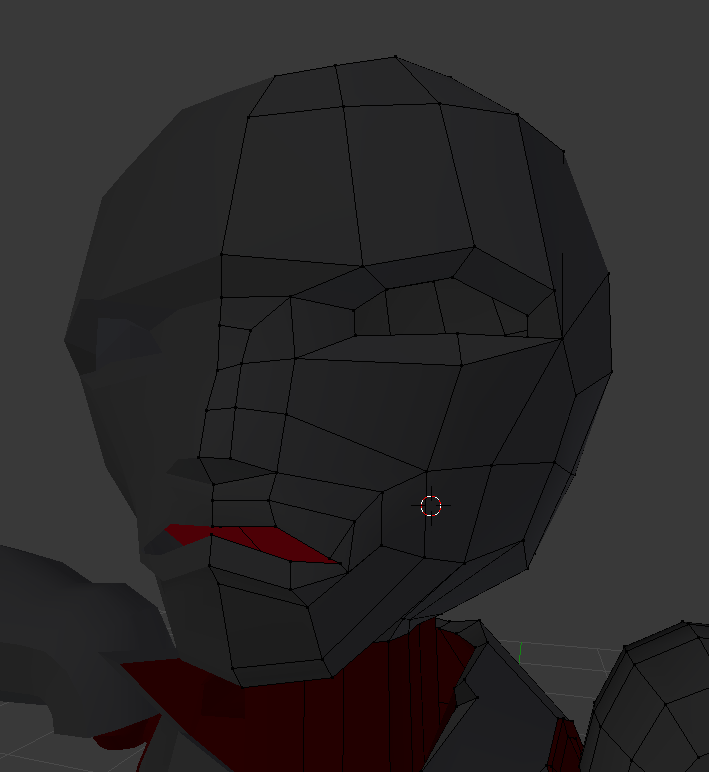
https://i.gyazo.com/4646d8f1ff4aeb4a525ed4a151f639f3.png making the face too human makes the robot lose its charm =/

https://i.gyazo.com/0857dfbb0834d6c884f84a8feb56a996.png when she finds out your fetish
 tepid mirage
@static sun it's not possible to have more ?
spare fulcrum
It is, but it's technically hacking and a bannable offense.
tepid mirage
😐 fu
tepid mirage
The quality is not WOW at 20k poly 😐
spare fulcrum
Triple A games have under 20k models
Batman from Arkham City and main character from Crysis 2 are two good examples
static sun
My character is at 19k poly ATM
spare fulcrum
It's not about the poly count, it's about how you use them.
 harsh jacinth
Triple A games have modeler who know how to optimize for game sake, with millions of polys accumulating in game at one time, they have to optimize.
Also SDK modification is not against the rules and isn't bannable, that is misinformation.
This is posted in Announcements; and it's also stated in the EULA section 5.
https://i.imgur.com/X4QfgrY.jpg
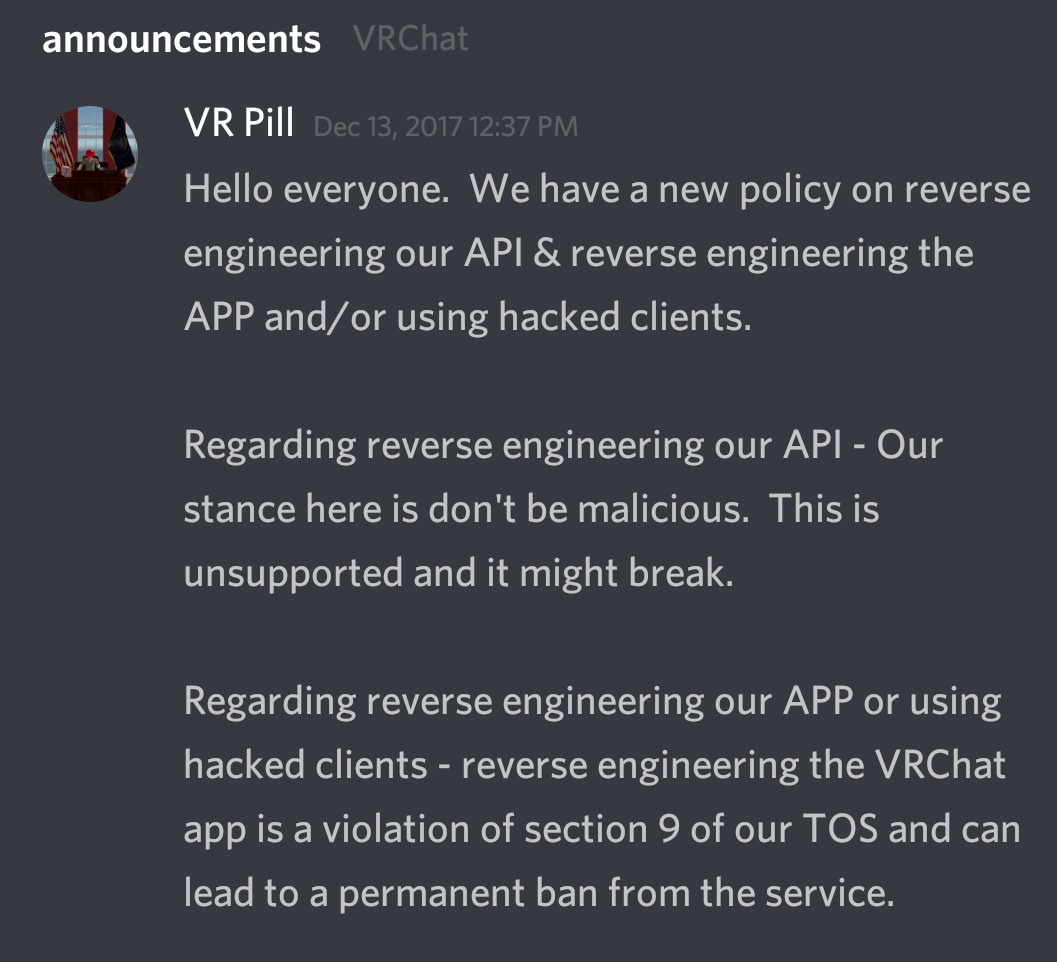
I mean its cool if you have the aptitude to manually go and reduce your polys, props to you. But decimation just sucks because its the computer trying to calculate how to reduce the polys, and can look terrible as a result.
Just optimize your materials and atlas your stuff.
 modern mango
that is a little dated eh? 😄
Also you seem to confuse reverse engineering the API (e.g. communicating with the servers) with modifying the SDK which is 2 completely different things.
This text says absolutely nothing about tollerating SDK manipulation, if at all, it says the opposit.
The SDK is part of the app and thus manipulation is strictly forbidden
modern mango
The only thing that might be allowed according to that text is if you would write your own uploader that uses the API without using the original SDK and parts of its code.
But even with that, when you use it to upload content that is limited and forbidden by the original SDK, it is malicious use and thus forbidden.
harsh jacinth
Understood, thank you for clarifying! 👍 😄
spare fulcrum
https://i.gyazo.com/84eb19789e69ee71ef3d65d45cc9b2a8.png just some more progress on the botboy

He now has five fingers!
And finished the face too
static sun
awesome
spare fulcrum
The hands, chest, and feet still need a lot of work.
 static sun
whats everyone up to?
 lament pond
Streaming
eternal crow
being tripped out by this freaking thing in 3ds max
https://cdn.discordapp.com/attachments/387443655687798786/444655174565363712/unknown.png it looks fully scaled right?

while in reality

its flat on one axis
cloud verge
is it just splines? D:
mental blaze
I'm currently working on school assignments :<
eternal crow
no its not just splines, its the meshes, i just have to fix the z-axis' scale, the parts are all in seperated pieces
it would be helpful if 3ds max would stop freezing all the damn time

 static sun
That happens when the history builds up
eternal crow
hell i only have him in it right now and it just fucking crashed https://image.prntscr.com/image/reAlLVmwScu1pzaoIxCcig.png

again
mental blaze
oof
eternal crow
yeah might also be cause i was messing with the uv's too
i might as well just finish the character i got earlier first then move on to him
 alpine merlin
hey If I purposely made a model without hands,will unity complain me for not havig enough bones?
alpine merlin
owh
modern mango
so you can map them and the IK wont yell at you
alpine merlin
will I still need to asign em?
modern mango
yes
alpine merlin
owh
modern mango
unles you want to T Pose all the way 😉
alpine merlin
haha, I just wana make a simple model and call it a day, Wanderer inspired... since I just visit worlds randomly
thank you btw @modern mango
spare fulcrum
@alpine merlin When you're finished with your model just make like 3 double joint bones to the end of the hand and assign them thumb, index finger, little finger. Don't add weight or anything, just let them be there and assign them as the fingers in Unity. That way there will be no actual fingers, but everything will still work.
alpine merlin
alrighty thax
junior idol

 rustic loom
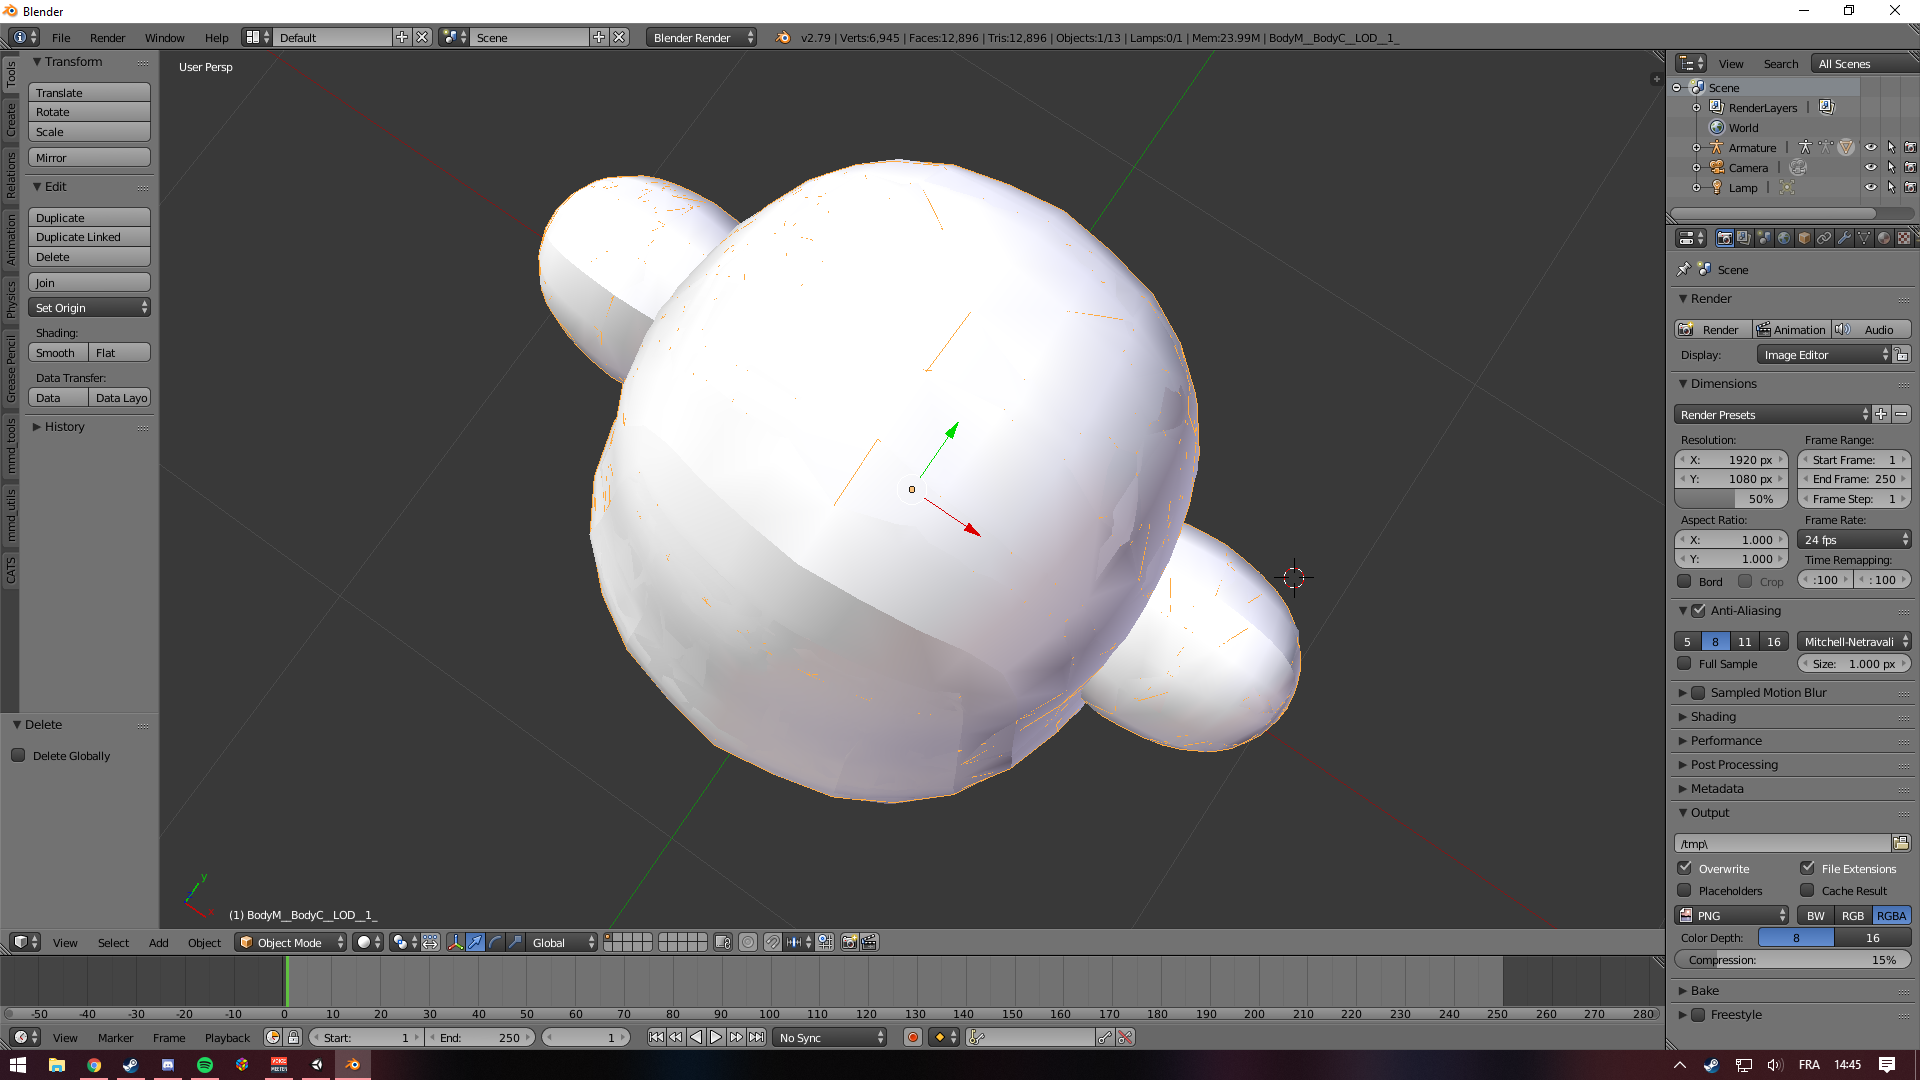
I have this issue with my model, there's some kind of outline on it that I can't get rid of and it carries over to Unity
I've tried to recalculate normals but it did nothing.
 spiral sigil
I need some help with the lipsink on a model
spare fulcrum
State your issue.
spiral sigil
Ok so I have a model of Niko from oneshot
And it has a lip bone of sorts but I can't set it up so that it moves when I talk
The model was ripped from Garry's Mod
spare fulcrum
Ah, I didn't want to touch jaw bones, because people say it keeps messing up. I use visemes instead.
spiral sigil
Ah
 shy thorn
where can i find a hoodie to throw on my avatar
 frigid elbow
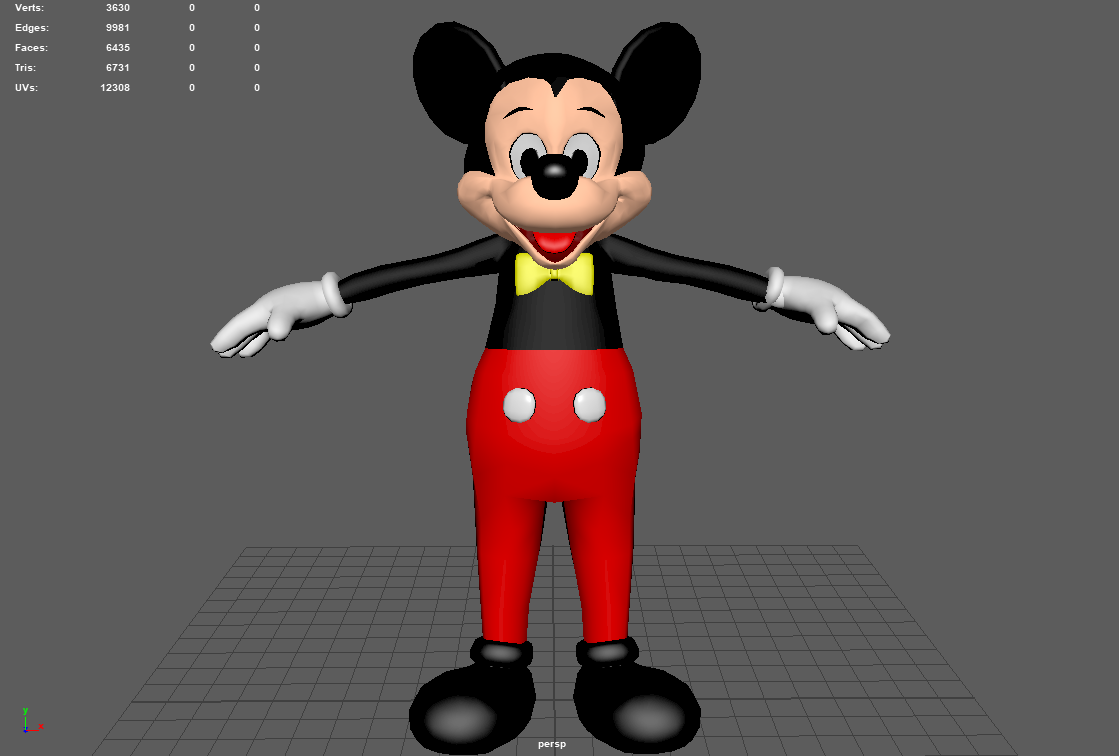
I'm modeling the old Disney Parks Mickey Mouse costume. I believe everyone that doesn't use a mic should use a mascot costume avatar.
https://i.imgur.com/MOyZRAf.png
 lament pond
Dat uv map
spare fulcrum
That is hawt
 vocal ridge
Ok so I’m about to import a model into Vr chat but it says that I have to spend more time enjoying the app.
How long do I have to be in the app? Also which app? The VR Chat SDK app or VR Chat it’s self? I need help xd
static sun
i uploaded my first avatar after about 30 mins of playing VRchat
hot flint
Very clean!
static sun
thanks @hot flint
mental blaze
Are you planning to put the ratio to 1:1?
static sun
i've put it in to a 1:1 ratio... but when i put it in to Substance i will set it to be a 2:1 Ratio to reverse the stretching
mental blaze
Ah.
static sun
the test i did worked well so
mental blaze
I'll definitely work with Maya for the next avatar
Need to get ready for summer semester (3D modeling for games 1)
static sun
i'm trying to stick away from Blender
mental blaze
Stay with Maya:P
static sun
well blender is my safety net... and i used to use it for everything and im trying to move away for productivity reason
mental blaze
I see
lament pond
why all the blender hate
static sun
i dont hate blender
lament pond
 modern mango
isn't blender usually very good for productivity once you know how to work with it and all the hotkeys?
static sun
but for work reasons i need to know this software
mental blaze
What I usually do to stick with a specific software is to use the same hotkeys from blender
That's how I got used to 3ds max and maya
Now I have to force myself to learn zbrush
static sun
blender needs little work arounds that use up time...
lament pond
Work arounds?
static sun
Booleans need extra work, its easy as hell to overdo Retopo, the UVing tools are sub par leading to a fair amount of texturing, the Sculpting brushes are kind of ugly to work with <.<
and a fair amount of the shortcuts are confusing
lament pond
I'm not much of a sculptor or retopo guy so I wouldn't know much about that
static sun
its not bad... its just a lot of extra work to get everything right
lament pond
I do remember seeing a really nice plugin for retopo in the past
Plus you could always just snap to surface
static sun
even with my 8 year background in it can only go so far
Maya has a specific tool for Retopo
thats nearly as good as standalone tools like TopoGun or 3D coat
i usually use 3D coat to retopo... but if its a small piece i use Maya to save time
cloud verge
I could never get used to the blender UI
I should though
mainly I use 3ds Max because I own a license of 2013
static sun
wait for 2.8... the GUI has been cleaned up a fair amount
cloud verge
Oh hmmm, need to check it out
zinc furnace
Yeah, but CATS is only optimized for 2.79 at the moment
The devs said they're excited for the 2.8 changes though.
static sun
yeah and will get an update when 2.8 gets released 😉
cloud verge
is CATS required for vrc work, or is it more of a "nice to have?"
static sun
hopefully it streamlines workflow a fair bit... but know Blender it will be 2.82 before its stable
spare fulcrum
"Nice to have"
cloud verge
Gotcha
spare fulcrum
I only use it for visemes, nothing else.
modern mango
its not requred at all mainly for MMD's but also can make some things easier
zinc furnace
CATS is good
Even if you're not doing MMD work
It automates so many things
You can enter pose mode, pose the face, then turn that pose into a shape key, to name one thing.
cloud verge
I won't have time for awhile to mess with vrc stuff, but I'm trying to figure out if I can do 3DS > FBX > Unity easily
zinc furnace
You can autogenerate all lipsync visemes with only 3 shape keys to start with
static sun
you should @cloud verge FBX is Autodesk based
cloud verge
oooh
zinc furnace
Well, you could do everything in 3DS Max, but it's pretty hard to optimize stuff for VRC in there
Still, it works fine
But lipsync and eye tracking might be difficult
cloud verge
yeah, I want to reduce as many steps as possible
have a few from scratch avatars I want to build, and a map or two to make
static sun
depends on your skill leve @zinc furnace
if you do everything yourself then its actually faster
zinc furnace
I have a few game rips that I can only import in 3DS Max. Despite all that, I still prefer doing the last steps in Blender. Especially texture atlasing, mesh joining, and visemes.
zinc furnace
Well, CATS Blender Tool automates a lot of stuff in the exact way that VRC expects.
For example, eye tracking.
cloud verge
gotcha
static sun
Doesnt mean the results are decent <. <
automating processes kills a lot of quality
zinc furnace
It creates the eye bones in the right places, and makes the correct shape keys for blinking and lower eyelid movement. To name one thing, VRC expects the blinking shape keys to be the first two, otherwise you get wonky stuff happening. CATS does that for you. It can also fix your bone hierarchy to match the hierarchy VRC wants.
cloud verge
though, I suppose I could create some scripts/utils for Max if none exist
zinc furnace
@static sun not necessarily at all
cloud verge
Yeah I like control over everything
zinc furnace
Eye tracking is just as good with CATS as it would be if you manually positioned the bones, or manually moved the shape keys into slots 1-4.
cloud verge
Since I build stuff from scratch
zinc furnace
Sure, lipsync visemes are slightly lower quality if you don't hand-make all 12(?) of them.
¯_(ツ)_/¯
Nobody really notices
cloud verge
Like, I have a few MMD models that are a good start, but I will probably retopo them, adjust them to be my size, re-texture and re-rig them as well
static sun
i make about 30 morph correction drivers per limb so 12 for basic lip sync isnt much hassle
cloud verge
Yep, same here
Perfectionist.png
D:
Mainly where I'll be asking questions is on the import into Unity since I have never created anything for it
zinc furnace
Unity natively supports FBX, it's probably the easiest format to import
cloud verge
But we'll see...busy with work for a month, and I have new computer parts just waiting on a mobo that I need to get set up and all my stuff reinstalled on
zinc furnace
Including baked animations and embedded textures
cloud verge
oh neat
static sun
Most Game engines use FBX
cloud verge
that's good
static sun
even 2D engines use FBX
zinc furnace
On top of that, Unity also supports importing some stuff that Blender doesn't, I noticed. I have had constructs that I had to turn into editable meshes in 3DS before exporting to Blender
Going from 3DS to Blender is... questionable, to be honest
static sun
Blenders FBX is outdated by 4 years now
cloud verge
hehe
zinc furnace
Oh yeah, I noticed that I had some version errors too
But then again, 3DS Max has some weird issues with FBX exports sometimes
No other program has crashed more often than 3DS Max for me.
I have had models that I physically couldn't FBX export without removing the bones first.
static sun
thats mostly due to Unity not being up to date with FBX updates
zinc furnace
Nah, I mean before even importing into Unity
cloud verge
hmm
I'm really glad I bought max when I did...seems like newer iterations have many more bugs
or maybe I just got lucky I dunno
zinc furnace
Yeah, newer versions are buggier. I'm sticking with 2015 and it seems to work just fine.
2018 crashes a lot
static sun
the bugs in the new versions are due to new tools being added
cloud verge
I have friends that used Maya often, and they've told me that they have had nothing but problems since Autodesk acquired Alias
static sun
i use Maya LT cause its less buggy cause it has none of the bloat that comes with the full version
zinc furnace
Lmao, I still have a Maya installation from 2005 somewhere
Came with the UT2004 ECE I think?
static sun
lol
cloud verge
I'm working off an i7 990x from like... 2010?
loooong overdue haha
gonna build a Ryzen 2700x machine
static sun
just figured out that the High Poly version of my Character is freezing Maya but is exporting still <. < so im just gonna watch some YT vids and wait for it to respond
and im on a FX9590 <.<
cloud verge
ohgod
static sun
im moving for a i9 7920x early next month
cloud verge
let's hope it exports
static sun
it is exporting 😐
cloud verge
"don't touch it, maybe it will do something"
static sun
but its 34m poly XD
cloud verge
yeah that'll do it
 cloud verge
I really want to build a threadripper machine or maybe a used dual xeon box later on
static sun
2.4gb obj file D:
static sun
im getting the bulk of my hardware next month#
but i will be getting Duel GPU's when the next gen Nvidia Ti cards come out
cloud verge
I have literally $2500 of parts sitting here waiting on a motherboard that was supposed to be released on the 8th 😐
static sun
and then liquid cool it all
static sun
reports on the specs are looking sexy af
cloud verge
indeed, I can't imagine how fast Quicksilver renders will be 😮
static sun
i use Marmoset so its all realtime
but i will be able to do multiple passes faster and video renders
cloud verge
I can do AO passes faster than dual xeon CPU based AO passes....that will be insane
yep
I'd like to do some kind of short animation project but rendering has always been a constraint
not anymore haha
 static sun
really want that to come out well <.<
cloud verge
hmmm
static sun
tbh i want it all to come out well
cloud verge
maybe some texture on the horns, unless you're going for a smoother style like a cow horn?
but yeah, looking really good so far
I wish I had stuff to post that wasn't... well... I guess I'll just post it haha
static sun
this is for bakes... i will be texturing in substance after
cloud verge
unrelated (to VR Chat), but this was my latest endeavor

A little over ten years ago, I made an AMV called "daydream" which was the first video I ever uploaded to Youtube. This video was the very strange combinatio...
lament pond
Most silent clap ever
static sun

ArtStation
This was a 6 weeks personal project to get my head in to the new year.
This is a Fan art of Max Caulfield from the Life is strange Franchise.
This is my first project working with haircards and using Maya, I genuinely had to relearn a fair amoun...
my last project... didnt end up in VRchat cause the eyes looked creepy AF 😐
 granite dew
How would I go about setting up a mouth for lip syncing on a model where the lips are meshed together?
When I set up weight painting and a vertex group, I can get the jaw to move down but between the lips just turns into a stretched mesh with an ugly texture
Do I need to find the vertices between the lips and essentially slice them so the top and bottom lip aren't sewn together?
zinc furnace
Yes
brave dune
the inside of the mouth could be anything you want as well. A simple black void or you can try modeling the inside
granite dew
arg this is hard af
brave dune
its not too bad once you get used to it
granite dew
its such a damn tight space to work in XD
static sun
@granite dew Character artists have years of training and background to produce a lot of their work... its not easy XD even for trained people it can still be hard
brave dune
hiding part of the mesh is handy as well
https://i.imgur.com/F9eIIaV.png
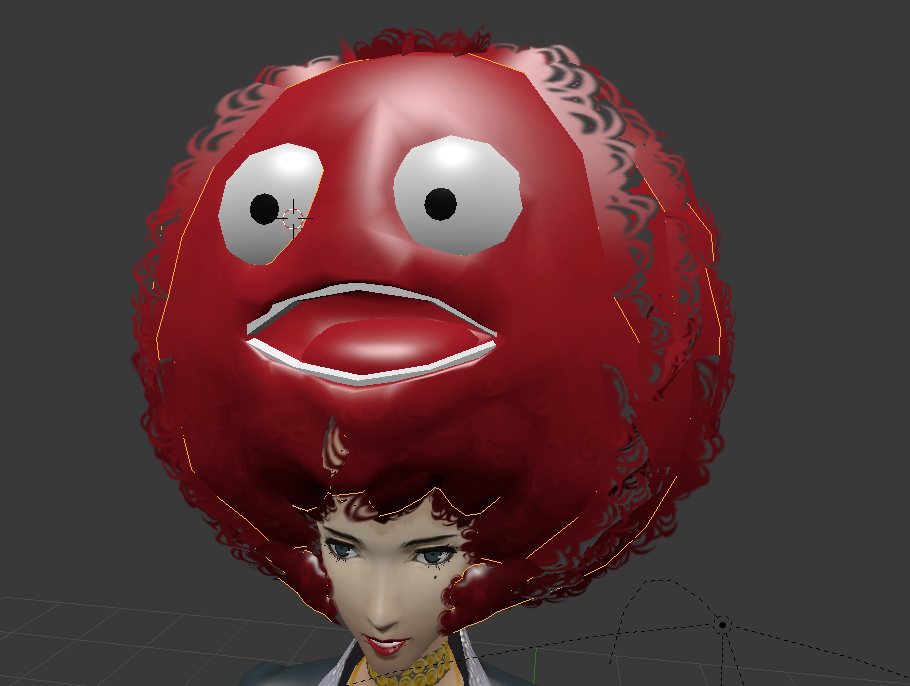
when i did the mouth for this, i just cut a slit into the afro extruded the cut to make a minor inner lip, and then went from there. Hid most of the fro to get it out of the way. This image is the AH viseme 😛
 static sun

im happy with my bake results ^- ^
im scaring myself a little cause it worked flawlessly first time
brave dune
i look forward to seeing the final result
granite dew
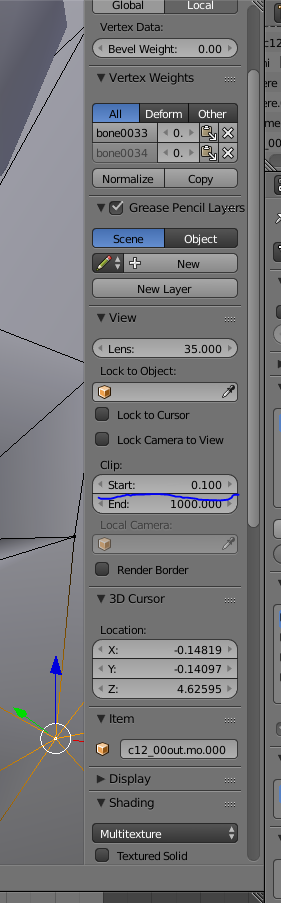
is there a way to stop blender from culling faces when zoomed in "too close"?
brave dune
yes
granite dew
is it in preferences?
 granite dew
You are the man
❤
set it to zero and it works now thanks
like this task isn't hard it's just tedious because it's such a tight area and so many verts/faces
i know exactly what i need to do but it's gonna take some time...heh
lament pond
If you have your mesh mirrored you can just turn off your mirror modifier while you work in there
granite dew
If I want to weightpaint only a specific vertex group how can I ensure I'm selecting only that group when weight painting?
select the respected bone?
er. cause that doesn't seem to work
lament pond
Do you have the vertex group in the mesh
Because if you select one it should only be painting to that one
granite dew
i was doing something wrong in the order of switching from the vertex group to clicking on pose mode
i don't know quite what but I think I fixed it.
i am learning blender is very specific in order of operations
just need to learn how it works properly. I've only done basic editing and stuff with already created models, first time really trying to do anything like adding a mouth so its just all new for me
uhhhh does using the gradient tool in weight painting ruin a vertex group?
certainly seems to...
granite dew
And now Unity is saying "failed to initialize unity graphics" wtf
quasi flame
robutt, poly's where it counts
https://i.imgur.com/gRKlXh0.png
 spare fulcrum
A man of culture.
 nova acorn
Can avatar animations have appearing and disappearing polys?
Oh man, now that I think about it, it's going to be hell to texture isn't it?
zinc furnace
Well, you could probably do that with shaders
You can switch materials in animations, or switch to a different body mesh
 slate axle
I have a question, When I put my model into unity everything is find but my models eyes are like this grey/puprlish blobs covering my models eye's and my models eyes are behind this blob. Has anyone else had this issue? I'm very confused over this
slate axle
How would I set the material of the eye to cutout? Sorry kinda a noob at models and unity.
zinc furnace
Go to your model's materials in unity and change the rendering mode to cutout
slate axle
Okay, i'll go do that now. I did find out it's and expression that's blocking my eye's is there a way to just delete it?
zinc furnace
If it looks fine in Blender but looks bad in Unity, it's almost certainly just a transparency issue. Just set the material of the expression to Cutout, and move the slider until it disappears.
You can also select this expression in Blender, press P to separate it into its own mesh, then delete it.
slate axle
Okay thank you. Mind if I send a picture to show what it looks like?
zinc furnace
Sure

 zinc furnace
Oof, that looks rather creepy
Wait
First of all, please join your meshes in Blender
spiral sigil
that's the expression meshes
just need to put to cut out or fade
and play with the alpha cutoff
zinc furnace
Actually, you can probably delete that mesh or fiddle with the material's cutout.
Either way, join your meshes please.
You're gonna cause lag
spiral sigil
and unnecessary fuckery with your model
slate axle
Thank you for helping me with what I messed up on. and I'll go back into blender to join my meshes as well. and then try to fix the eye issue
slate axle
Thank you "ROKK & Svelsien " For the help I finally fixed my model and i joined the mesh together
hot flint
@quasi flame looking really good!
slate axle
I have a question, so I click build and import to VRChat but it's telling me i have to spend more time enjoying the app and they will email me. So I just have to spend more time in the game for an email??
modern mango
no it tells you that you need to do it because its funny...
If that was a real question.... Yes 😉
word around is 24h+ (playtime) but it can be more. Time is not the only factor so you shouldn't just idle around
static sun
VRchat is about socializing... go nuts
hallow shore
i love how people just move there heads to talk when they dont got a mic or vr
is text chat ever gonna become a thing in the future?
modern mango
text chat very likely no
but a mail like messageing system propably?
modern mango
pls no
spare fulcrum
Microsoft Sam era was early 2000s. There are text to speech programs that sound very good now.
Hell, vocaloid songs are technically text to speech.
modern mango
eh. its not exactly that easy
vocaloid is more then just typing what you want and pitching it
spare fulcrum
Hence the "technically" :p
modern mango
no it also isnt
unless you pitch and speed up the text and deal with pronunciations 😉
hallow shore
First time using Vocaloid and it's great! Looking forward to use it again. Idea for this video from Vinny's "Yo! Noid 2" stream: https://www.youtube.com/watc...
spare fulcrum
It's a japanese text to speech mainly.
hallow shore
sorry it reminded me of this
spare fulcrum
But with fiddling can be made to simulate Engrish
There are some English vocaloids too
Cyber Diva, Ruby, Dex/Daina, and Cyber Songman are all English.
hallow shore
https://www.naturalreaders.com/online/ another good text to speech if you dont got the moneyz

text to speech online
spiral sigil
does anybody have the TDA len base. The links are dead now
spare fulcrum
https://i.gyazo.com/48060351817146d28b01f1afcadbf20f.png sexy robot finger segment

Inner cylinder connected to the root part, and the two outer cylinders to the extension part.

 rare crystal
@static sun That's super awesome! I also use Maya but I'm still learning in it.
 hollow tide
anyone that accepts commisions?
modern mango
you'll have best luck in the vrc-traders discord found under #community-servers-old
hasty crane
hey guys, how does one fix your hips being thrust forward?
 mossy quail
if i remember correctly, people were either saying making spine longer or shortening the spine
hasty crane
hmmm I'll try playing around with that then
stable edge
iirc its hips shortening
hasty crane
I'll guess I'll try both xD
hasty crane
both didn't work T.T
static sun
E3 is almost here... what games are people expecting?
mossy quail
@static sun hopefully Pokemon Switch but ive lowered my expectations quite a bit over the last few months
static sun
i didnt see a PC or VR conference on the list... but id love to see VRchat
<. <
saying that, The last of us 2, Final Fantacy 7 remake and maybe a new life is strange

Progress of the textures for my character project
Material ID - Ambient Occlusion - Normal map (BC5 Compression (no Blue Channel))
 vivid crater
Faces are always scary
static sun
if they dont look creepy in UV then you UV'ed wrong
mossy quail
Tru
vivid crater
 that makes sense, I mean, you're literally peeling a face off
Truly terrifying work you do
mental blaze
I've seen some disgusting images when I disassembled unity games
i.e. mouse's mouth
spiral sigil

Google Docs
spare fulcrum
10/10 would show da wae again
spiral sigil
@spare fulcrum My brotha
cloud verge
get swole my brudas?
spare fulcrum
do u kno de gain
lament pond
 lament pond

 humble pecan
In blender how do I combine bones, like if I wanted to put weapons on a models back?
 foggy maple
@humble pecan There is a new feature in cats to do exactly that, try it out
lament pond
If you're just trying to combine armatures use ctrl j to join @humble pecan
humble pecan
Shouldn't I position them first?
lament pond
 zinc furnace
In Blender, is there a way to use the knife tool on the UV map/texture instead? I've got a phone model and I want to put something on the screen, but the screen is just part of the same front side of the phone. The screen doesn't have its own verts. I can use the knife tool on the model, but I would rather mark the new polys onto the actual texture, for more accuracy.
eternal crow
does anyone know why when i try to scale my uv's they turn into this box thing and even when i have the snap to grid and stuff disbaled it behaves like it is enabled? https://image.prntscr.com/image/fWY8gvEISTGzDo9_JW66mA.png
 humble pecan
https://cdn.discordapp.com/attachments/385085826528444428/445762301295853568/Screenshot_89.png So this happened and I'm not sure why
 zinc furnace
Can you be a little more specific?
humble pecan
Well last time I remember Models are not meant to look like that.
eternal crow
idk whats going on anymore
it seems this thing is just fucked
because now his ears and stuff wont texture http://prntscr.com/jhy9j7

but the rest does
humble pecan
Think something went wrong or I forgot to do something in blender.
 twilit tree
Omega, looks like you haven't assigned your textures to the materials
lament pond
 spiral sigil
The blood's on the wrong side i think
brave dune
@zinc furnace For your screen, if you dont want to cut the mesh itself, you could use a texture mask. And depending on how you want to go about doing it, use a second uv for positioning
 proper niche
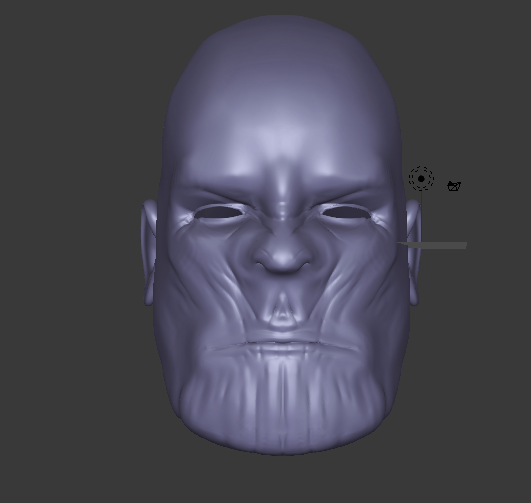
https://i.gyazo.com/dcaedc152df132f37e9ae54cab8108d7.png thanos head v2
 spare fulcrum
@spiral sigil Only novice swordmen use the sharp side.
 winter wigeon
how hard would it be to make a dabi character from my her academia?
spare fulcrum
Looks fairly detailed.
If you have 0 modeling experience then many dozens of hours
humble pecan
It's still happening and I have no idea how to fix it.
humble pecan
No.
https://cdn.discordapp.com/attachments/385085826528444428/445762301295853568/Screenshot_89.png Said problem I mentioned before. Some of the model seems to be non-existent at every angle and I have no idea how to fix it because I don't know what's happening.
mossy quail
it does
apply cubed shaders
apply an outline
set it to 0
and if that doesnt work, you may need to get a double sided shader with backface culling
humble pecan
https://cdn.discordapp.com/attachments/391590472898052096/445928512772374529/Screenshot_93.png Glow is on front but not back? https://cdn.discordapp.com/attachments/391590472898052096/445928554958684160/Screenshot_94.png

 mossy quail
try and apply the standard shader for the glow material
zinc furnace
Maybe set the zero-width outlines on the glow too
lament pond
 vivid crater
insert every smug emote here
 dense kelp
Lemme see if i can find smug wolfy
This'll do for now https://cdn.discordapp.com/attachments/272468027579170818/419560379543191552/20180303192244_1.jpg
 spare fulcrum
@humble pecan Recalculate the normals in Blender.
spare fulcrum
Select all -> Ctrl+N @spiral sigil
spiral sigil
Ah
spare fulcrum
https://i.gyazo.com/105267748a565df40a276582052573a7.png tfw 250k polys on a face
 modern mango
could be worse
static sun
Yeah... could be 6.4m poly like my characters heads tend to be <.<
spare fulcrum
https://i.gyazo.com/1bca71270a3bfb97122fdee733e9010d.png any ideas how to easily un-nightmare this horrible creation?
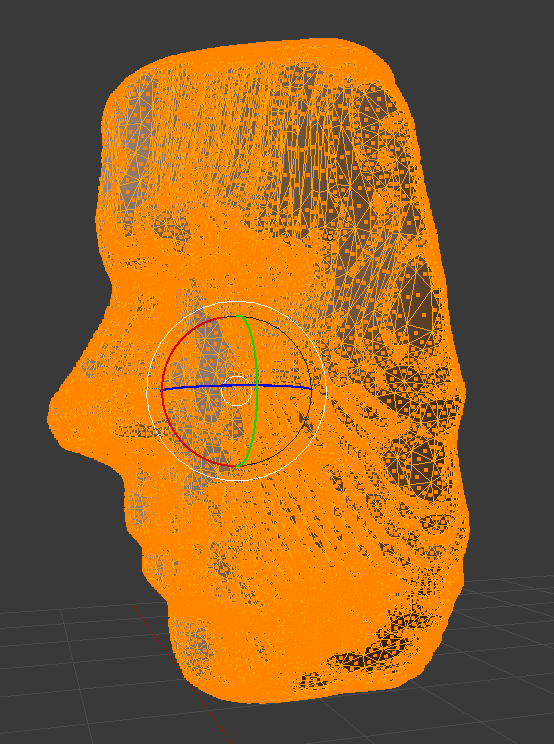
Ohwow, decimate tool is way better than the modifier
Down to 4k ez
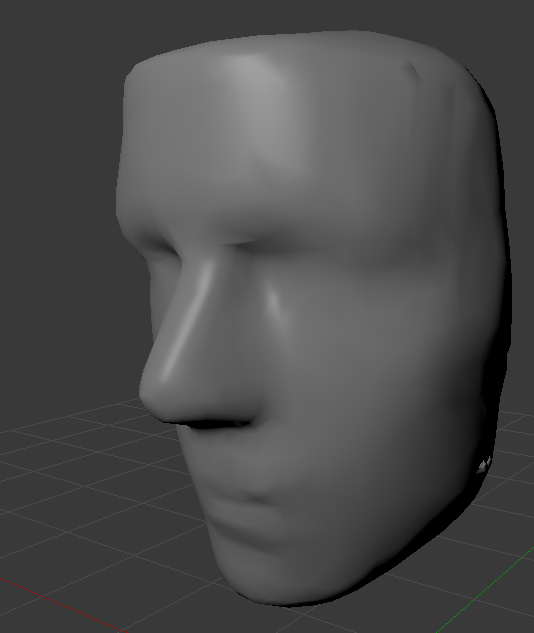 zinc furnace
The decimate tool? That's new. How does that work, where would you find it?
 spare radish
Do you want to animate it?
spare fulcrum
Not really planning to, other than lip sync eventually.
spare radish
Then maybe getting the proper edge flow around the lips would help with that.
spare fulcrum
Nowait, it's 2k. For some reason there was double layer of face
..and if I remove the unnecessary flat back it's actually 1449...
How many polys do you guys usually keep in a realistic face?
Feel like I over-did it with decimation
zinc furnace
1.4k for a realistic face sounds low, but it's still within the realm of possibility
It's 1/15th of the poly limit for just the face, after all
spare fulcrum
The face is the most important part of a character I find.
spare fulcrum
https://i.gyazo.com/dd92a71a8fde4f6b2ba19441d32d32f4.png 9.7k does give a lot more detailed face
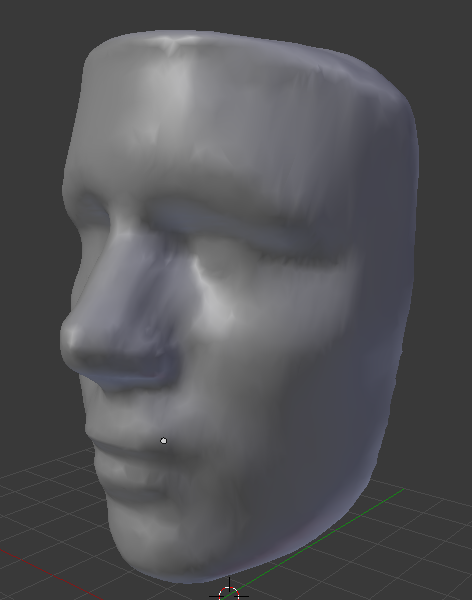
Less "generic 3D model from the 2000s"
Alright, putting that aside for my next project.
 deft fog

What would be causing such a strange issue? this has never happened before and all I did was open a file that never did this before
Seems to only do it when I fix the model in CATS
I will report it, there
 chrome arrow
I sometimes get that issue with certain models i have, so i try to do most of it manually, if its only occuring when you're "fixing" the model then i'd advise going the slow route
deft fog
I had found a fix
Now, whats going on with my shit now is THIS

Blender you pile of shit
 gusty wyvern
Im having this issue whenever i try to upload this. does anyone know this problem by any chance ;~; https://gyazo.com/a326d55e713d7eac7ca9c043261e9bd6
 static sun
@spare fulcrum manual retopo is a better method
zinc furnace
@gusty wyvern look in your console
Do you have any 429 errors?
You might be uploading too much
 gusty wyvern
@zinc furnace thats the only error i get in console https://gyazo.com/2728db2d950f3ed4e77effe9a1147876 :c tried searching it but with no luck on a fix
 zinc furnace
This means you don't have upload rights yet
Play more and update your SDK while you're at it
 gentle forum
what makes it so the UV's on a model are out of the box
but being able to still select them and move them around, they're just not in the correct spot visually
static sun
Tiling and Udims
zinc furnace
Yeah, that's a good question. I've had models where they were exactly one box length out of the box, so to speak
static sun
my current project is 2x1 but sits in a single UV space
 severe hill
i recommend you guys "Substance Painter" if you want to paint your own model 😃
https://cdn.discordapp.com/attachments/443440215814701066/446414295660625920/RoboFinal.jpg
 static sun
@severe hill Substance for PBR or 3D coat for a more hand painted feel 😉
severe hill
sure :3
static sun
the price of 3D coat is nothing to shrug about tbh ^- ^"
 gusty wyvern
@zinc furnace Thank you for the info ❤ I had a friend tell me that they did a update were you have to play for 24hrs or something like that but wasnt sure if that was true. the model uploads fine under my account but not the persons acc im trying to upload it under. I guess that update holds true o3o
 regal belfry
http://prntscr.com/jiskey ;-; my work vanished because of my crappy computer and it was my first time to

 hollow radish
https://gyazo.com/4e5e52d7974b196dbf25c78dfd22407f
this is going to be hard to cut down polies

 jolly linden
anyone around? I have a question with blender
can't exactly find an asnwer with google
 lament pond
What on earth is an IQE
jolly linden
Inter-Quake?
I mean
I found a script for python I guess
but Idk how to apply or put it into blender so i can move the model over @lament pond
lament pond
You just need to import the addon
Or put the python script directly into your addons folder
lament pond
Just save it as a .py file
lament pond
Yeah just save as
jolly linden
ok now i'm having trouble finding where to go in blender to make it grab the IQE file
spiral sigil
Hello
Any1 here
Is there an easy way to chop off excess vertices from doing a hair swap
?
The hair that gets inside the head
 mental scroll
Posted in the wrong area, so I'm going to copy-pasta it here.
I've been working on a model for quite a while now and, blender being blender, one random part of a mesh decided to randomly delete itself when I wasn't aware.
I've tried to restore it via saves and etcetera, but the progress lost versus the process re-gained doesn't balance out.
Is there a way to just import the same model back in and just fill in the hole, deleting the useless excess? I've tried creating and manually filling in the faces, but the textures don't fill in properly and looks incredibly off.
https://puu.sh/Ao0F8/a42e8a5409.png
Or rather what I should ask; How can I re-assign this area to the correct texture?
https://puu.sh/Ao132/3ef46b6e07.png
https://puu.sh/Ao149/7ecda42790.png


 high jetty
I guess you could import a second version, delete everything else then join and merge the meshes. Or you could fill it back in and reassign the new mesh on the UV map
If it’s just a flat color it’d be much faster just to reassign the texture on the UV map I think
static sun
or... hit "U" and place the UV's by hand <. <
 static sun
i have a lot to finish still T- T
 spare radish
Would anyone have tips on modelling curly polygonal hair? Would doing it that way be the best option?
Using Blender 2.79, by the way.
Also would be interested in adding eyelashes. I think I can handle the modelling and texturing, but how would you make sure the eyelashes would stay attached to the eyelids?
Modelling long ones attached to the mesh wouldn’t be an option since the male character I’m making doesn’t have very visible lashes.
static sun
@spare radish use smooth grab, play with the curve and fine tune the drop off
Also think leaves
lament pond
 hallow shore
https://imgur.com/a/Sechv0y ignore the lazely done UV's
 stable edge
Hands look a lil bumpy
static sun
Set the surface to soft T- T
hallow shore
i like my hard edges
stable edge
*hands verts seem too high to look natural
Only need to move the top ones
But it looks like the hands just really weird on one side
hallow shore
https://imgur.com/a/oXjq5lv how's this?
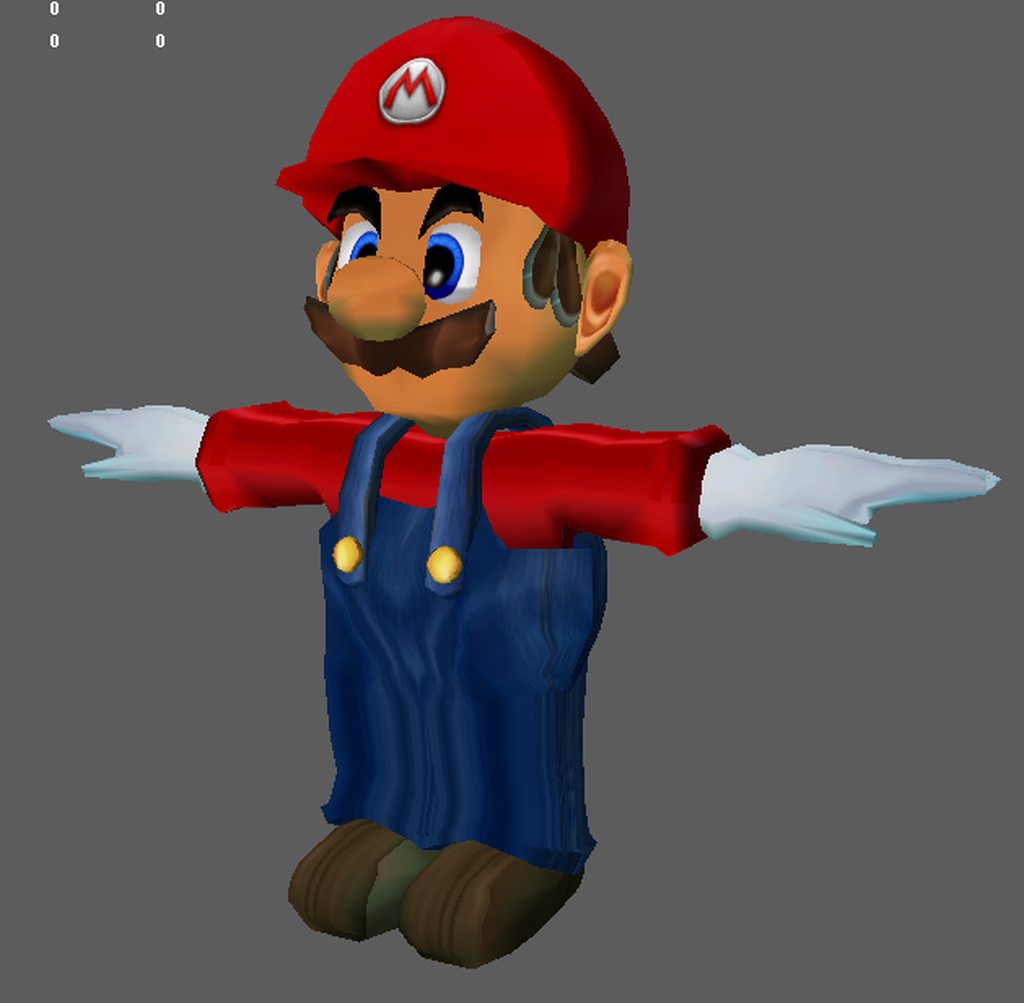
again i know the uv's are lazily put together
stable edge
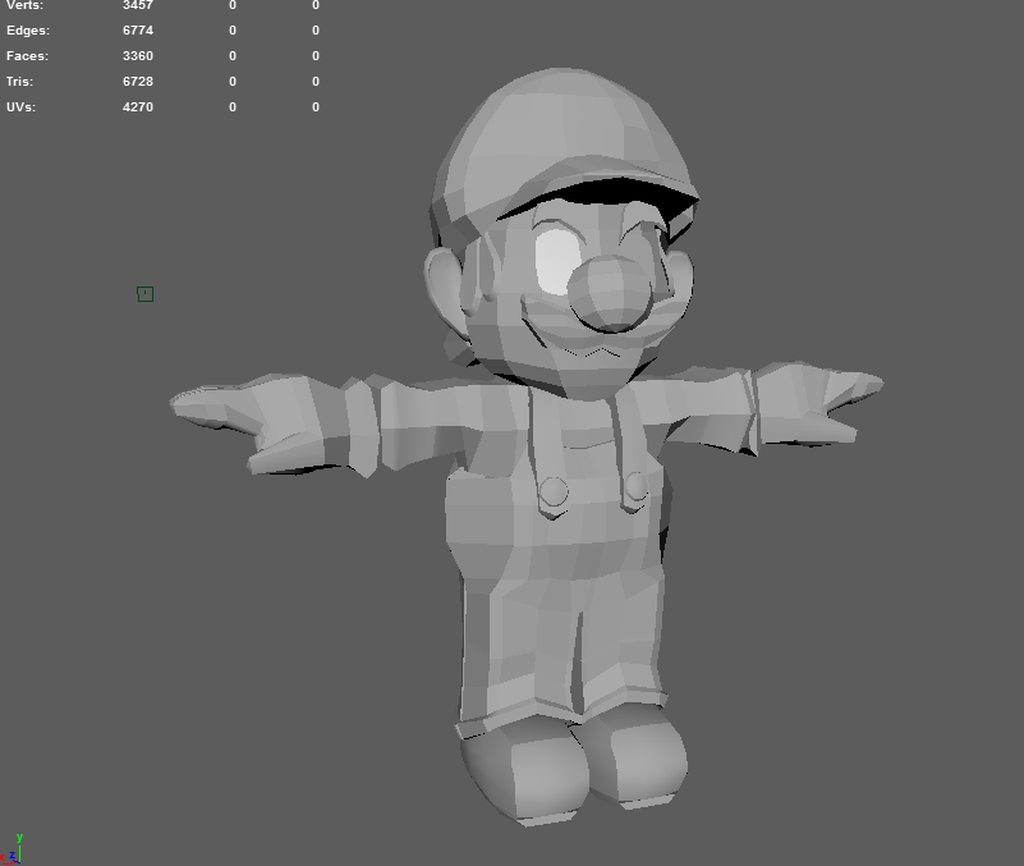
Better, but you should look at Mario's hands more
I usually do more animeish stuff so I don't real use Mario as a ref
Just compare your hands and Mario's to 3dmarios
stable edge
All g 👍
lament pond
 lament pond

 daring fog


An attempt to figure out hand topology. Success? #3Dmodeling https://t.co/WUDhO7GJYH
Retweets
819
Likes
3204
 Twitter
hot flint
Twitter
hot flint
@static sun Looking really nice Catie!
static sun
Hand Topology is fairly simple to get Low poly.
https://cdn.discordapp.com/attachments/402634073907920897/447040725981593600/unknown.png

you get to a point with Retopo where you can just do it 😐
its sort of clicks randomly over night and sticks
 brisk pasture
can someone help me with something?
tepid mirage
Can anyone explain me this problem ? (I have the texture in the folder i check it many time) but still doesn't work ! https://cdn.discordapp.com/attachments/443920387164733440/446756271308275732/unknown.png
Come DM 😢
 lament pond
Make sure the textures are set up correctly in the materials
zinc furnace
@tepid mirage extract the file again with japanese encoding too
Or do "find missing files" in Blender
tepid mirage
@lament pond i dont know how do this im looking for tutorielnfor make avatar im totally noob in blender.... @zinc furnace i try to find missing and still doenst work ... Ill try later to extract and i come back here for say if its work or no...
Thanks for subjections
 grizzled anvil
pivot point is now any game object in armature despite what is being rotated, any ideas?
 eternal crow
@spare radish i have a model who's hair has giant curls, would it possibly help you reference wise?
 spare radish
@eternal crow Thanks, but I’m not sure the method would be applicable to the one I’m working on.
eternal crow
is it like the hairs all curly on yours?
spare radish
I’ve also kind of solved the problem by giving the character an elevated ridge on their forehead with which I’m hoping to add a curly hair texture on. My character has short curly hair and is done in a semi realistic art style.
I’m still considering polygonal hair with more detail though.
I’m wondering if I should take the approach of modelling a cylinder and then giving him curls that way, but I’d like more detail.
At the same time, I run the risk of making the UV unwrapping a complete and total nightmare for myself.
So to recap I can imagine 3 viable options at the moment:
- Low detail, very low poly, easy to unwrap
- Medium detail, low poly, harder to unwrap
- High detail, medium-low poly, extremely hard to manually unwrap (possibly resort to Smart Unwrap)
Maybe also hair cards?
Although I’m not sure how many it’d take.
grizzled anvil
@spiral sigil it's with all models, even ones I've uploaded with massive amount of weapons and everything that works, till now
Can drop down a 100% base ooka Miko with any fbx as game object to test. Same result
proper niche
https://i.gyazo.com/d07fe2053ac09a7ce455b7ce7022f85e.png finally got my model to work properly
 grizzled anvil
Also tried creating game object > 3d cube under wrist to test and that also makes my elbow and arm rotate AROUND the gun. So it's not gun files or models
Tested it with a few by now
 cursive wedge
deft fog
cursive wedge
deft fog
Any time I do anything like merging or joining materials or bones, the armature or the materials will flip on both its Z and Y axis
How can I fix this? I need to apply the eyes to the armature and now everything flips when attempted.

 ebon bolt
@tepid mirage your issue is the shader is unassigned or corrupted, try adding the shader again or troubleshoot with standard shader. Might need to re-import cubeds shader if you use it as old versions can do that
zinc furnace
In Blender, how do I scale UV maps with a different origin point?
The "origin" of the scale is in the center of my selection right now. How do I change this to the bottom left?
The 2D cursor is already in the bottom left. Setting the orientation doesn't seem to do anything.
static sun
s
zinc furnace
That didn't seem to help. I already got it though, I missed a button at the bottom of the UV editor window
Just had to change the scale origin to the 2D cursor
brave dune
@zinc furnace place the 2d cursor at the corner and change the pivot point mode
eternal crow
@humble fern http://prntscr.com/jjz6ci whaddya think?

i removed the white parts of the eyes

 thin bone
anyone know how to fix the thing where in eye tracking, only one eye will blink ?
ive tried literally like alot of tutorials butim just horrible at this
 mental blaze
looks great
static sun
thnkx
spare radish
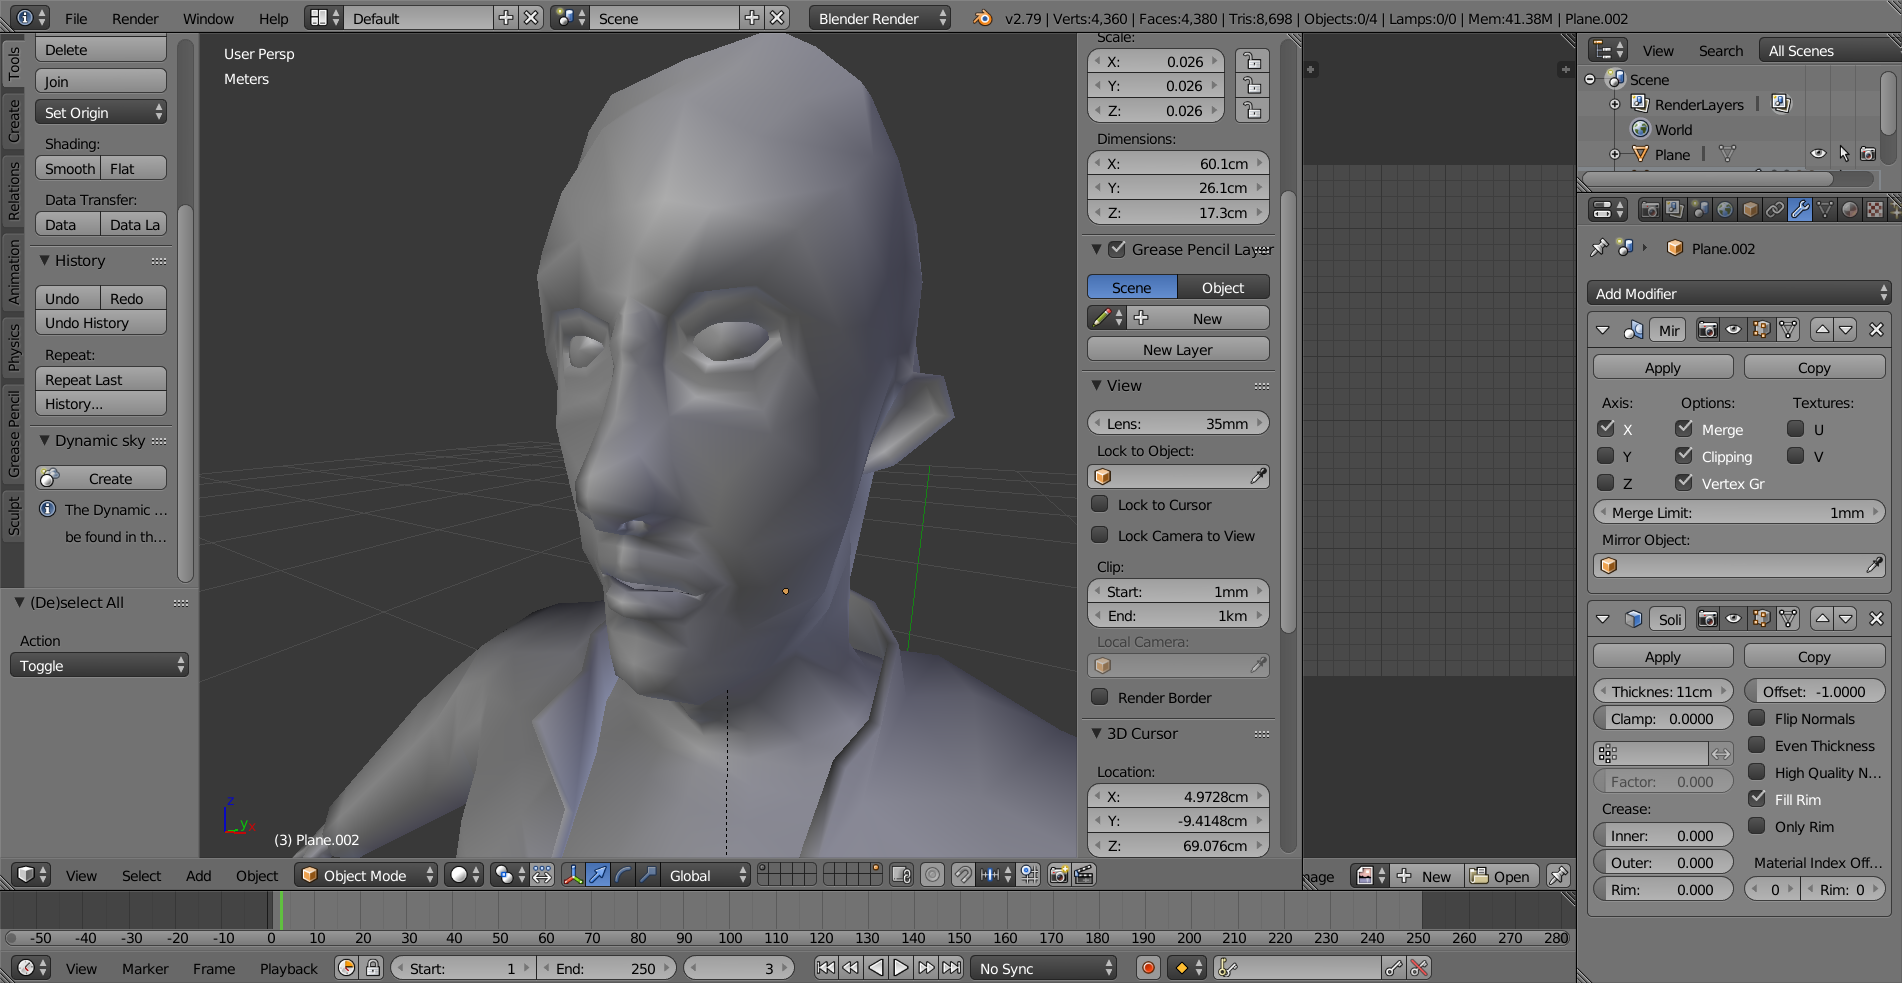
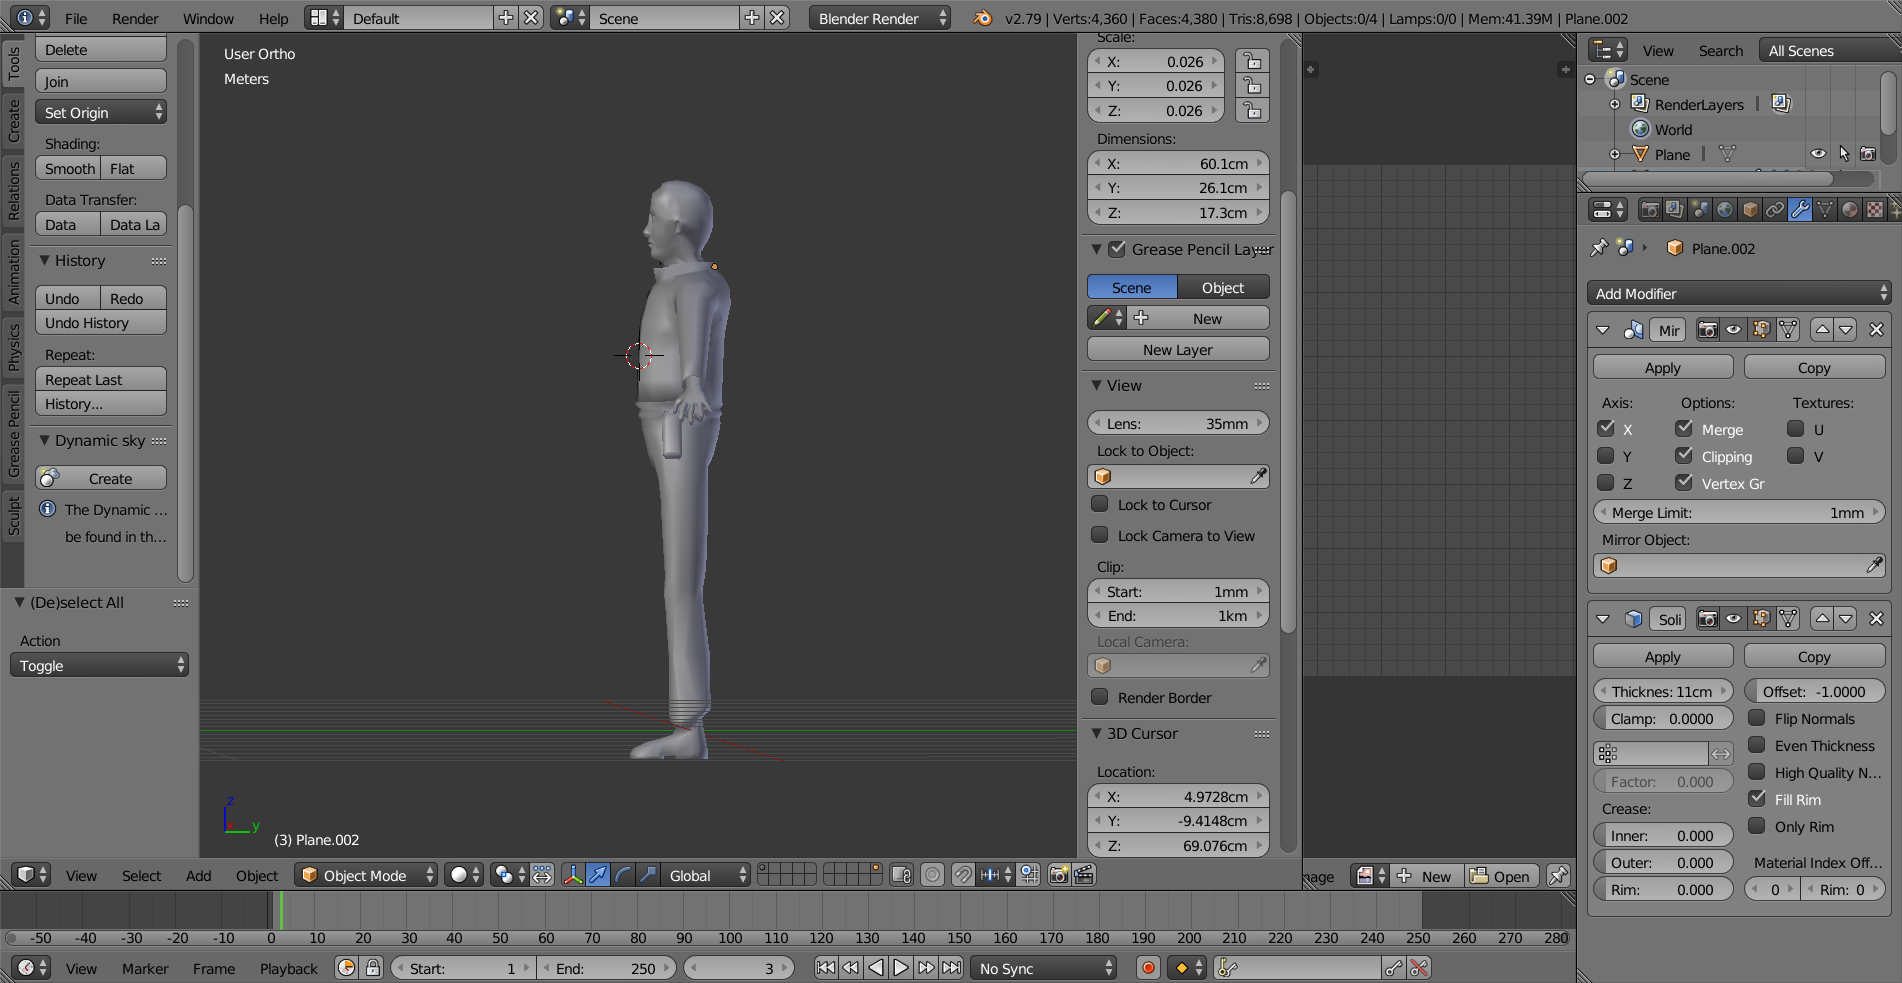
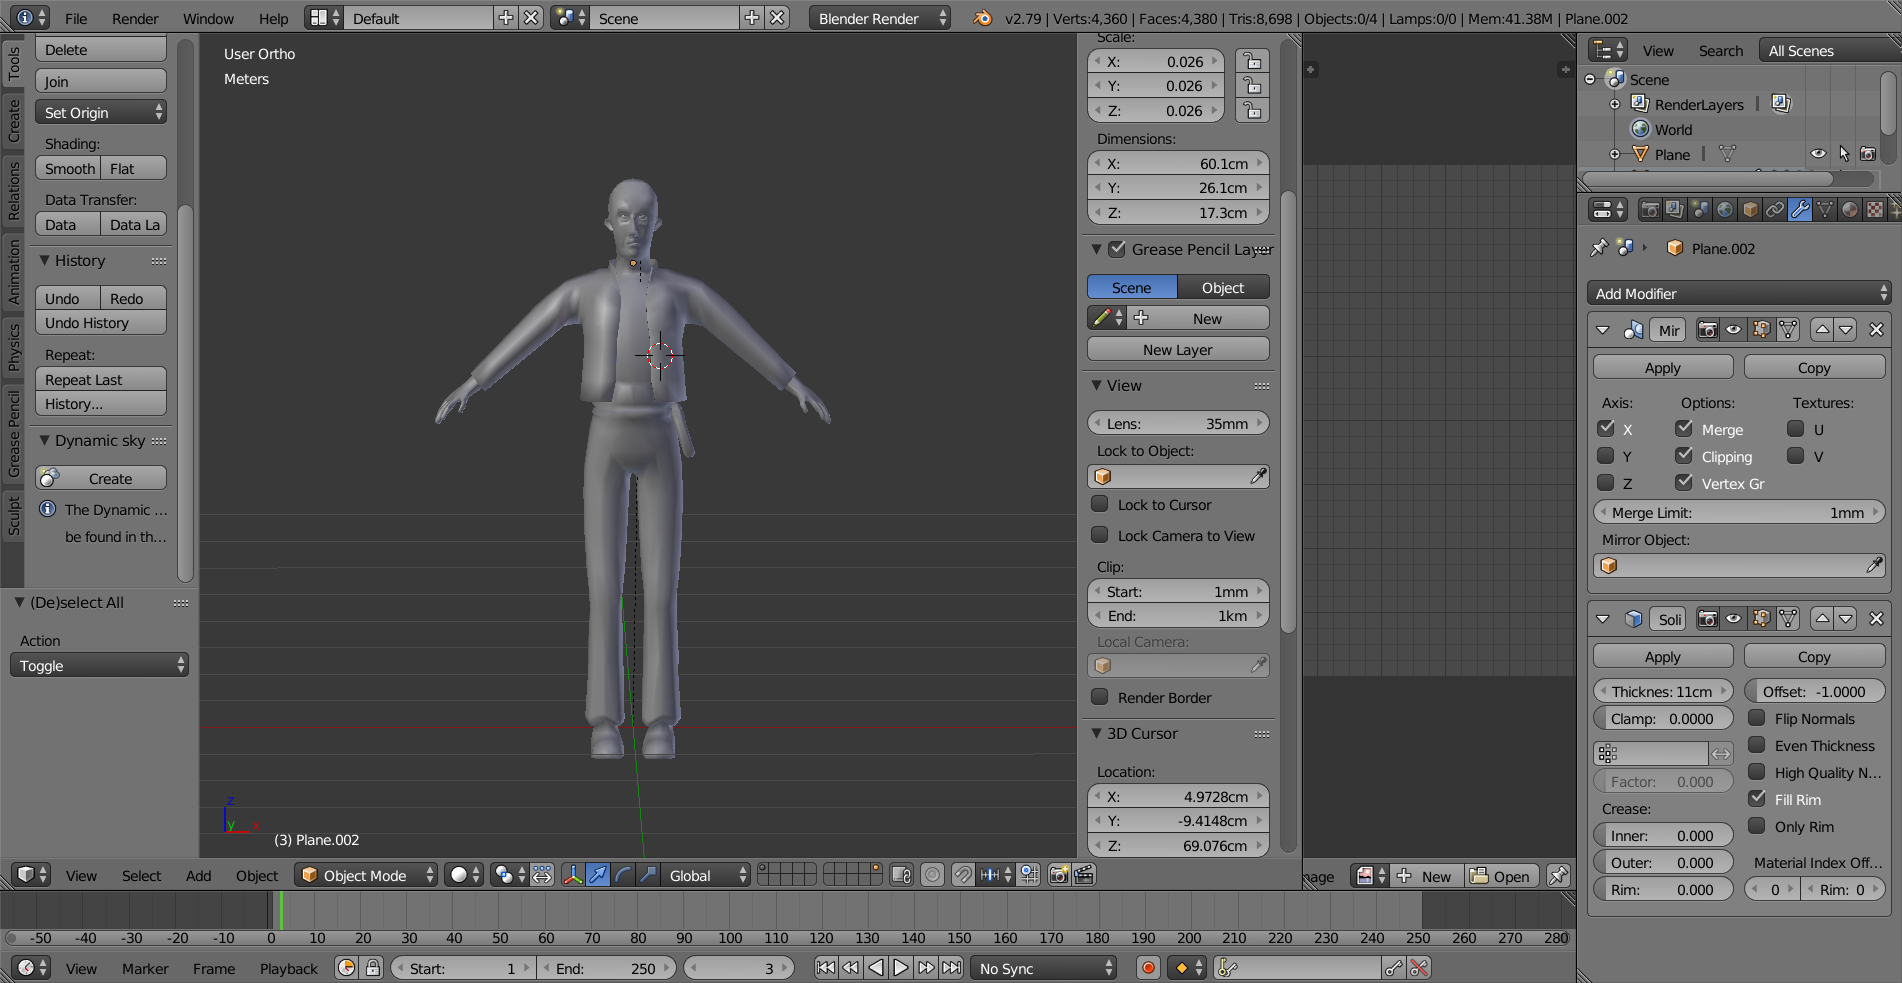
Some progress shots of my avatar.
Around 8,000 tris isn't too bad.
Something about the face though brings back Snake Eater/MGS2 vibes.
By the way, I'm likely going to avoid the subdivision modifier because using it brings the model over 20,000 tris.
static sun
bake over the details @spare radish
my character (the model above) is 19.8k poly and that includes a fair few accessories
but the details are mostly due to Baked normal maps and Ambient occlusion
spare radish
^Good idea, I made a very basic but flawed mesh which I used as reference for the character. I used the mesh only to retopologize the body and feet.
I'll likely create a secondary mesh which will be a copy of the first and use Multires or Dynamesh to add further details.
Also looking for a texturing tip.
For the main body, would you use one UV Map or two segmented maps? I'm thinking of using one for the hands and feet and one for the rest of the underlying body.
Also, would you work with a 2048x2048 resolution or 4096x4096
static sun
depends on how well you UV
i use a 2048x4096 texture resolution
deft fog
Okay, question. I have a model that looks like this.
https://gyazo.com/f3d97cae98aed421848724abab411cad
Yet the eyes do this when brought into Unity.
https://gyazo.com/43ceb576badf7a815937660b2d955c22


It has UV Mapping, but Unity wont read the second UVMap
What would cause Unity to not read a UV?
static sun
unity will read it as a second material
spare radish
@static sun Would there be a way to gauge exactly what resolution would be a fit for my needs?
static sun
checker material helps
spare radish
Also maybe how well I can UV unwrap an object?
deft fog
Someone wouldnt happen to have a new UV combiner addon, would they
The one I found is old and the download link is down
lament pond
 deft fog

Anyone knows what causes models to import to unity all bent up?
Weight painting is fine on Blender's end
 crimson cove
check bone roll
deft fog
Bone roll was manually set to 0 for all of these, still happens

Could it have something to do with these in my timeline thing?
I have no clue how to remove these, as its not an option for whatever reason
lament pond
 stable edge
brandon thats for animation
make sure you dont have any arm bone modifiers set as arm bone
notably it might be having the rolls at 0 thats the issue
i rigged something myself and iirc the rolls werent 0 at the start
so i zerod them out for unity
and got results youd expect with having the wrong rolls
best to find the model before any of cats interference
 hollow radish
@lament pond have any tips for long hair uving or just in general hair stuff?
lament pond
Usually for long hair I start by projecting the back part of it
Of course it depends on the style you go for
hollow radish
do you only do one face then double side it with some shader?
deft fog
Wew
After a ton of work
I can only access the armature by clicking it in the overview menu. When it loads in, it loads in under edit mode. If I leave edit mode or do anything else with it, the armature stops being selectable
So... what did I break this time
Okay then, guess I fixed it by using CAT's eye test and then stopping it.
deft fog


The before and after to the hands I had to fix on this model.
These models had some super screwed up hands. They didnt survive being ported out of the game, for whatever reason
 austere harbor
https://i.imgur.com/RfTKU7p.png Why not model a Band Mascot, So i am going to with this WIP
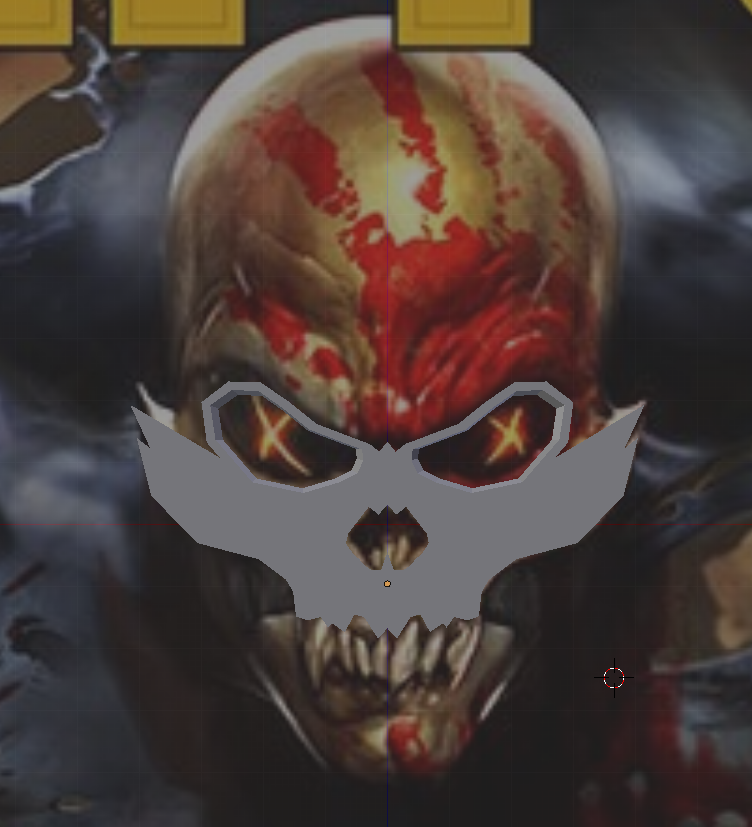 austere harbor
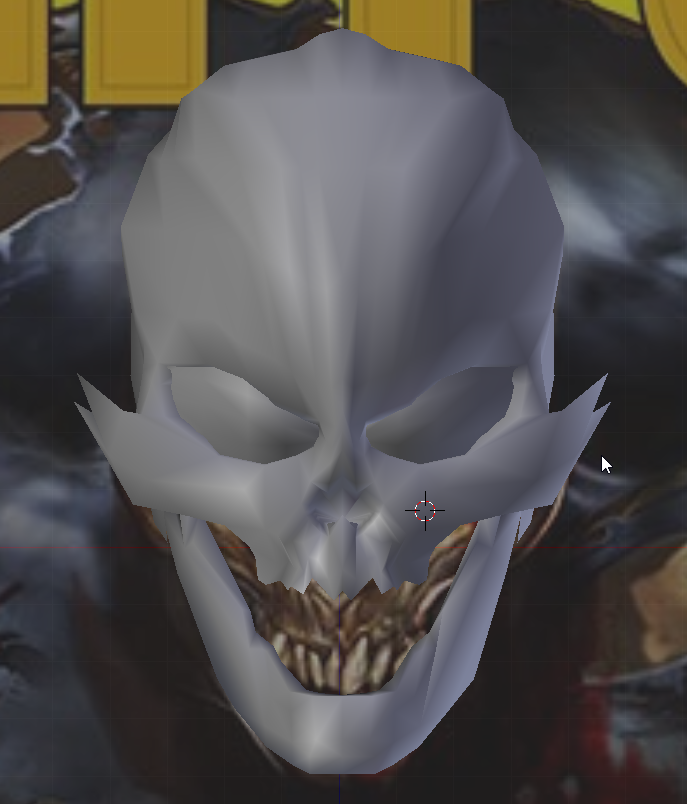
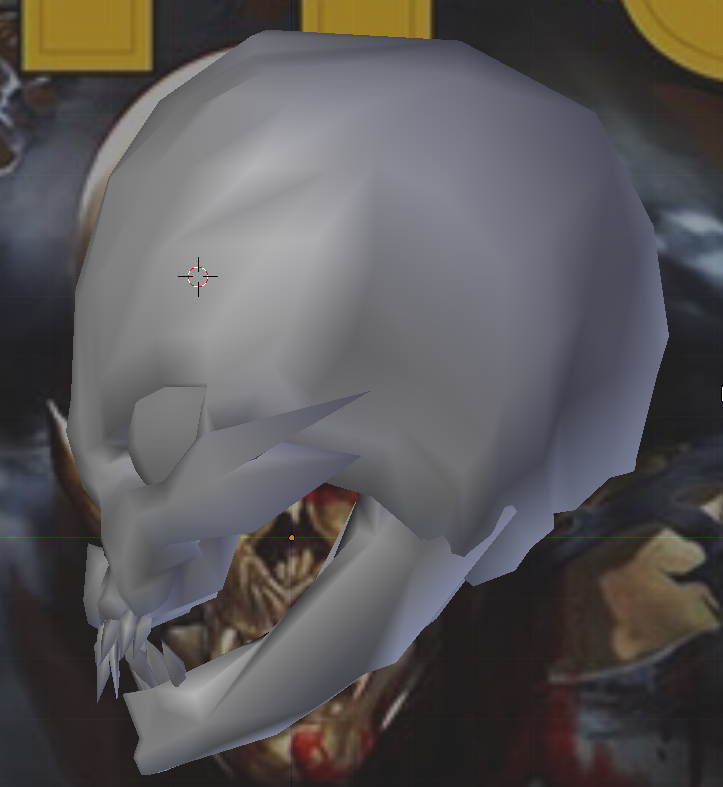
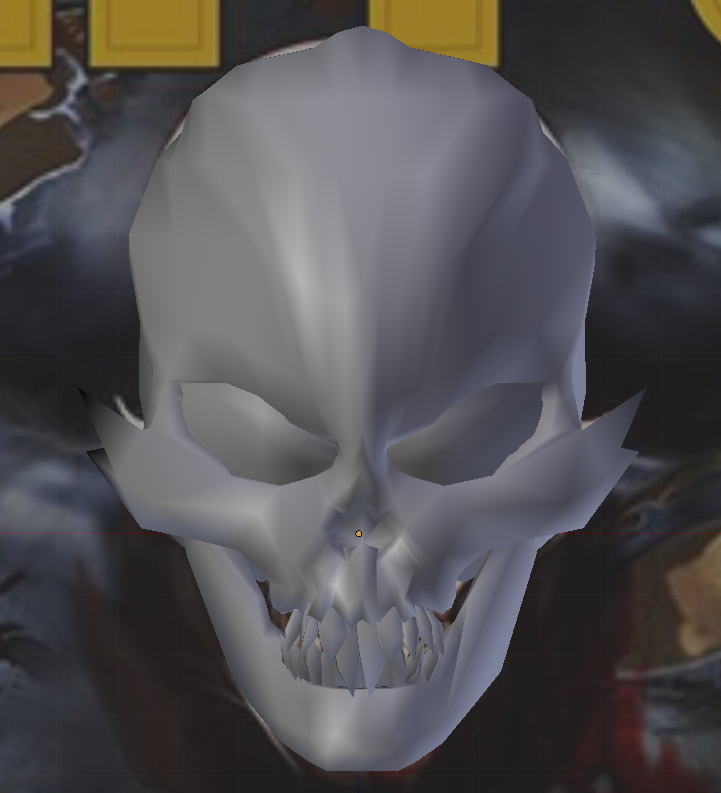 austere harbor
i's intentional, I wanted to make it look rough.
since as i know it's not meant to look naturuel
lament pond
 deft fog
So this is what my model should look like
https://gyazo.com/ed02510629992b27d1f6b5ccb182ba46

Yet this is what I get
https://gyazo.com/f45725ebea8c0c2cb955375a1d78fdfe

There is nothing set to make the eyes so small. I have no idea what could cause this.
The small pupil shapekey looks like this.
https://gyazo.com/6d60f91aaf64f31557abd729775580a6
so it's something completely different.
 stable edge
Uh id say that's a combo of shapekeys
Make eyetracking/blink in blender again using cats
Move to unity yada yada
I'd think that there's a mesh behind the eye (forgetting correct name) for the eye whites so the eye being visible should be a big enough hint
@deft fog
deft fog
I made these eyes, myself.
And only really made the small pupils thing
Though I can try just removing the eye thing and see if that works
deft fog
Blinking uses bones, while the eye uses visceme shapekeys
That could still cause some problems like thsi?
I'll try
stable edge
No if there isn't a shape key to blink vr will use the 1st four anyway
It doesn't care if you didn't make any
deft fog
No no I mean
I made these blinking animations and I made the eyes, themselves. The blinking and facial animations are all built on bones because its a port from a video game. The eyes had to be custom-made because the model didnt port out the eyes for whatever reason
In no spot should the eyes have their small pupil shapebey be active, and its the only shapekey.
Plus, the shapekey that makes the eyes small like that are different from whats happening in game
In game they're more... egg-shaped in a sense.
stable edge
Cats uses first 4 shape keys to blinm
Blink
So it might be combining
Also you can use game blinking animations
Just need to have the anims
deft fog
I dont think blinking has anything with the eyes getting so small
stable edge
Again vrchat thinks first 4 keyshapes (not basis) are to blink






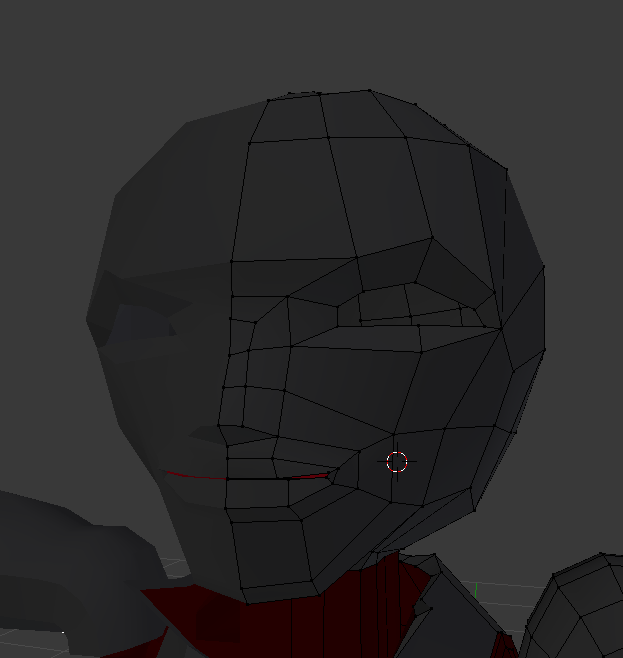
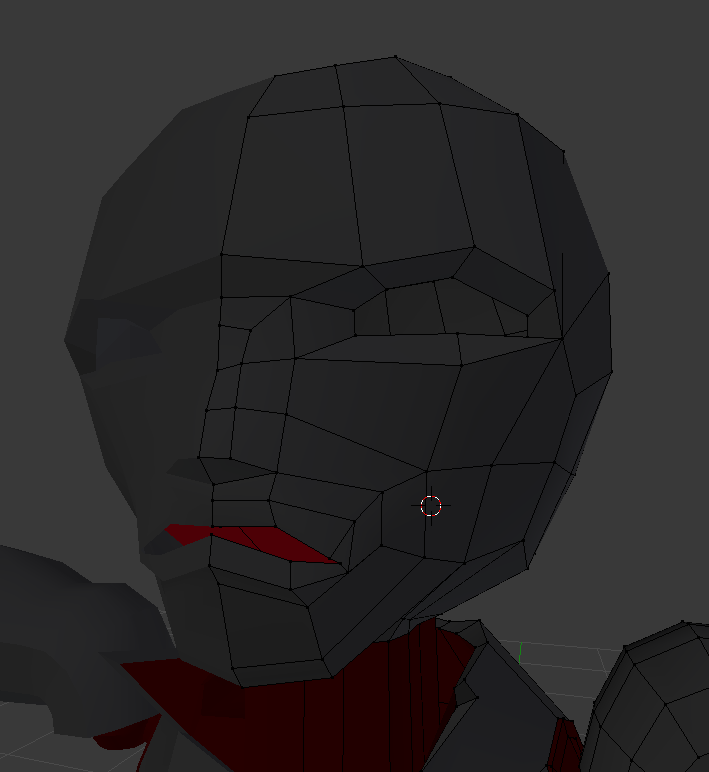

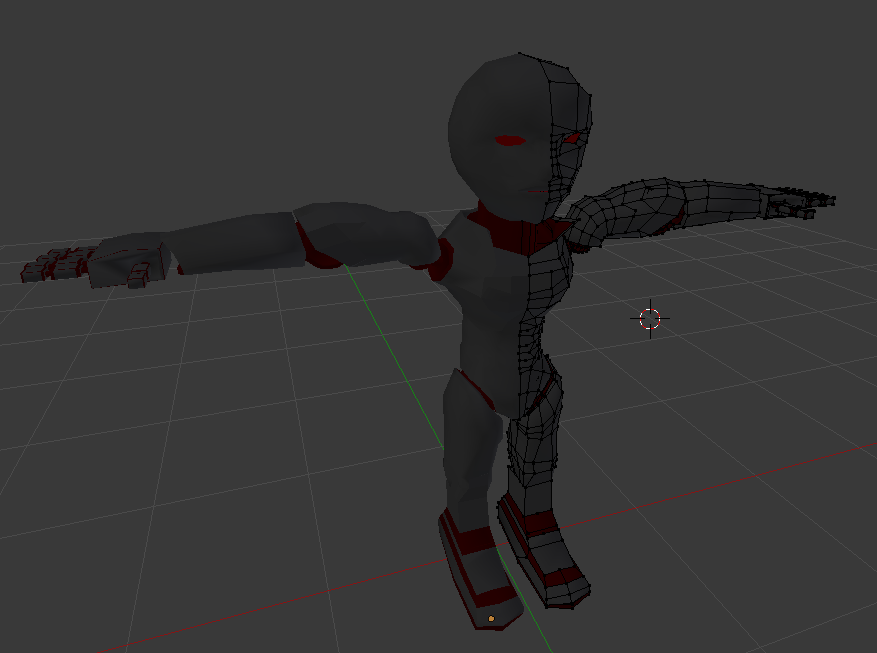






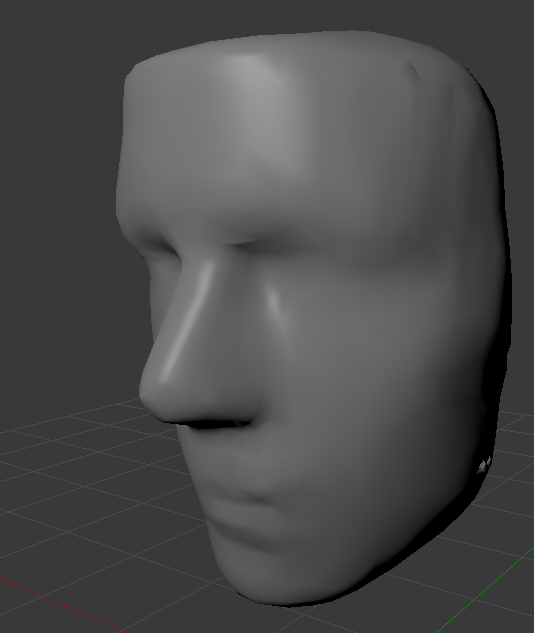
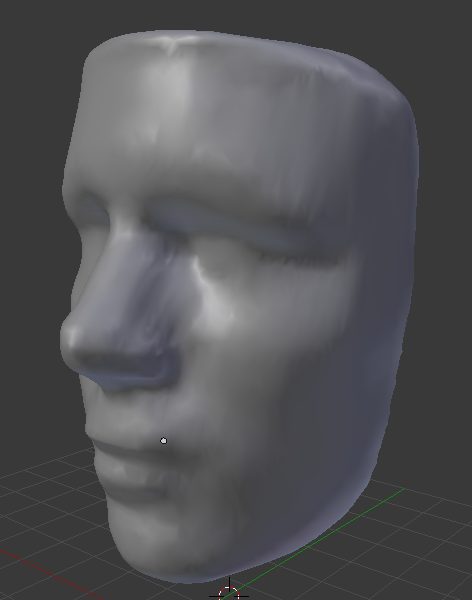


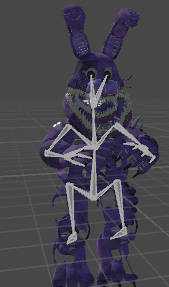


 stable edge
And were these auto made
deft fog
No, I made them by hand and named them
deft fog
I have no issues like this
I have an issue with a mesh resizing itself
And its not tied to any animation, because its a constant
deft fog
I may have found the issue.
The eyes are controlled by two bones, with one major bone doing most of the work. They're using the secondary bone for eye movement.
I'm gonna see if this fixes it.
deft fog
Made new blinking animations, made new shapekeys. Did the automatic thing. Changed to the correct eye bone.